Category: Hair & Beauty

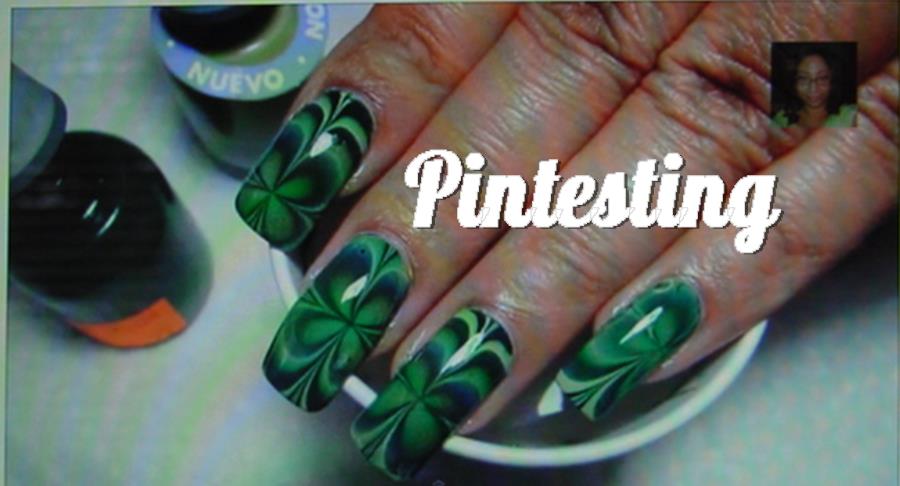
Dry Marble Nail Art with a Tutorial Video

Nov 27, 2016 by Anne Hernandez

I recently saw a great nail design on Pinterest by Sam of FingerFood that made me think of mocha or hot chocolate which she called Mocha Coffee Chocolate Frappuccino. Anyone who knows me knows that I’m a coffeeholic. I loved the look of the design and the rich colors work perfectly for cool weather drinks. It has a marbled look but it isn’t water marbled; it uses a technique called dry marbling. Sam referenced a YouTube video for No Water Needed – Marble nail art Tutorial by Robin Moses. It’s this tutorial video that I will be Pintesting.

This is the Mocha Coffee Chocolate Frappuccino nail art that caught my eye. Can you see the swirls of coffee, chocolate, and whipped cream? Yum! Starbucks anyone?Mocha Coffee Chocolate Frappuccino

If you’ve been following my blog, then you might remember the Four Leaf Clover Water Marble Nail Art post. It didn’t end well and, to this day, is still the Pintesting with the lowest score. I haven’t tried the technique since then, so I approached the dry marble technique with a bit of trepidation – even with a video tutorial. After all, the water marble was a video tutorial, too. However, nothing ventured, nothing gained. So let’s start this Pintesting.
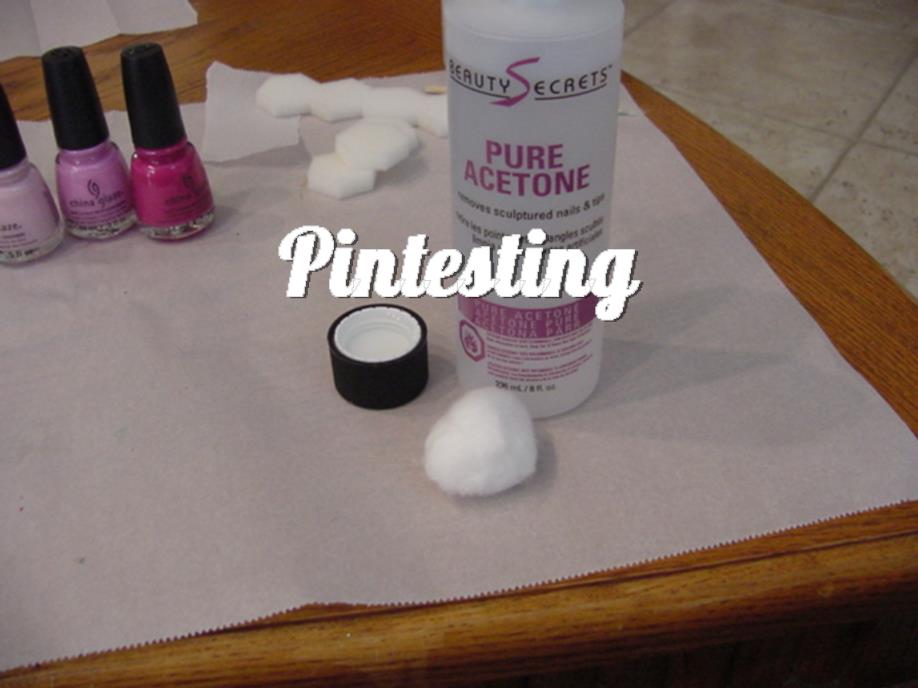
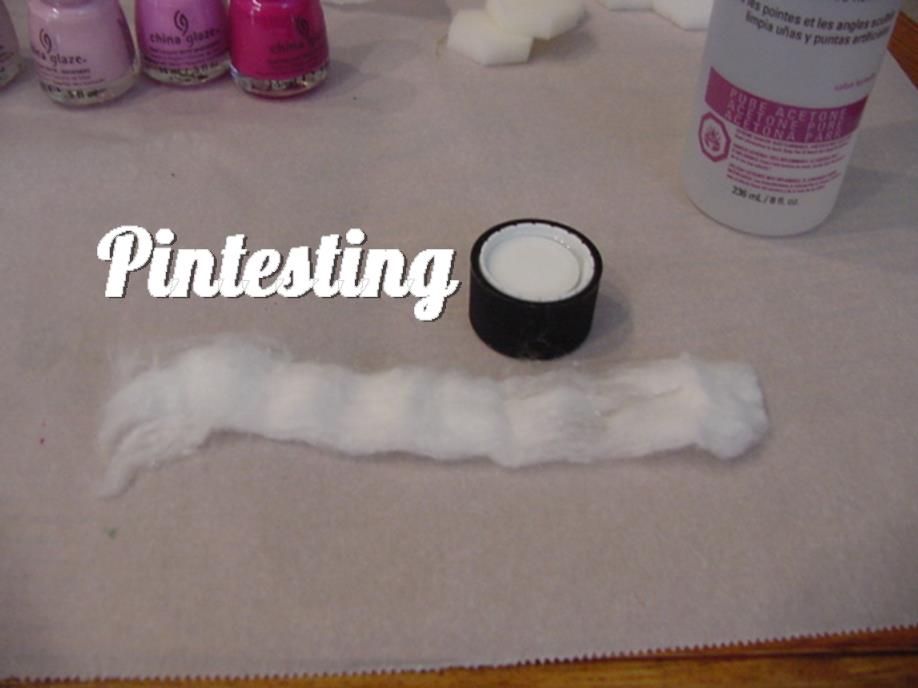
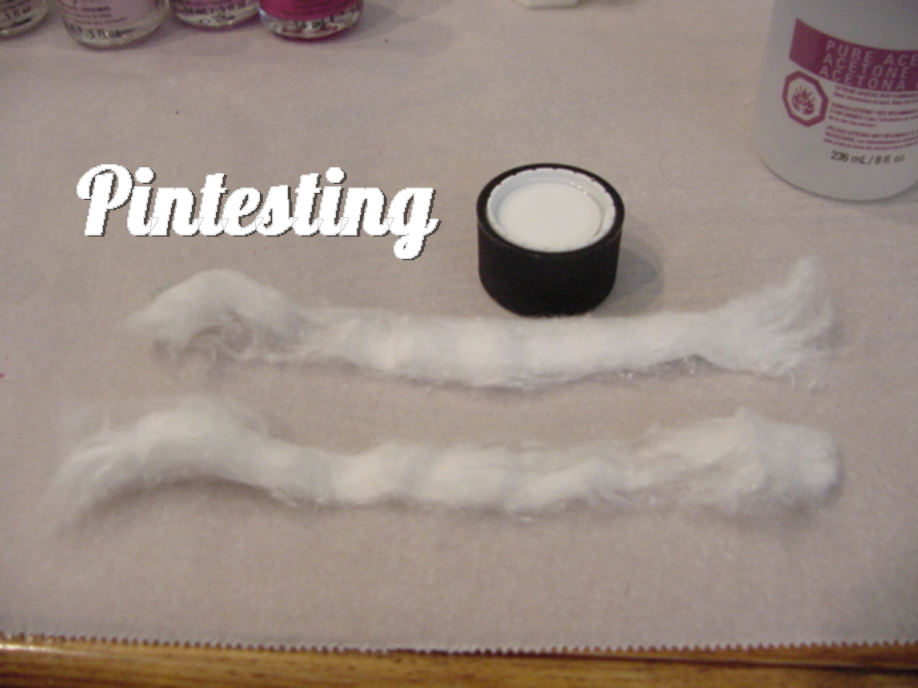
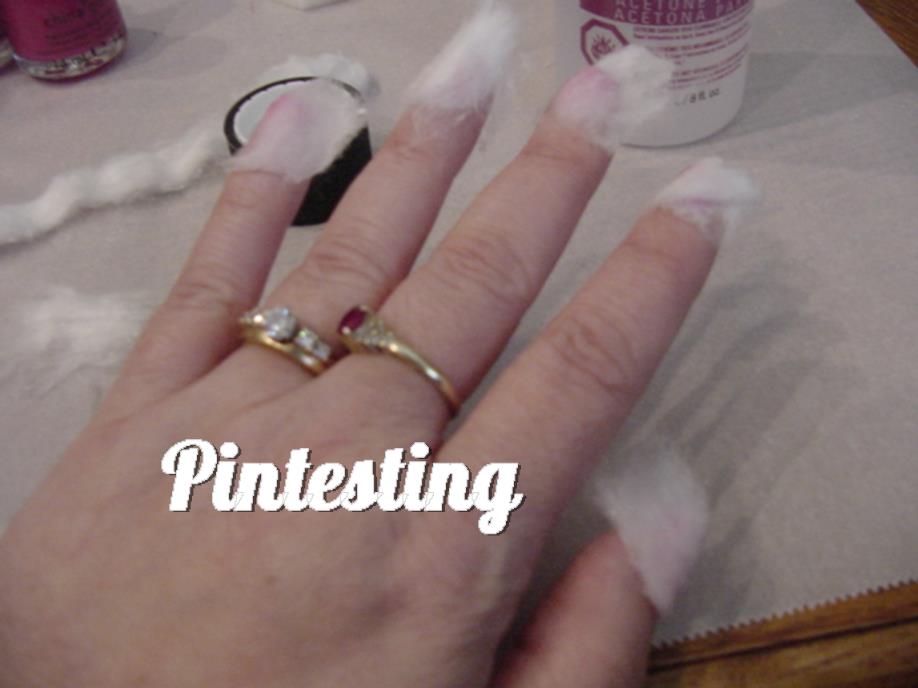
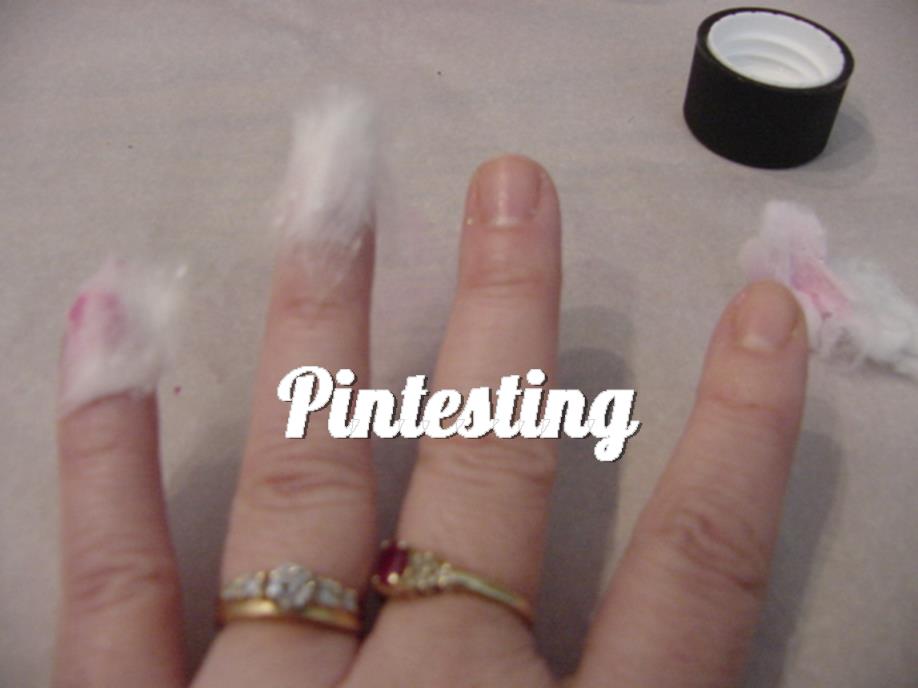
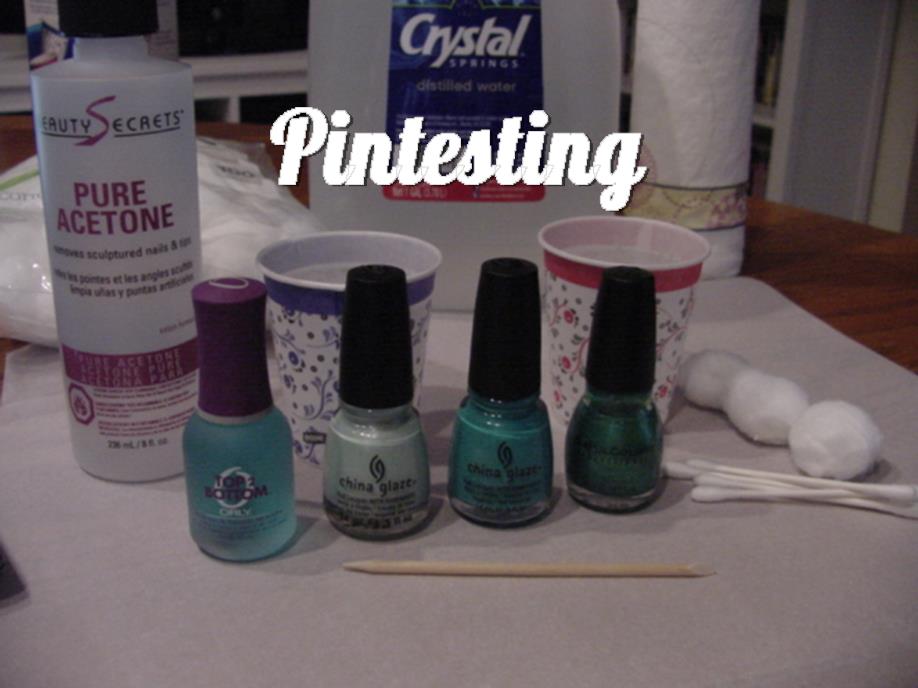
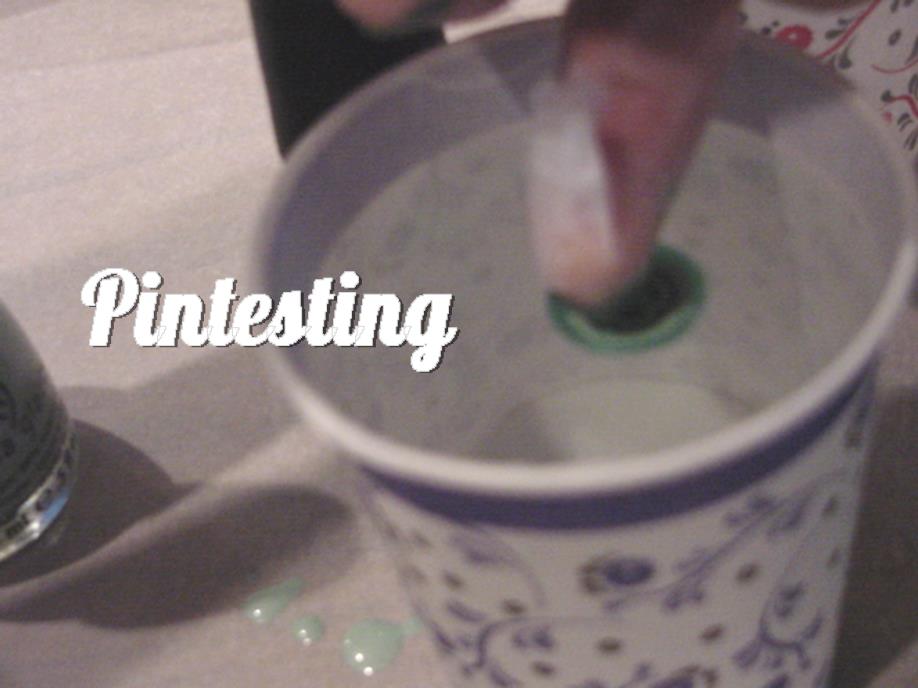
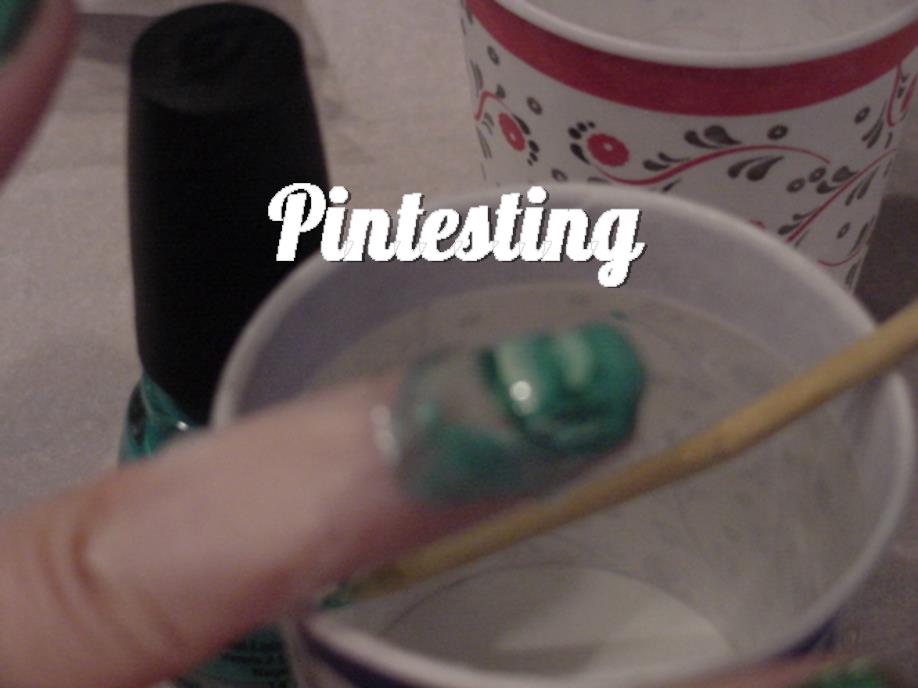
The Pintesting:

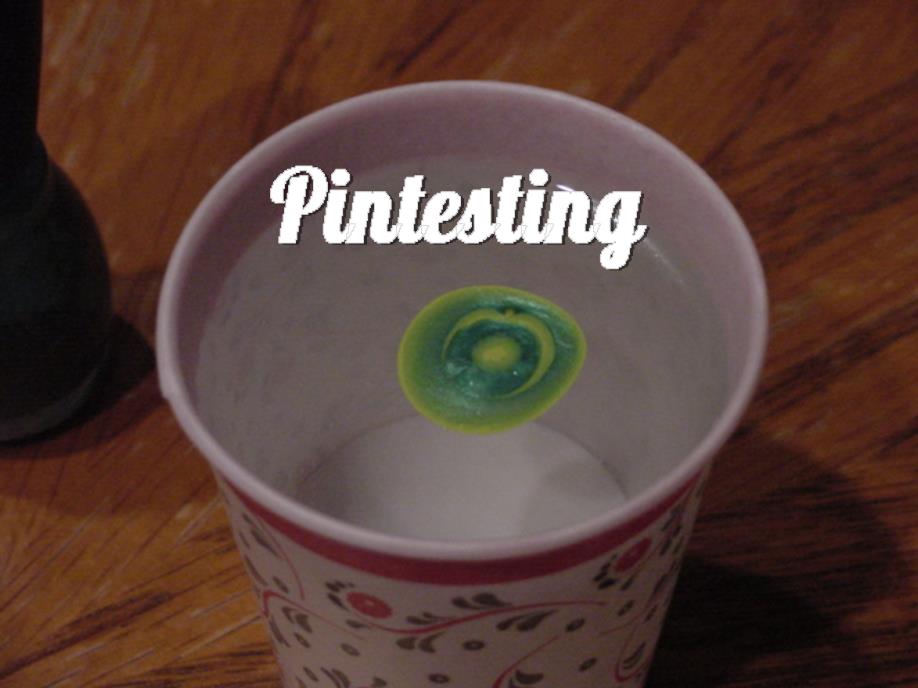
This is the tutorial video. It used similar colors as the Mocha Coffee Chocolate Frappuccino with a couple of substitutions; Robin used a French manicure base color rather than the milk chocolate taupe and instead of black I used a chocolate brown.

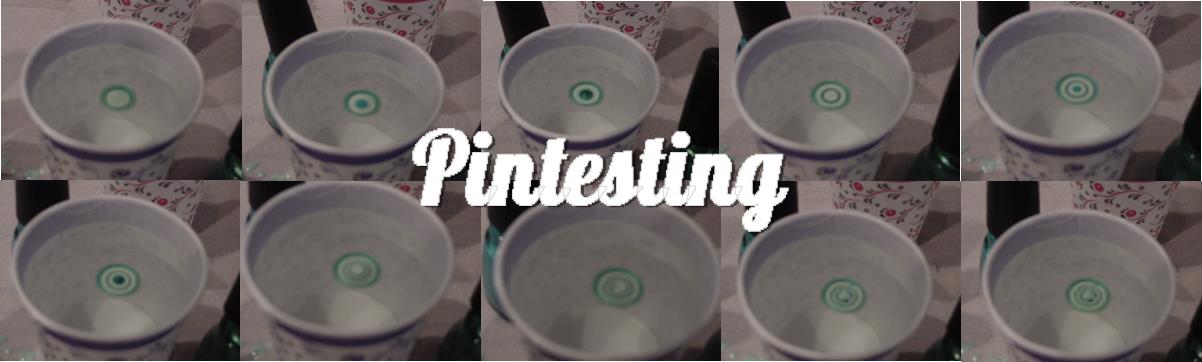
I also made a video so that you could see the whole process rather than step-by-step photos.

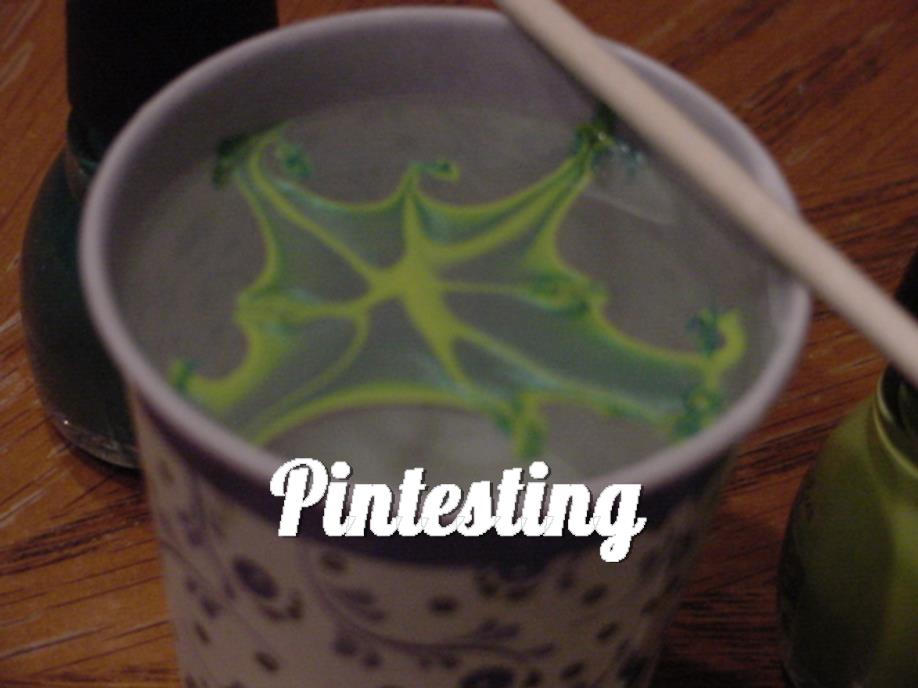
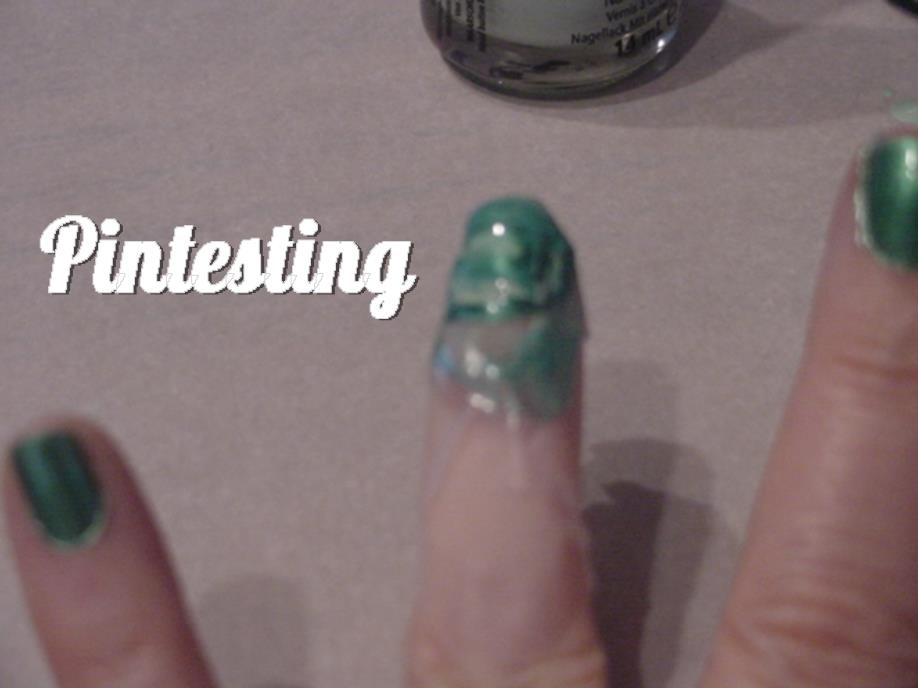
So there you have it. One of the things that I really like about this is that because the swirls are random it isn’t hard to do “the other hand” whether you’re right or left-handed. There’s plenty of forgiveness as long as you don’t overdo it.

Now for the results.

Mocha Coffee Chocolate Frappuccino

The Pintesting Results:

Overall Results: 4.3 Pins

4 Pins Overall

Accuracy:  This manicure technique performed rather well. Perhaps a bit of practice would bring this from 4 to 5 Pins, but as it’s my first attempt, this will get 4 Pins.

Pintesting Rating - 4 Pins

Difficulty: The technique of dry marbling is not difficult but there is definitely a fine line between pretty swirls and a muddy mess, as Robin warns in her video. I tried this a second time with not so great results. (Maybe it’s not a great idea to do manicures late at night when you’re tired.). Due to the need for caution, I’m giving this 4 Pins.

Pintesting Rating - 4 Pins

Time: As manicures go, this one takes a bit longer than a straight up single color polish but not horribly so. The trick to “pull” the polish from the edges was brilliant and helped reduce the drying time since it reduces the excess polish. 4 Pins

Pintesting Rating - 4 Pins

Cost: According to a Glamour Magazine survey, the average woman owns 25 nail polishes at a given time. This means that the “average” woman has the supplies to do this technique in any number of color schemes. If, however, you have to purchase each of the 4 polish colors, you’d probably spend about $20 which is the cost of a good manicure so I’m giving this 5 Pins.

Pintesting Rating - 5 Pins

Practicality: I thought this was a cute manicure technique with lots of different color options. It can be as elegant, seasonal, or whimsical as you choose to make it based on the colors. The mani lasted nearly a week without chipping and, due to the swirls, when I did get a small chip on the tip of my nail it wasn’t very noticeable.  5 Pins

Pintesting Rating - 5 Pins

Gradient French Mani

Lately, it seems like the days are getting shorter. I’m not referring to the amount of time that the sun is shining now that summer is turning to autumn. It feels like someone decided that there needed to be time budget cuts, so they made each day 20 hours instead of 24. Trying to balance work, school, HH, and home has left little time for blogging and nearly no time for me things like working out or manicures. The good news is that I’ve made some life changes to help balance things out a bit, and I’m back to  Pintesting again. I missed you! So today I’m Pintesting the Gradient French Mani because I needed to spoil myself – thank you for the indulgence.

I saw this pin and was struck by its simplicity, elegance, and practicality. It’s hard to go wrong with a French manicure as a classic nail look, but I often have two problems with them. First, is getting the lines perfect. Second is that the tips always seem to chip; probably because the tips have more polish than the rest of the finger. Using a gradient approach solves both problems!

One of the things that I LOVE about gradient manicures is that you don’t have to worry about perfection. You choose your colors, blend  while you apply, and smooth it all out with a top coat. If you haven’t tried this manicure method before, please check out this Pintesting Ombré Nail Art post for more detailed instructions. Since that post, I’ve learned that there is a difference between ombré and gradient.

  • Gradient uses two or more different colors so that they blend together where they meet. (It’s what I’m doing this Pintesting on).
  • Ombré is a gradual changing of shades of a single color from light to dark (or dark to light). For manicures, this is often done as a gradual progression of the individual shades of the color from one finger to the other with each finger having one shade of color.
  • Ombré Gradient blends the shades of the same color on each nail or in a blended progression from one fingernail to the next.

Pintesting Gradient French Mani

The Pintesting:

The elegance of the French mani keeps this very simple; white tips on a natural base. Because I’m doing a gradient I will need the two colors and a makeup sponge cut in half. I also used a base coat and top coat (as you always should).

I had to try a few different combinations of nail polish colors to get the look of the original pin. Because the French manicure is supposed to be white tips on a natural or close-to-natural base, the exact colors will vary by each person’s skin tones and personal preferences. The color below isn’t the one that I went with in the end, but it was the best photo for to show the general idea.

Pintesting Gradient French Mani

Paint the two nail colors on your makeup sponge. You don’t have to mix the colors in the middle; that will happen in the application. If you’re looking for a deeper pop of color, you can put a base of either the white or natural before you apply the gradient. I didn’t because I wanted this to be more subtle.

Pintesting Gradient French Mani

Dab and blot the sponge over your nail to apply the color. The dabbing motion will blend the colors in the middle and give the gradient effect. I did a second coat with the same process to get complete coverage. The polish did end up on my skin from on each finger and half way up to each first knuckle. This is after I cleaned most of the extra with the acetone and cotton swabs in the background of the picture.

Pintesting Gradient French Mani

Finish with the top coat to protect your beautiful nails. I love the twist on this classic look. It’s classy enough to wear for business or an occasion, but the gradient gives it a playful twist.

APPLICATION TIPS:

  1. If you want to keep from having a ton of polish to clean off of your skin and cuticles, there are a few things you can do to prep them.
    1. First, use a really deep moisturizer or moisture barrier on the skin around your nails; petroleum jelly or Aquaphor work very well.
    2. After applying your lotion, clean your fingernails with a cotton swab and white vinegar so the polish will better adhere.
    3. Some professionals use latex body paint around each nail so that once the polish is on, you just peel off the latex “skin” and you’re good to go. If you’re in a hurry or on a budget, you can apply a thin layer of rubber cement or white school glue with a dollar store paint brush and you’ll have the same result. Just make sure the glue is DRY – completely dry.
  2. The polish will have a bumpy from the makeup sponge. DON’T WORRY! This will smooth right out when you put on the top coat.
  3. If you still have a bit of polish on your fingers, clean them up with a cotton swab or small natural-bristle paint brush and polish remover.

The Pintesting Results:

Overall Results:  4.3 Pins

4 Pins Overall

Accuracy:  Like many of the Pinterest nail pins, this linked back to a picture; one of 50 in the collection. There were no instructions or other links, nor could I find a contact or about page (thus the absence of the artist’s name). I was going to give this a rating of 3 Pins, but because I did have some experience with gradient nails, because it’s not difficult to find how-to instructions and videos online, and because the French manicure is a simple process anyway, I chose to give this 4 Pins.

Pintesting Rating - 4 Pins

Difficulty:  I thought that this was an easier way to achieve a French mani look than lining up tape or stickers, or trying to keep a steady hand. 5 Pins

Pintesting Rating - 5 Pins

Time:  When I do a French manicure at home, I use the curved stickers to achieve the look of salon precision. That takes some time and effort to make sure they’re aligned at the right angle and with the proper spacing for each nail. The gradient version isn’t as fast as painting your nails with a solid color, but it isn’t as long as traditional French nails. 4 Pins

Pintesting Rating - 4 Pins

Cost:  A salon manicure usually runs about $15-$20. This is decidedly less expensive – if you already have some or all of the necessary items. If you have to purchase the polishes, top and base coats, and makeup sponges, then it would be roughly the same amount as a salon mani, but you would have the supplies to last for months. 4 Pins

Pintesting Rating - 4 Pins

Practicality:  I love the classic look of a French manicure, and this Gradient French Mani is a simple way to make this an everyday look. 5 Pins

Pintesting Rating - 5 Pins

Christmas Lights Manicure

Dec 24, 2015 by Anne Hernandez

I can’t believe it’s nearly Christmas! Since the day after Thanksgiving, my Handsome Husband and I have been busy decorating our home; even the laundry room has a wreath. Trees, garland, wreaths, stockings, snowmen, Santas, and the Nativity set are all in their proper places making nearly every room in the house festive. I’ve even decorated my office at work and changed my phone ring tone.

I’ve done some fun Pinterest inspired manicures that are seasonally appropriate every week, too. First I did my take on a beautiful Christmas Tree with a black background, which was a combination of two styles.

Pintesting Christmas Tree Manicure

Then I did a tipped manicure with some Santa Bling that was inspired by these two manis.

Pintesting Santa Nails Manicure

I needed another idea for a Christmasy mani, so when I saw this pin, I knew it was exactly what I was looking for. I was very excited to already have the same or very similar China Glaze polish and the cute bling, so it seemed like this was meant to happen.

Pintesting Christmas Lights Nails


If you follow my blog, then you know that I always, ALWAYS give credit to the original source. Unfortunately, the site listed on the photo, ArtigoBeauty.com, is down. Google searches did not produce any other way to trace this source. Thankfully, the picture was simple enough to follow.

The Pintesting:

Pintesting Christmas Lights Nails

First I did a base coat and two coats of China Glaze Glistening Snow. This polish has some texture, so I did a top coat of China Glaze Fast Forward Top Coat and gave it a day to cure well.

Pintesting Christmas Lights Nails


The next day I added the “string” for the lights with a black Sharpie marker. It gave the right look and was easier to control than a thin black nail polish. I had my HH do my right hand.

Pintesting Christmas Lights Nails

These are the rhinestones that I used. There were 3,000 in the case when I had purchased them from Amazon for less than $3.00. (What a great deal!)

Pintesting Christmas Lights Nails

To apply, I put a coat of the top coat and used tweezers to place them where I wanted them to go on the “string” of lights. Do this quickly.

Pintesting Christmas Lights Nails


This is how the first one turned out. Once I placed all of the rhinestones, I covered each nail with another coat of the top coat. One benefit is that because it’s fast drying, there is less chance of smudges or other accidents that would mar the manicure.

Pintesting Christmas Lights Nails

This is the finished results. I was so excited to wear my mani while doing some last minute Christmas shopping. Sadly, I lost one rhinestone on my thumb while trying to get my payment card from my wallet. Then I found this base and top coat specifically made for rhinestones at Sally Beauty Supply. It’s too late to use it as a base coat for this manicure, but I put two coats after replacing the lost rhinestone and haven’t lost any more since.

Pintesting Christmas Lights Nails

I got lots of compliments on all of the manicures, but this one seemed to get the most so far. Now for the Pintesting results.

The Pintesting Results:

OVERALL RESULTS: 4.55 Pins

Pintesting Seal 5 Pins

Accuracy:  The manicure turned out exactly like the picture. EXACTLY! 5 Pins

Pintesting Rating - 5 Pins

Difficulty:  Easy Peasy. Using a black Sharpie marker instead of the black nail polish really made this effortless. If you don’t like the way that the squiggly line turned out, just erase it with rubbing alcohol and do it again. 5 Pins

Pintesting Rating - 5 Pins

Time:  As fancy manis go, this one was fairly quick. One base coat, color, the squiggly line, the rhinestone application, and top coat. I let the base color cure overnight, but you could just use the fast-drying top coat and save the time. 4 Pins

Pintesting Rating - 4 Pins

Cost:  I happened to have everything on hand.  Even if I had to purchase everything except the base coat, it would still cost less than a regular manicure at a salon. The $3.99 for the special top coat was worth every penny, and it will last for many manis to come. 5 Pins

Pintesting Rating - 5 Pins

Practicality:  This is great for the holidays, but I was always worried that a rhinestone would fall off every time I reached in my wallet to remove a payment card since they’re wedged in there pretty tightly, or when I typed, cooked, ate, or did just about anything. It’s fun to wear and show off for an event, but this isn’t an easy manicure that would last for a week. Mine lasted 3 days so it gets 3 Pins.

Rated 3 Pins

Ombré Nail Art

Mar 31, 2013 by Anne Hernandez

One of the things that I love about “Florida Living” is that you get to wear sandals all year if you want to. This also means that girls are much more likely to have year round pedicures and manicures. Since I like to change colors much more than my budget would allow for going to the salon to have the professionally done mani/pedi, I do them at home. One of the nail trends that has become very popular is the Ombré or Gradient nails. For those who don’t know, this technique uses graduating shades of one color or different colors, and blend from one shade to another.

I had seen quite a few examples on Pinterest, and thought it was time to give it a go. There were two pins that convinced me that I could accomplish this technique. The first was from the ladies at The Beauty Department and it gave detailed pictures and instructions for different shades of one color.

http://thebeautydepartment.com/2012/04/pretty-polish-idea/

The second is from Laynie’s blog, Layniefingers, with instructions and a video. I always like to watch videos so I can see exactly how someone else does something. I also liked how the pastel colors looked so perfect for Easter and spring. Does that remind anyone else of an Easter Egg?

http://layniefingers.blogspot.ca/2012/03/another-way-to-do-sponged-gradient.html#comment-form

So after watching the technique, which is relatively simple, I went to my local Sally’s Beauty Supply store to find the nail polishes. I thought this might be a little expensive since both blogs instructed the use of 3-5 colors, but China Glaze had put out this Ombré kit that included 4 full sized nail colors and 10 application sponges all for the sale price of two polishes! These kits come in Teal, Pink and Grape. (Disclaimer: I did not receive any compensation for using this product. It was just easier to buy it all in a kit.)

Ombre Nails - China Glaze Sets All colors

I also had the Orly Top 2 Bottom for base and top coat, polish remover, a cotton ball and some cotton swabs – just in case of user error.

Ombre Nail Art - Ingredients

First I put the base coat and let it dry. Then I put a coat of the lightest color on my nails and let that dry, too. The instructions on the packaging said to paint the stripes of polish onto a flat surface. I used a strip of parchment paper and went from light to dark.

Ombre Nail Art - Paint stripes

Blot the nail color with the sponge, then dab across the nail while slightly moving up and down to blend the colors.

Ombre Nail Art - Sponge onto nails

Lastly, finish with a top coat to smooth it out and set the manicure.

Ombre Nail Art - Blended and Top Coat

The results are pretty, easy and impressive. It does get a bit of polish on the skin surrounding the nails, but that’s what the polish remover ans swabs are for.

Results for the Ombré Manicure are as follows:

Overall Score: 5 Pins

5 Pins Overall

Accuracy:  The two blogs gave great instructions that were similar to the directions on the packaged kit. Whether painting the polish onto a surface or directly onto the sponge, the results were the same. I only did one pass of the sponging, so my colors weren’t quite as vivid as the picture on the package, but it directed to do a second pass for brighter results once the first one dried. 5 Pins

Rated 5 Pins

Difficulty:  The technique is an easy one to achieve since you are looking for blending rather than precision. It’s a great way to get trendy nails if you’re a beginner to nail art. 5 Pins

Rated 5 Pins

Time:  This definitely takes a little longer than just polishing the nails, but not by a lot. I usually do a base coat, two to three color coats and a top coat which takes a little under an hour. This can be done in about 1 hour for base coat, solid coat, sponged gradient coat and top coat. 4 Pins

Rated 4 Pins

Cost:  The cost of a basic salon manicure is roughly $20 on sale. I bought the China Glaze kit on sale for $11, and it will do a lot of manicures with the 4 full sized bottles of polish. However, if you have to buy everything separately, it would be closer to the salon price, but you’d still get multiple manis out of it. 4 PinsRated 4 Pins

Practicality:  You can do this with any polishes you might already have on hand, so buying lots of polish is not necessary if you have a decent collection. You can switch up the color combinations for seasons, holidays, even add glitter, crackle polish or stamps over the top for super custom looks. It’s easy, quick and not very expensive, and you don’t need to have the hands of an artist to make it look good. Very practical – 5 Pins

Rated 5 Pins

Tip Tuesday – 5 Minutes Nail Polish Removal Tutorial

Mar 19, 2013 by Anne Hernandez

As I said in my last post, I love the idea of having pretty nicely polished nails. Unfortunately, that means when the polish gets messed up, or if it lasts long enough to have outlived it’s welcome (I think that’s happened about 3 times in my adult life), then you need to get the polish remover, some paper towels, cotton balls, jack hammer, etc. to take it off. OR if you’re like me, you need to remove what’s left after picking off the edges or pealing off as much as possible. I know… I know… It’s absolutely horrible for your nails. One of my bad habits.

At least it was until I saw this great pin on how to remove nail polish with only one (1) cotton ball, only one (1) cap full of remover, and all in only 5 minutes.

http://gingerbreadmanne.blogspot.ca/2010/09/5-minutes-nail-polish-removal-tutorial.html

This sounded too good to be true, but according to Anne from her blog, Gingerbreadmanne, it was not only possible, but totally doable. Since I had two hands with chipped/picked at nail polish, the cotton balls and the remover, I decided to give it a shot.

The tools

Here are the tools. Ignore the polishes and sponges. They’re for another post.

Unroll the cotton ball

Unroll the cotton ball.

Split the cotton in two

Tear into two strips.

Tear into pieces

Tear one strip into 10 pieces, save the other for wiping any polish left behind.

Dip, place and wait

Dip the edge into a cap full of polish, then place on each nail. I did one hand at a time, as instructed on the blog, then waited one or two minutes. I had pink polish on, so it’s not easy to see through the cotton, but it’s noticeable in the next picture.

Yes it works

I used a part of the remaining cotton ball strip to wipe off the cotton pieces on my fingers. See the light pink on the cotton?

The Pintest results for this Tuesday Tip are as follows:

Overall Rating: 5 Pins

5 Pins Overall

Accuracy:  This method allows the polish remover to do it’s thing. I’ve tried it a few times, and it gets the polish off really well. If you have glittery polish, it might require a little bit more wiping, but much less work than using the traditional method and gentler on the skin than soaking your fingers. 5 Pins

Rated 5 Pins

Difficulty:  It was easy to unroll the cotton ball, and that was the hardest part. 5 Pins

Rated 5 Pins

Time:  Normally it takes about 15-20 minutes of dabbing cotton balls or paper towels with polish remover, then wiping and wiping. This really takes roughly 5 minutes for both hands.

Rated 5 Pins

Cost:  Using only 1 cotton ball (and still have leftovers), and a cap full of polish remover is much less waste than the traditional way. I get the big bottle of pure acetone from Sally’s Beauty Supply Store when it’s on sale for about $4 and a bag of cotton balls is roughly a buck. 5 Pins

Rated 5 Pins

Practicality:  This method saves time, money, supplies and is very easy to do. 5 Pins

Rated 5 Pins


Four Leaf Clover Water Marble Nail Art Tutorial

Mar 17, 2013 by Anne Hernandez

I love the idea of pretty nails. They make me feel so polished (sorry for the pun – okay, maybe not 😉 ) and finished and detailed. Videos of techniques like this water marble nail art are inspirational. It’s so nice to feel pretty – until you have to do something. Seriously, just about anything will make my nail polish chip or smudge. You’d think I did construction or had a job that requires you to repeatedly smash your hand into some horrible machine, or maybe dragged my hands on the road when I walked. Nope! I have an office day job that requires typing. (NOT much manual labor there…) I cook a lot; which means I also do a lot of dishes. Okay, that could be a part of it. But still. I see the TV chefs like Giada De Laurentiis or Laura Vitale, and they always have a beautiful manicure to go along with their perfect smiles and yummy food.

It’s so frustrating to either spend the time doing a manicure myself, or the money to have someone else take the time to do the pampering for me, just to have it all messed up in a day or two – or sooner. But then I think I really want to have pretty hands and polished nails, so I try again… and again… and again… Glutton for punishment, what can I say.

So with St. Patrick’s Day approaching, I thought I’d try a nail technique that has intrigued me since I saw it shortly after I started on Pinterest. Water Marble Nail Art. These are some of the most beautiful designs I’ve seen, and I HAD to try this shamrock looking one. Collette, of My Simple Little Pleasures, made it seem very doable with a detailed video tutorial. So I went to my local Sally’s Beauty Supply Store and bought the color of polish I didn’t already have, picked up small paper cups then went to work.

http://www.youtube.com/watch/?v=ThvYt11z_rs

The Pintesting:

I used filtered water, like the video instructed, then added drops of polish into the cup of room temperature water.

http://www.youtube.com/watch/?v=ThvYt11z_rs

It should look like this,

Water Marble - take 1

It didn’t work out so well.

The Spread - aomeba

When I tried to make the clover, the polish dragged all over the water and made a mess.

Let’s try this a second time. I went back to Sally’s and bought all new polishes – just in case the 12-month old polish was too old.

Nail Art Take 2

After a bit more research, I found that some nail artists use distilled water rather than filtered. So with all new polishes and distilled water, warmed a bit by microwaving it for 15 seconds to bring it just above room temperature, it’s time for the second try.

Second try steps

Here are the concentric circle steps. Still not great, but better than before… here’s hoping.

Second try clover

I was able to make a small clover shape this time. I didn’t worry about it being too small since I don’t have really long nails.

Second try preped

I prepped the nail with base coat and color coat and taped the edges of my finger for easier cleanup.

Second try dunk

Poised… and Dunk. I couldn’t take a picture while cleaning up the polish on the water layer but did it as the video instructed.

Second try blob

I couldn’t wait to see the super cool shamrock on my nail but got this blob with no distinct clover or shamrock.

Second try failed

So this failed twice, I’m sorry to say. I loved how it looked and have seen several other nail art videos on water marble nail art that I’m not going to give up yet. Maybe I’ll break down and spend the money on a mani (for the research) and ask some questions to the salon techs. Until then, I’ll stick to simpler nail techniques.

The Pintesting Results:

Overall Rating: 2 Pins

2 Pins Overall


Accuracy: In two attempts, the polish didn’t behave as the video showed. Additionally, the beautiful distinct design didn’t come close to making an appearance. . And finally, the tape on the nails melted into a mess that took a lot of acetone to get off. 1 Pin.

Rated 1 Pin

Difficulty: The video made to process seem simple enough, but getting the polish to drop in the middle of the circles wasn’t easy. Not enough polish on the brush, and it wouldn’t let go. Too much, and it would drip before you wanted it to and in the wrong place. 3 Pins.

Rated 3 Pins - SMALL

Time: The whole process took about twice as long as a typical manicure. Had the results worked, then it would have been worth it, but since they didn’t – 3 Pins

Rated 3 Pins - SMALL

Cost: Sally’s had the polishes on sale at 2 for $11. Add to that the cost of the distilled water, paper cups, orange sticks, etc. and it’s a lot for a normal home manicure, but roughly the same cost of a salon manicure. 3 Pins

Rated 3 Pins - SMALL

Practicality: IF this had worked, it would have been a great way to get an awesome mani, but since it didn’t, and since it was a waste of a lot of polish, I don’t think this was a practical way to get a manicure. 1 Pin

Rated 1 Pin