Category: Food & Drink

Baked Parmesan Tomatoes

Feb 21, 2013 by Anne Hernandez

I am a Zumbaholic. One of my favorite things to do is go to an awesome high energy Zumba class with one of my favorite instructors. I’ve been hooked for about 4 years, but have been following one particular instructor since her career began about 3 years ago. If you’re ever in the greater Orlando area, please let me know if you want to go the best instructor and most fun class. It’s like going dancing at a club, only more fun. Actually, I’ve gone out to a club with friends and wished I could have been at Zumba.

About two years ago, Zumba Fitness announced that they wanted to do a cookbook and put out a request for recipes. I submitted a simple fresh and easy family favorite; Caprese Crostini. About a month later I got an email that literally had me dancing around the house. That’s not totally unusual, but the amount of squealing with delight that accompanied the dancing was greater than normal. They accepted my recipe and requested more information. Two weeks ago I received an advance copy of the cookbook. I’m so excited to be a part of something that I love and believe in.

Zumba Lovers Cookbook

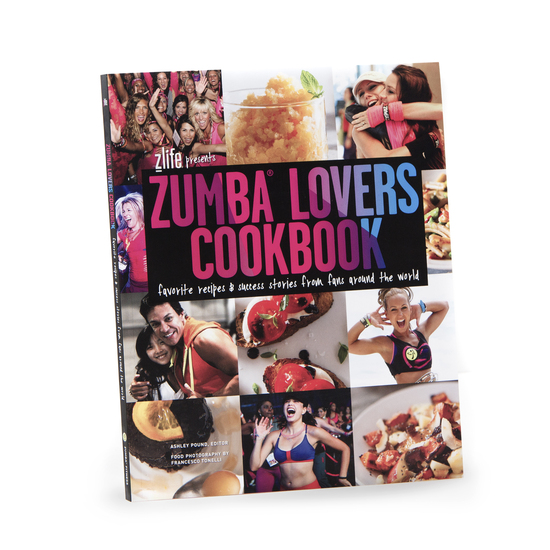
The picture in the center under the title is a photo of MY RECIPE! So excited…!!!

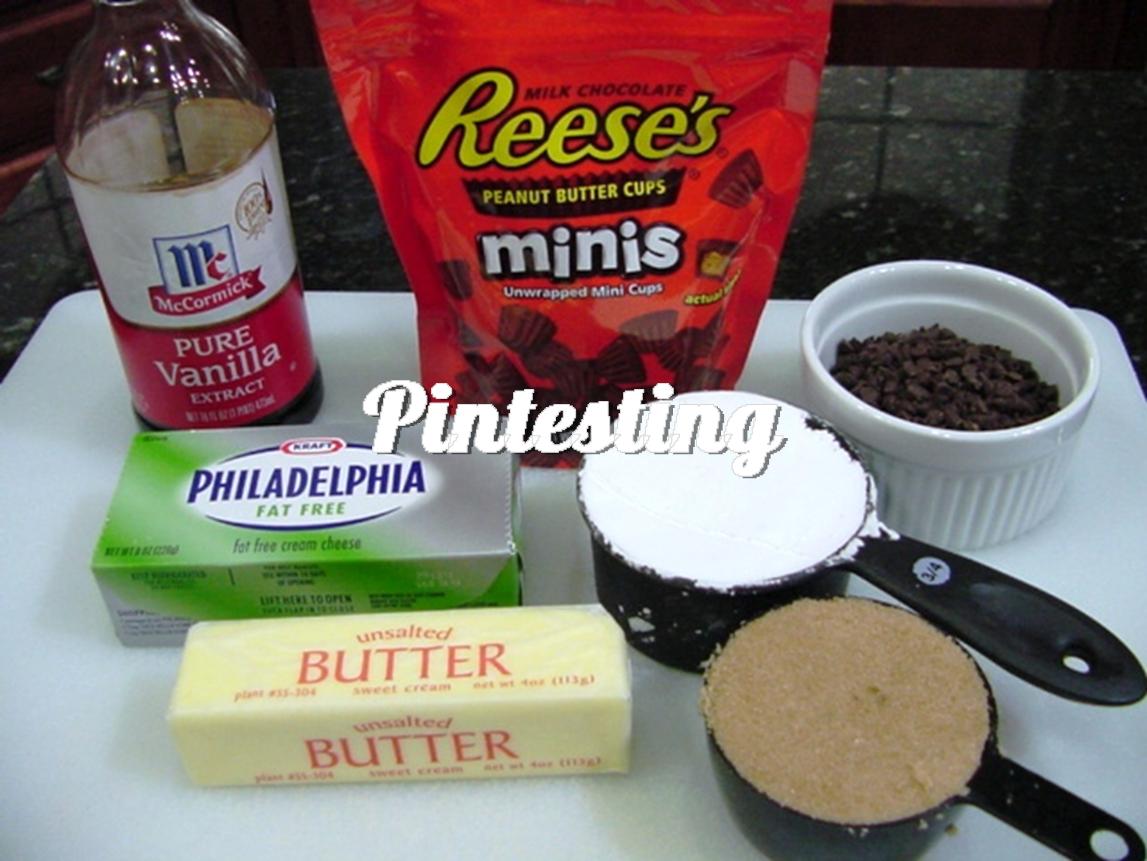
I really like the flavor of tomatoes with mozzarella, herbs and balsamic vinegar. When I saw the pin for Baked Parmesan Tomatoes, I thought it would be a nice twist on a delicious stand by.

http://pinterest.com/pin/207869339022882366/


The recipe originated from the Eating Well magazine website. Let the Pin Testing begin!

Tomato Ingredients

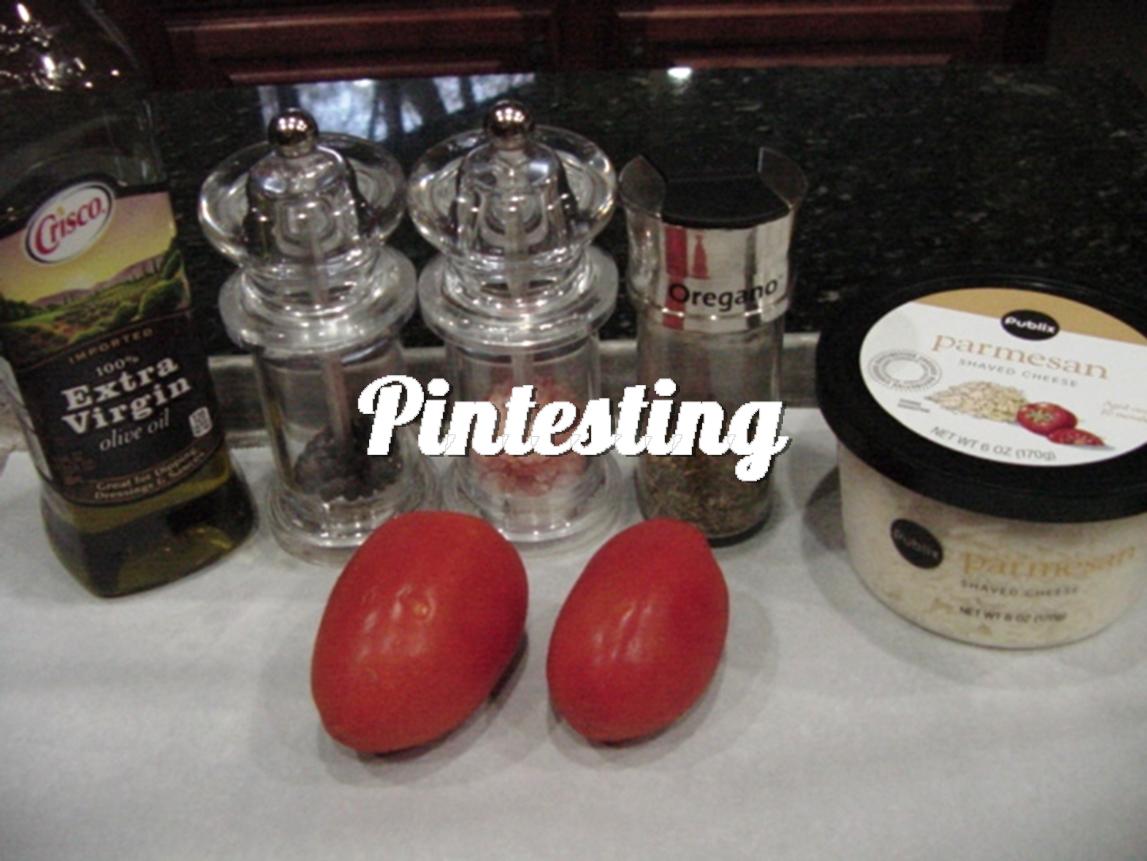
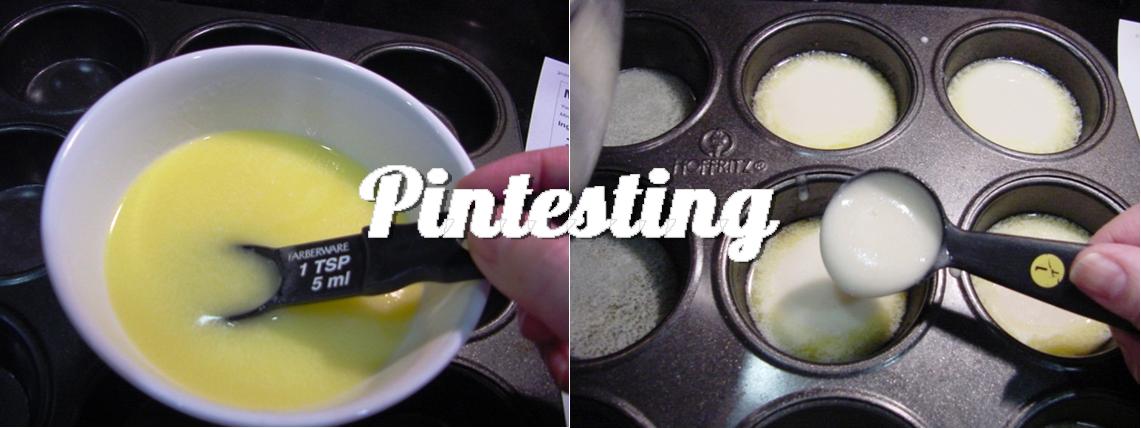
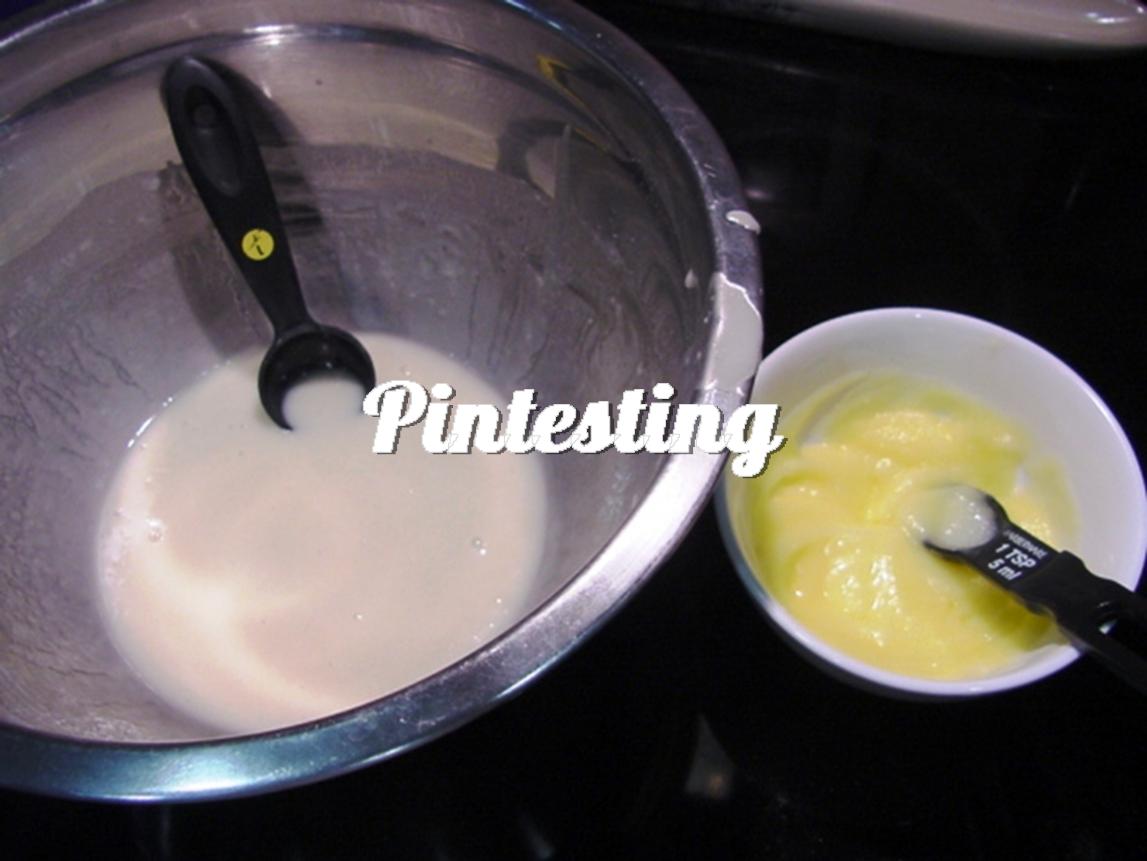
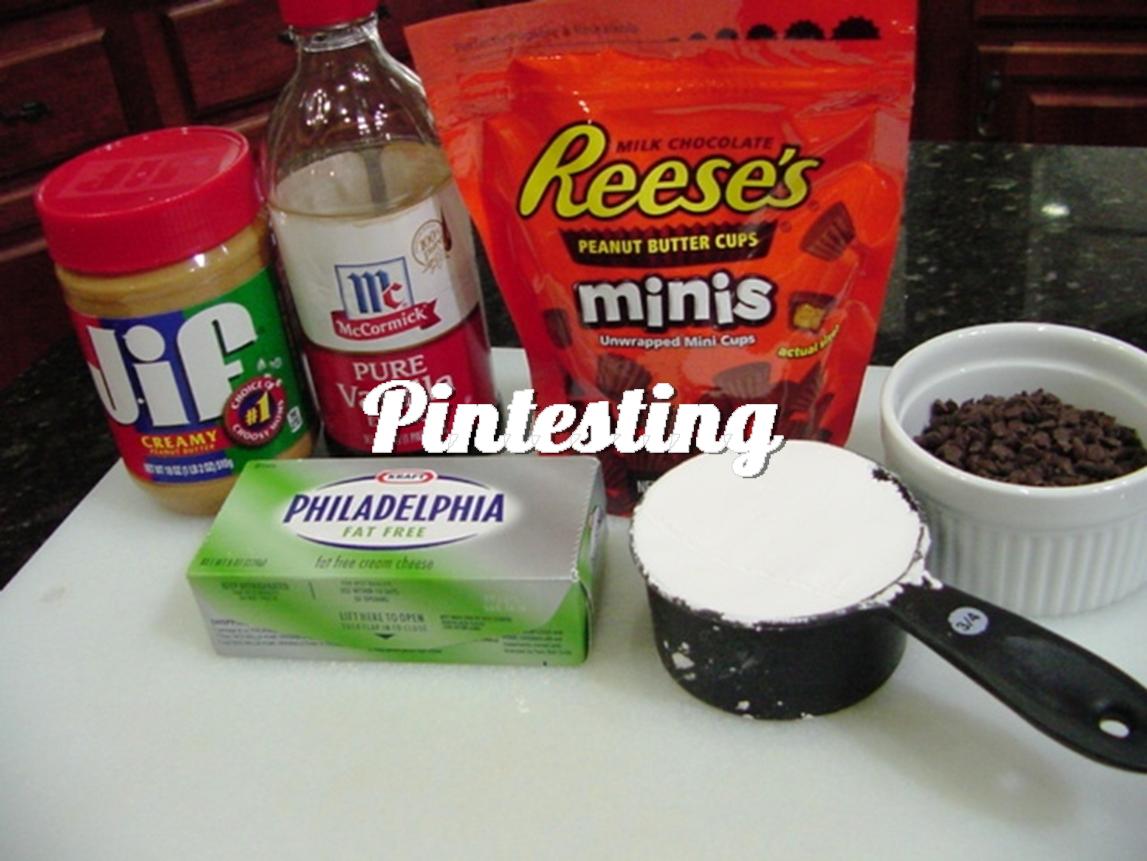
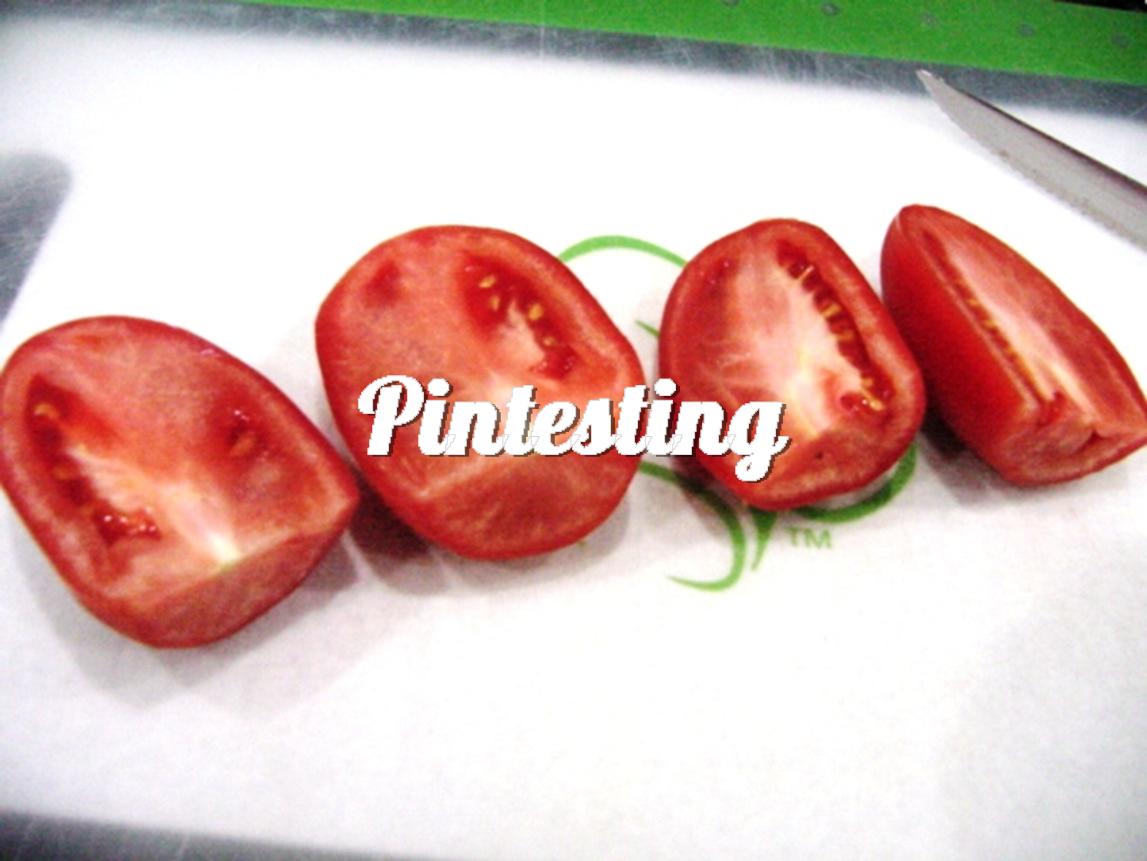
The recipe seemed simple enough. Cut the tomatoes in half. I used Roma tomatoes because I love the flavor and I almost always have them around the kitchen.

Roma Tomatoes

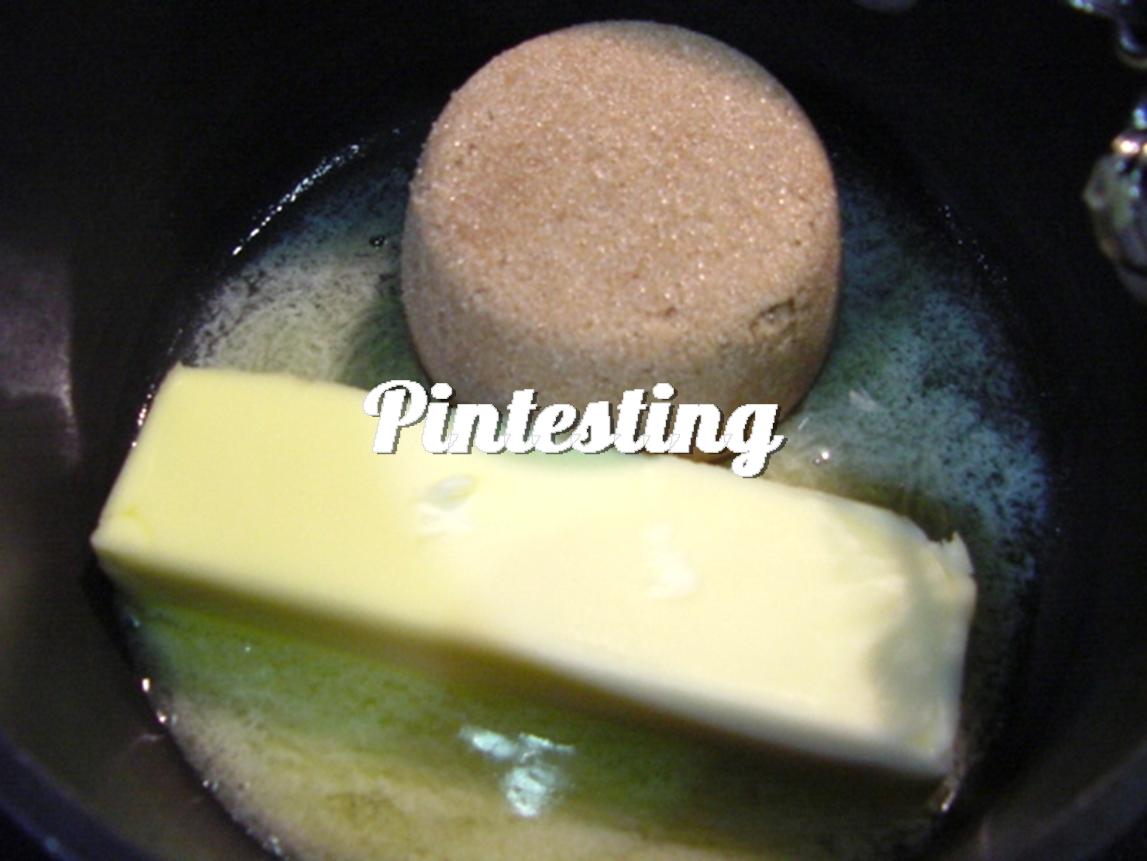
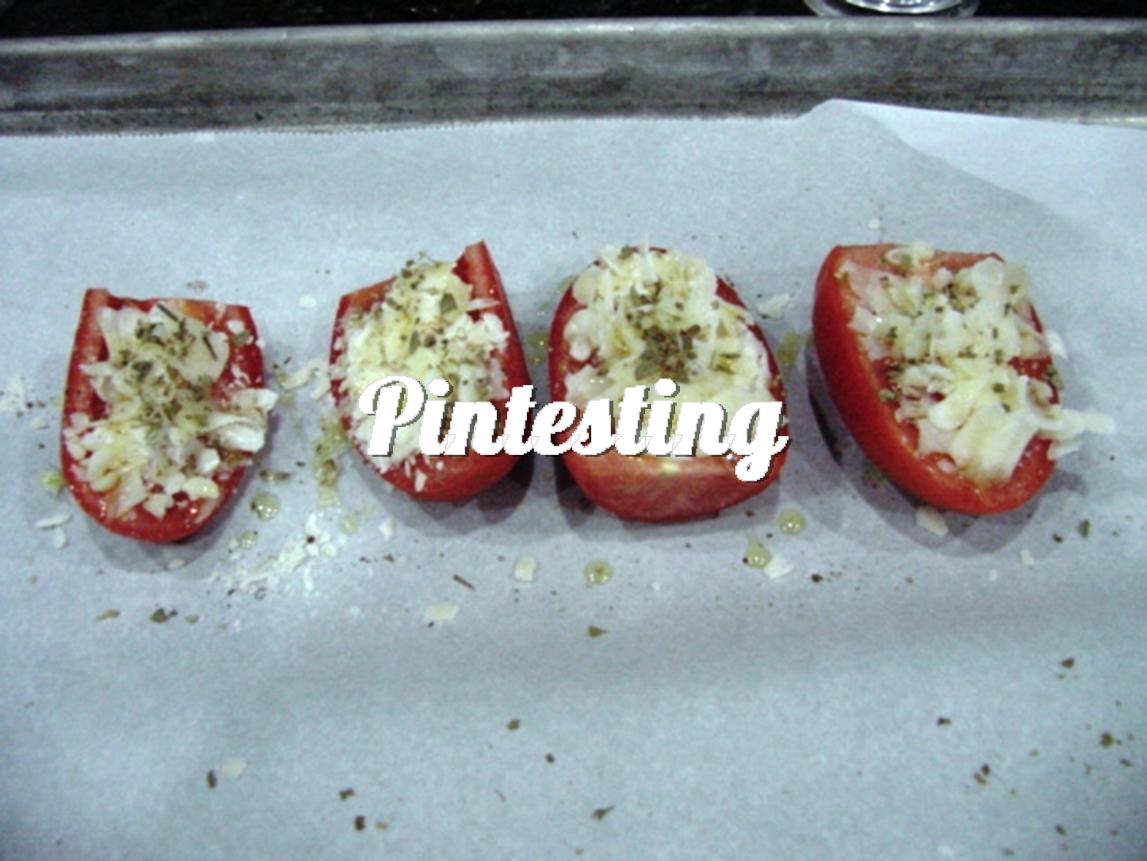
Top with Parmesan, oregano, salt and pepper. Then drizzle with olive oil.

Loaded Tomatoes

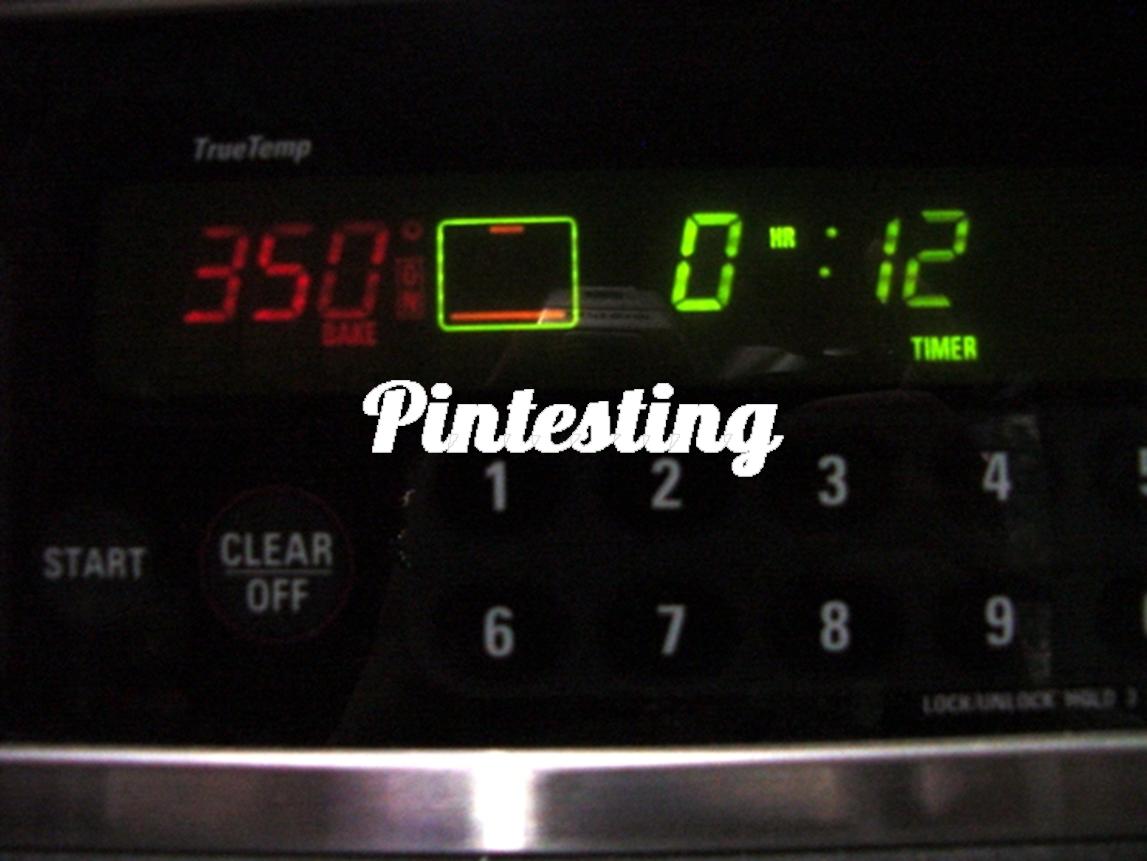
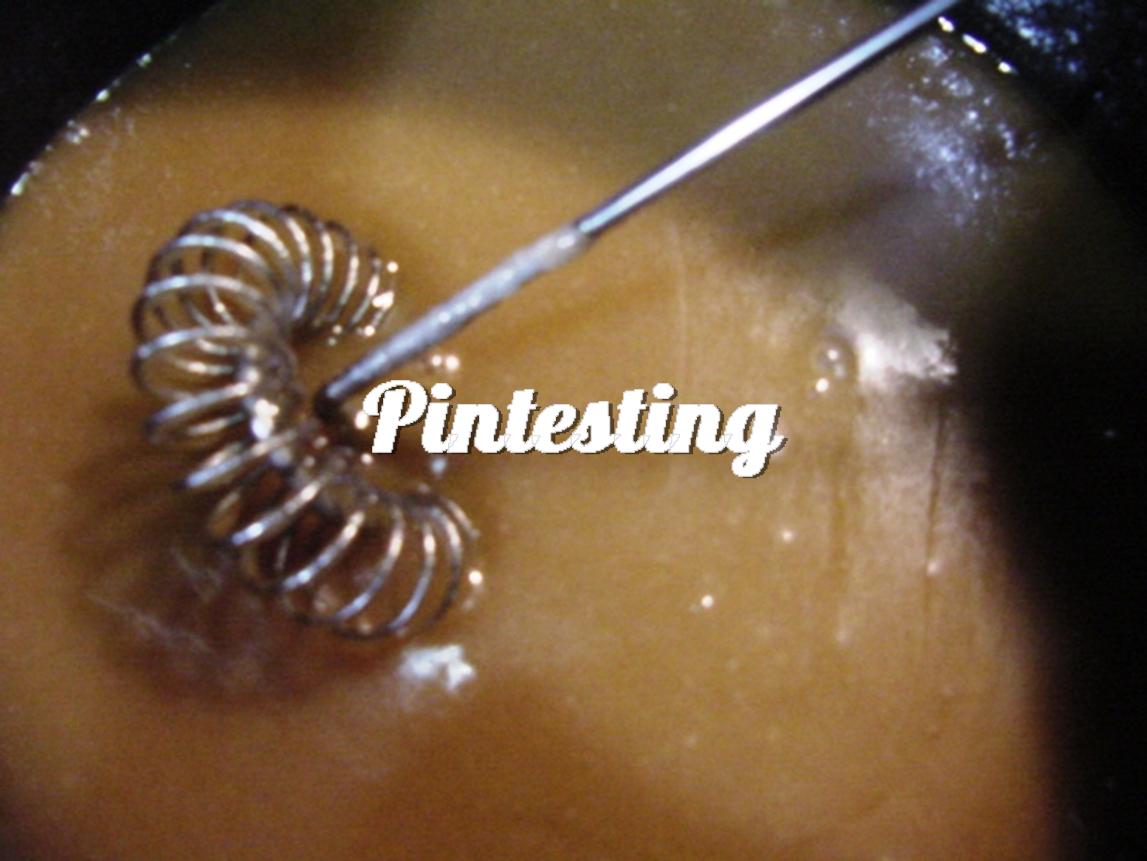
Bake in a preheated 450 degree oven for 15 minutes.

Roasting

Tomato Oven


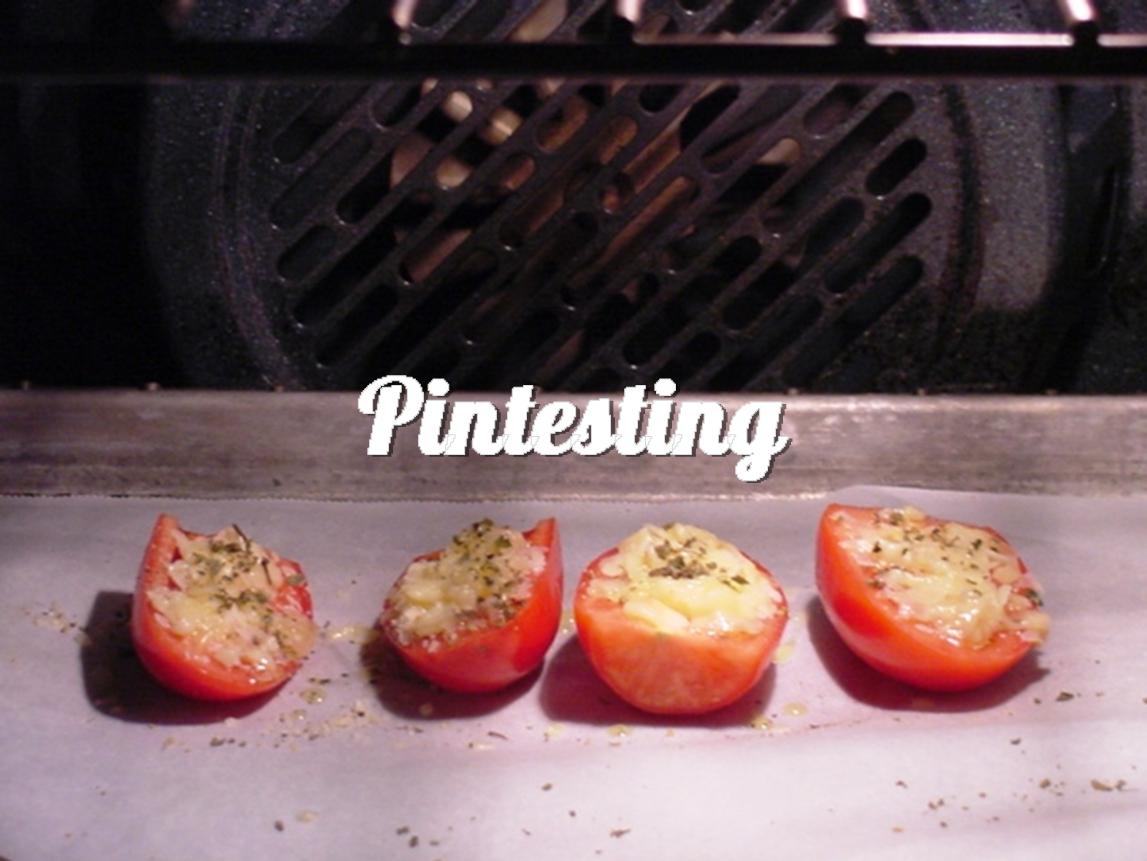
I started making the rest of supper, which included another Pin Test. My oven beeps when there is one minute left to go on the timer. I checked the tomatoes, but the damage was done.

Tomatoes out of the oven

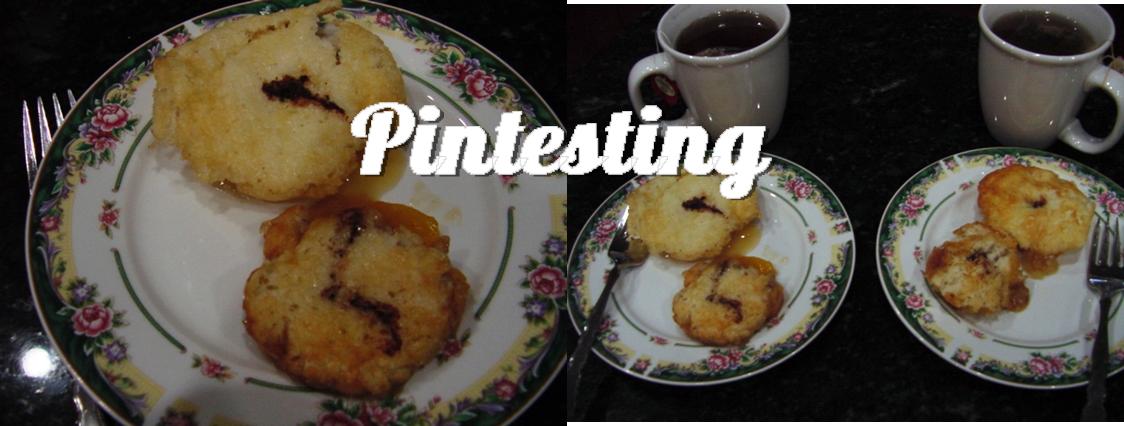
Always the optimist, I let them cool and plated them to see if it would help.

Plated tomatoes

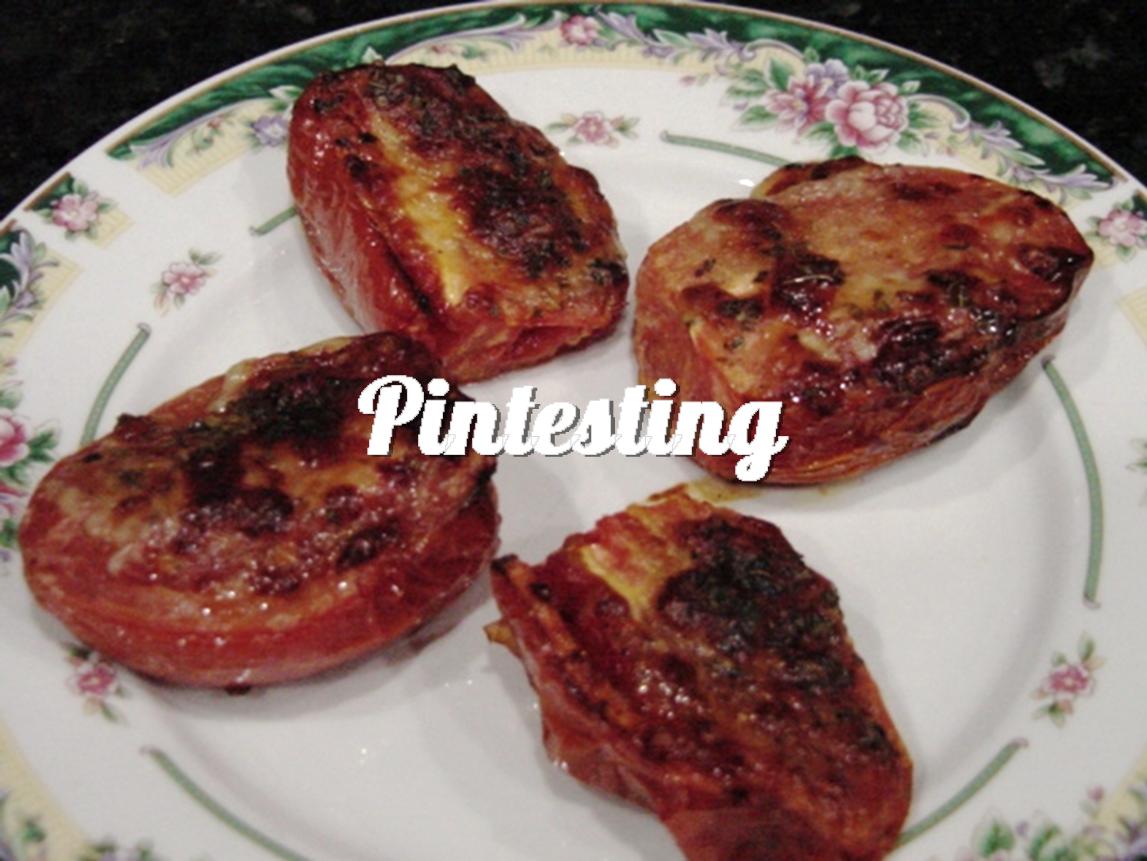
Not so much this time.


The Baked Parmesan Tomatoes recipe rated as follows:

Overall Rating: 3 Pins

3 Pins Overall


Accuracy: The oven temperature seemed high to me since I usually roast tomatoes and other veggies at 400-425 degrees. Also, 15 minutes is much longer than I need to have perfectly roasted tomatoes (obviously). 2 Pins.

Rated 2 Pins - SMALL


Difficulty: Other than cutting the tomatoes and using the oven, this would be a great recipe to get your kids to help pile the toppings on the tomatoes. 5 Pins.

Rated 5 Pins - SMALL

Time: Twenty minutes start to finish, including the roasting time. Since I’d cut the roasting time to 10-12 minutes, that takes even less time. 5 Pins

Rated 5 Pins - SMALL

Cost: The entire recipe ingredients could be purchased for about 8 dollars (salt, pepper and EVOO are freebies). 5 Pins

Rated 5 Pins - SMALL

Practicality: I will definitely try this again, but reduce the oven temperature and roasting time. Hopefully it will give the results pictured on the original site. 3 pins

Rated 3 Pins - SMALL

PF Chang’s Mongolian Beef Copy Cat Recipe

Feb 19, 2013 by Anne Hernandez

I love Chinese food! From the time I was a very little girl, my parents would make my brother and me use chopsticks to eat at the Chinese restaurants. They said the food didn’t taste as good if you used a fork. To this day, I believe it. When I saw this pin from Six Sister’s Stuff, I knew I had to add it to the Pin Test list.

Six Sister’s Stuff is a great blog. Just read their “about us” page and you can feel their family love. Now, my mother was one of 5 sisters and they had some fantastic stories to tell. I used to love listening to them. They loved to joke and laugh. I can only imagine what that would be like since I only have the one brother. Don’t get me wrong – I love my brother… well, like a brother. (Oh, so cliché) He likes Chinese food, too. Actually, he likes any kind of food but let’s not go there. Which brings us back to the Pin Testing.

http://www.sixsistersstuff.com/2012/03/pf-changs-mongolian-beef-copycat-recipe.html

The Pintesting:

After reviewing the recipe a few times, I started the rice before starting anything else. It looked like it wouldn’t take very long, as most Chinese food cooks quickly. It was a wise decision. Then I got the rest of the ingredients together.

's Mongolian Beef Copycat Recipe

Heat the oil in a medium pan and saute the garlic and ginger for a minute or so.

's Mongolian Beef Copycat Recipe

Add the soy sauce, water, and brown sugar.

's Mongolian Beef Copycat Recipe

Whisk it together and bring it to a boil for a couple of minutes to thicken.

's Mongolian Beef Copycat Recipe

While that’s starting to boil, thinly slice the flank steak on an angle, as the instructions say.

's Mongolian Beef Copycat Recipe

Then dip the steak slices in cornstarch. That’s a new one for me. I’ve always dredged in flour. I love learning something new!

's Mongolian Beef Copycat Recipe

By now the sauce will have boiled for a bit, so remove it from the heat.

's Mongolian Beef Copycat Recipe

Once all the meat is dusted with cornstarch, let it set for about 10 minutes while the oil in the Wok gets hot.

's Mongolian Beef Copycat Recipe

Cook the meat in batches since it will not all fit into the wok at once.

's Mongolian Beef Copycat Recipe

Cook it just until it browned, then remove it with a slotted spoon and drain it on paper towels. Once it’s all done, add the meat into the saucepan with the green onions and heat through.

's Mongolian Beef Copycat Recipe

I served it over the hot rice and with stir fried veggies.

's Mongolian Beef Copycat Recipe

The Pintesting Results:

Overall Rating: 4.15 Pins

Pintesting Seal 4 Pins


Accuracy: The recipe execution was as the directions instructed, but most of the Mongolian Beef I’ve had at PF Chang’s and other Chinese restaurants had substantially more onions, both green and/or yellow. It tasted good, but it needed more onions to balance the sweetness of the sauce. 4 Pins

Rated 4 Pins - SMALL

Difficulty: This recipe requires some knife skills in order to thinly slice the flank steak. Also, flash frying the meat in oil raises the level of danger to novice cooks. 3 Pins

Rated 3 Pins - SMALL

Time: It took a little longer than I expected to get all of the steak slices dusted with the cornstarch, but start to finish it took about the same or less time than to send someone out to get Chinese take out – roughly 40 minutes. 5 Pins

Rated 5 Pins - SMALL

Cost: The flank steak is about $10-$15 unless you can find it on sale. I debated including the cost of a wok since it’s not common to most kitchens (I have 2, but I don’t have a common kitchen). Since the recipe said you can use a skillet, I let that go. 4 Pins

Rated 4 Pins - SMALL

Practicality: This is a good homemade alternative to Chinese take-out, and you don’t have to leave a tip. Although, the next time I make this, I’ll add the extra onions. 5 pins

Rated 5 Pins - SMALL

Mini Peach Cobblers

Feb 18, 2013 by Anne Hernandez

My husband loves peach cobbler. It’s one of his all time favorite desserts. When I saw this pin for Mini Peach Cobblers, I knew I had to make it for him. I’m very fortunate and blessed to have such a wonderful man to call my husband, and love to spoil him in little ways like this. Much of my love comes from the kitchen. Last week he had a rough work day, so we had pan-seared scallops and steak for supper with steamed veggies and a Greek salad. On a Tuesday – just because. He felt the love.

My wonderful husband spoils me by cleaning the house. The man is gifted at cleaning. I mean, he puts Mr. Clean to shame. He can do in one hour what takes me all morning. So tell me, who wouldn’t make peach cobbler for the man who cleans? That ‘s what I thought. He was very excited about this pin test, so let’s get to it.

The original pin was by Melissa from Sugar Derby, who was guest posting on Alli’s blog, Alli-N-Son.

http://www.alli-n-son.com/2011/06/02/mini-peach-cobblers/

The Pintesting:

The ingredients called for a can of diced peaches. Melissa tells a funny story regarding this difficult-to-find ingredient, but I had no problem finding them at my grocer.

Ingredients

First I mixed the dry ingredients and combined with the milk until smooth. Melissa says to use a wooden spoon. I used a whisk and the results were perfect.

Mix until Smooth

I added the melted butter to the muffin pans, then topped with the batter.

Melted butter and batter in muffin cups

Next came the peaches, followed by a sprinkle of brown sugar and cinnamon.

Add peaches then sprinkle

The amount of brown sugar and cinnamon was omitted and left to the discretion of the cook. I did half with a lighter sprinkle and half with a heavy “sprinkle” to see if there would be a noticeable difference. We couldn’t taste a difference, but noticed that the cobblers with a more generous sprinkle were more nicely browned when baked.

I should note that the recipe yields 12 minis, but I had quite a bit of leftover melted butter and batter. I would recommend using 4-6 TBS of butter rather than the whole stick, and evenly divide up any additional batter.

Leftover butter & batter

I baked in a 350 degree pre-heated oven and set the timer for 12 minutes. Nothing was mentioned about using a convection oven, so I went with the conventional oven setting.

Bake

After 12 minutes the cobblers didn’t look quite done, so I gave them another 5 minutes. That seemed to do the trick.

Almost then Done

The directions say to let them cool almost completely before removing from the pan. After about 10 minutes, the cobblers had shrunk a bit from the cooling.

Shrink after cooling

Since it was a cold evening, we decided to test them with a cup of tea and skip the recommended ice cream. I’m sure it’s a delicious addition, but totally not necessary.

Done

The Pintesting Results:

Overall Rating: 5 Pins

5 Pins Overall - LARGE

Accuracy: The recipe was easy to follow, and the blog post added clarity on the sprinkle question of the brown sugar and cinnamon. My husband, who considers himself a peach cobbler expert, said this was one of the very best he’d ever tasted. We both liked the light, crispiness and chewiness of the cobbler crust. It wasn’t doughy at all, which is his biggest pet peeve of cobblers. 5 pins

Rated 5 Pins - SMALL

Difficulty: This was a very simple recipe. Perfect for a novice baker. 5 pins

Rated 5 Pins - SMALL

Time: I found that it took about 5 minutes more than the time in the recipe, but it took roughly 10 minutes of prep time, 17 minutes of baking time, and 10 minutes of cooling. At just over half an hour, 5 pins.

Rated 5 Pins - SMALL

Cost: The ingredients are common to most kitchens. I only had to pick up the can of diced peaches for less than $2.00. 5 pins.

Rated 5 Pins - SMALL

Practicality: This makes a nice after school snack or week night dessert. The leftovers (if you have any) also make a yummy breakfast with a cup of coffee. 5 pins

Rated 5 Pins - SMALL

Reese’s Peanut Butter Cookie Dough Dip

Feb 17, 2013 by Anne Hernandez

In some ways I was very excited to test this pin. I mean, who doesn’t like Reese’s? (I know there are people who are horribly allergic to peanut butter, and I mean no disrespect.) I was bringing this to a potluck to honor a friend whose favorite candy was Reese’s, but more about that later. On to the test.

This is the original pin from Aimee of Shugary Sweets .

http://www.shugarysweets.com/2013/01/reeses-peanut-butter-cookie-dough-dip

The ingredients were easy to find – even the mini Reese’s.

Almost all Ingredients


Melt the butter and brown sugar in a pan over medium heat.

Butter & Brown Sugar


Whisk and bring to a boil.

Whisk together

Read the instructions and realize you were in a hurry and almost forgot the peanut butter.

Ingredients with PB

Add peanut butter and vanilla to the boiling butter/brown sugar mixture.

Bring to boil & add PB and Vanilla

Remove from heat and whisk to smooth it out.

Off heat and whisk

The recipe says to cool to almost room temperature. So I set it aside while I mixed the cream cheese and powdered sugar.

Cream cheese & Powdered Sugar

After about 5 minutes I went to check the cooling peanut butter mixture… not what I expected.

Let cool

The butter separated while it had cooled and no amount of mixing and whisking would bring it back together. Nothing was mentioned about this, so I carried on as if this was normal.

Add PB mixture


I added the peanut butter mixture to the cream cheese mixture. After a few minutes, it did seem to smooth out.

Mix together WM

I added the chips and mini Reese’s cups. Can I say how thankful that I am to NOT have to unwrap and chop a bunch of full-sized candies? Thank you Hershey’s!

Stir in CC & PBC

The dip seemed a bit soft, so I put it in the fridge to chill out while I got ready for the potluck.

Combine

After about 40 minutes, the consistency definitely improved. I put it into two containers and went to the event where it was served with graham crackers and Keebler Flip Sides pretzel crackers and got good reviews.

After refrigerating

I think my friend would have liked this dip very much, however the potluck was a Celebration of Life so she wasn’t able to give a personal opinion. But she knew that my way to honor someone was with a home-made gift of love from my kitchen. So this one’s for you, JCC. We’ll always love and miss you.


The Reese’s Peanut Butter Cookie Dough Dip rated as follows:

Overall Rating: 4 Pins

4 Pins Overall

Accuracy: Much of the recipe came together very easily, as I had expected. However, the separating of the butter after the peanut butter mixture cooled was a bit unnerving – especially due to the nature of the event. My finished dip didn’t turn out quite as fluffy as the original picture, either. It tasted good, but 4 pins.

Rated 4 Pins - SMALL

Difficulty: While not difficult, an inexperienced cook might have been put off by the butter separation and quit. (That’s the last I’m going to say about that subject.) 4 pins.

Rated 4 Pins - SMALL

Time: Adding in the 40 minutes of chilling while I was getting ready, the dip came together in less than an hour. Good time for something tasty. 5 pins

Rated 5 Pins - SMALL

Cost: I had everything on hand except the mini chocolate chips and mini Reese’s, which were less than $3.00 each. 5 pins

Rated 5 Pins - SMALL

Practicality: This was tasty and would be a nice addition to any party table. 5 pins

Rated 5 Pins - SMALL

Easy Breezy ~ White Wine Spritzer

Feb 14, 2013 by Anne Hernandez

Tomorrow! Tomorrow! It’s Love Day tomorrow! Yes, I do break into song just for the fun of it, but Valentine’s Day is a great excuse to sing and celebrate. I am very thankful to have a wonderful husband who is equally in love with me as I am with him. He has supported me, believed in me, and has taught me what unconditional love can look like in human form – even when I don’t feel very lovey or lovely. We’re approaching our 10-year wedding anniversary in a month, and I can say I understand the “cherished” part. I Love You, Tony!

So I saw this pin on Pinterest (which is how I start WAY too many of my conversations), and it seemed like the perfect Valentine’s drink. Only three ingredients. Just measure chilled ingredients, stir, and drink. That’s almost as easy as the “wash, rinse, repeat” directions on my shampoo bottle, and much tastier. I don’t recommend drinking shampoo, no matter what it smells like.

Pintesting Easy Breezy White Wine Spritzer - ORIGINAL PIN http://pinterest.com/pin/207869339022838002/

While I can see the simple beauty of only 3 ingredients, I think this picture from Nazra’s blog post (Make it, Bake it, Create it), with its beautiful pitcher, would have been a much better choice.

Pintesting Easy Breezy White Wine Spritzer - Original Post Pic http://makeitbakeitcreateit.blogspot.com/2009/09/easy-breezy-white-wine-spritzer-recipe.html

Nazra used Sprite Zero. I don’t do diet soda, so I went with regular Sprite.

3 Ingredients

Mix equal parts Moscato and Sprite in a pitcher. . .

Equal parts White wine and Sprite

. . . and stir with frozen raspberries.

Mix in pitcher with frozen berries

It’s just that easy. Salud – you’re welcome. The frozen raspberries gave a lovely blush color to the spritzer. If you really want to go for

The frozen raspberries gave a lovely blush color to the spritzer. If you really want to go for a Valentine’s Day look, make this the day before and chill in the fridge overnight. The raspberries will lose much of their color, but the spritzer will be a pretty pink.

Pintesting Easy Breezy White Wine Spritzer

Overall Rating: 5 Pins

5 Pins Overall - LARGE

Accuracy: Nazra mentioned how the crispness of the Sprite would compliment the Moscato. She was right. Even my manly husband liked it.

Rated 5 Pins - SMALL

Difficulty: With only three ingredients and nothing to do but stir, this is about as simple as you can get.

Rated 5 Pins - SMALL

Time: Even if you bought the beverages at room temperature, it wouldn’t take long to chill them in the freezer or fridge.

Rated 5 Pins - SMALL

Cost: The most expensive ingredient was the Moscato, which was between $5-$6.

Rated 5 Pins - SMALL

Practicality: This makes a great party drink, whether entertaining a crowd or an intimate party for two.

Rated 5 Pins - SMALL

Tomato Tortellini Soup

Feb 14, 2013 by Anne Hernandez

Today is National Tortellini Day, hooray! I love a day to celebrate pasta and such a versatile one at that. Since I didn’t find out about this until I was at work for a couple of hours, I was thankful for the pinner who said of today’s recipe, Tomato Tortellini Soup, “apparently the best soup in the WORLD!” Challenge accepted. Let’s get cooking.

This was the original pin on my board. It originated from Krysten’s blog, Mrs. Schwartz’s Kitchen.

http://pinterest.com/pin/207869339022855635/

The Pintesting:

I did have to stop at the store after work to pick up a few ingredients, but nothing was out of the ordinary.

Tomato Tortellini Soup Ingredients

I sauteed the minced garlic in olive oil until it was sweating and just starting to brown,

Saute garlic in EVOO

then I added the rest of the ingredients except the tortellini and Parmesan cheese.

Combine everything except the cheese and tortellini

Let it come to a simmer then add the tortellini.

Stir and bring to a simmer

WARNING: your house is going to start smelling really amazing right about now. Do not give in to the urge to dive face first into the soup.

Add the tortelliniCook for 8 minutes until the pasta is done, but not mushy. Stir frequently so the tortellini will cook evenly.

Cook 8 minutesGarnish with Parmesan and serve to your hungry hubby or whoever you would like to feed. They will say “thank you”.

Serve with shredded Parmesan

The Tomato Tortellini Soup rated as follows:


The Pintesting Results:

Overall Rating: 4.6 Pins


Pintesting Seal 5 Pins

Accuracy: The recipe had a rich flavor reminiscent of something you would find in a nice Italian restaurant. My husband commented that the chopped sun-dried tomatoes gave an almost meaty texture, adding flavor but not acidity. Note: The recipe mentioned pepper, but none was listed in the ingredients, thus the 4 pins.

Rated 4 Pins - SMALL

Difficulty: The hardest part of the recipe was chopping the oil-packed sun-dried tomatoes. Messy, but easy.

Rated 5 Pins - SMALL

Time: This is a good weeknight recipe. If you have everything on hand, you can have this on the table in 30 minutes or so. This includes the mincing, chopping, and grating.

Rated 5 Pins - SMALL

Cost: I didn’t have all of the ingredients, but the grocery had everything needed (and much was on sale!). The most expensive ingredients were the oil-packed sun-dried tomatoes ($4) and the tortellini ($3.50).

Rated 5 Pins - SMALL

Practicality: While we didn’t think it was “the best soup in the WORLD”, we did like it very much. It is good comfort food on a cold rainy day.

Rated 5 Pins - SMALL


Mexican Salad with Creamy Avocado Dressing

Feb 12, 2013 by Anne Hernandez

Like so many, I’m really trying to make an effort to eat better. Translation, eat more salads – especially ones that have more veggies, fruit and legumes. While strolling through Pinterest (does anyone else stroll through Pinterest?), I saw a pin that showed a blender with an avocado dressing recipe. I LOVE avocados. I was happy eating them sliced and sprinkled with a little kosher salt, but then my wonderful husband went and took it up a notch by making his guacamole. Talk about Holy Guacamole! Even people who don’t like the stuff love my Tony’s guac.

Sorry – sometimes I digress, then need to reign myself back in to the topic at hand.

When I clicked on the link, the recipe shown was different than the one in the comment of the pin. I thought Krista’s recipe for Mexican Salad with Creamy Avocado Dressing sounded amazing and I had everything on hand, so went for it.

Here is the original pin that I posted from Pinterest.

Original Pin with altered recipe

THIS is picture from Krista’s blog, Krista’s Kitchen – I think it would have been a much better choice.

Original Pin

I gathered the ingredients for the dressing…

Dressing Ingredients WM

and the salad. (Note: I used grape tomatoes rather than slicing roma tomatoes, since I had the grape tomatoes on hand.)

Salad Ingredients WM

The dressing was very easy to make. Krista mentions using a Cuisinart CSB-76 Smart Stick Hand Blender, but I used my regular blender instead.. All of the dressing ingredients went in.

Dressing in the blender WM

Then they were blended until creamy and smooth. This didn’t take very long, which was very good since I had a hungry hubby to feed.

Blended smooth WM

Next came the salad. I didn’t have corn chips, but I did have organic blue corn tortilla chips, so I substituted them so I wouldn’t have to make a trip to the store.

Salad in the bowl WM

Krista used a big, lidded purple bowl to mix her salad in. Mine is green. I didn’t notice any difference. Once everything was in, I lidded the bowl and shook it to toss the ingredients together. (Sorry about the shadow in the picture. I’m working on the food photography.)

Salad tossed WM

Once combined, I added the dressing then shook it up to coat evenly.

Add the dressing WM

Dressed salad WM

I served it with chicken enchiladas, but this could easily be a vegetarian meal on it’s own.

Served with chicken enchiladas WM

The Mexican Salad with Creamy Avocado Dressing rated as follows:

Overall Rating: 5 Pins

5 Pins Overall - LARGE

Accuracy: The recipe came together just as Krista posted. The avocado dressing was creamy and delicious, with just a hint of heat to let you know it’s there.

Rated 5 Pins - SMALL

Difficulty: Aside from my bowl being green rather than purple, I had no trouble with this recipe. It was very simple and the instructions were clear.

Rated 5 Pins - SMALL

Time: Even with all the photography, the salad came together in about 15-20 minutes. This includes removing the avocado flesh, opening cans, etc.

Rated 5 Pins - SMALL

Cost: I had everything on hand, but most kitchens might need a few items. None would be more than a few dollars.

Rated 5 Pins - SMALL

Practicality: The recipe was a household hit. I could serve this at a pot luck, as a vegetarian meal, or as a side dish.

Rated 5 Pins - SMALL

Mini German Pancakes

Feb 10, 2013 by Anne Hernandez

International Pancake Day is this week, February 12 to be exact. I really like all kinds of pancakes, from thin delicate crepes to fat and fluffy buttermilk. There are so many ways you can customize them; putting goodies in the batter, topping or stuffing them with more goodies, and then comes the sauces and/or whipped cream! And let’s not forget the whole idea of having cakes for breakfast. Yes, pancakes are fantastic! My first pin test is Mini German Pancakes from Laura of Real Mom Kitchen. Many years ago my best friend made German pancakes and they were delicious but seemed like a lot of trouble. When I saw this pin on Pinterest I knew I had to give them a try.

The Pintesting:

There are two components to this recipe, the Mini German Pancakes and the Triple Berry Topping.

Mini German Pancakes:

http://realmomkitchen.com/489/mini-german-pancakes/

The recipe had basic ingredients that I already had on hand – a definite plus! Since Laura had omitted the orange zest, I did, too.

Pintesting Mini German Pancakes

The instructions were easy to follow. I put everything except the melted butter into the blender.

Pintesting Mini German Pancakes

The mixture became smooth quickly.

Pintesting Mini German Pancakes

It was several minutes since I had melted the butter. It was cooled but still liquid, so I poured it in rather quickly rather than a slow drizzle.

Pintesting Mini German Pancakes

I sprayed the muffin pans. For comparison sake, I used one metal pan and one stoneware pan.

Pintesting Mini German Pancakes

I poured a scant 1/4 cup in each one, just like Laura did, and ended up with 15 pancakes.

Pintesting Mini German Pancakes

Pintesting Mini German Pancakes

I popped them into the pre-heated 400-degree oven and set the timer for 15 minutes. Nothing was mentioned about using a convection oven, so I went with conventional baking instead.

Pintesting Mini German Pancakes

After 15 minutes, the pancakes in the metal pan were perfectly ready to come out of the oven…

Pintesting Mini German Pancakes

…but the stoneware pan took an extra 5 minutes before they were done.

Pintesting Mini German Pancakes

It was worth the wait.

Triple Berry Topping:

Time for the Triple Berry Topping. (Note: the recipe is mentioned in the blog and in the recipe. The link in the blog works well, but the link in the recipe was broken. Just make sure to use the 1st link.) The recipe was similar to other fruit sauce recipes I’ve made before, which made me feel confident that it would perform well.

Pintesting Mini German Pancakes

The frozen berries and agave were brought to a boil.

Pintesting Mini German Pancakes

While that was heating I mixed the cornstarch and water to make a slurry.

Pintesting Mini German Pancakes

Then added and cooked for just over a minute until thickened.

Pintesting Mini German Pancakes

I put two on a plate and topped with the triple berry topping and powdered sugar, as recommended. They disappeared – just evaporated before my eyes (rather, before my mouth).

Pintesting Mini German Pancakes

Pintesting Mini German Pancakes

I brought the rest into work to share and made many friends that day. Since my husband wasn’t home, I made the recipe again so he could try them. That time I used a jumbo muffin pan. I really liked the results in that size pan. They were big enough that two was a perfect sized serving. He loved them and I know we’ll be making these again.

The Pintesting Results:

OVERALL RATING: 5 Pins

Pintesting Seal 5 Pins


Accuracy: The recipe for both the pancakes and the triple berry topping came out beautifully with delicious results.

Pintesting Rating - 5 Pins

 Difficulty: The recipes were easy to make and didn’t require special equipment.

Pintesting Rating - 5 Pins

Time: The whole thing was made in 30-40 minutes – a reasonable time for a nice home-made breakfast.

Pintesting Rating - 5 Pins

Cost: Most of the ingredients were already in my kitchen and those that I didn’t have were easy to find at my local grocer. Nothing was over $7.00.

Pintesting Rating - 5 Pins

Practicality: This came together easily and makes a lovely breakfast or brunch.

Pintesting Rating - 5 Pins