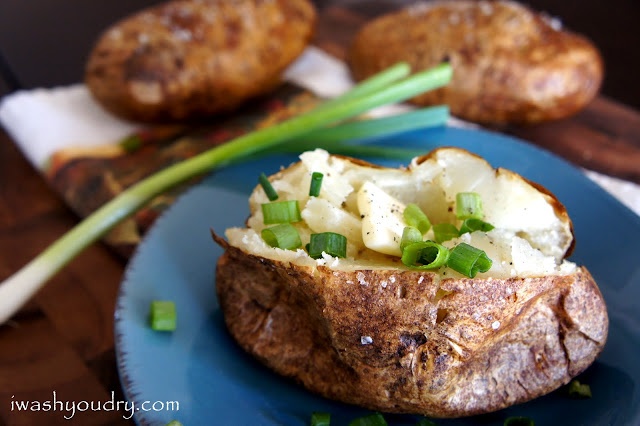
This is the second in a series of posts based upon the baked potato. If you haven’t seen it yet, start with this post for Outback Style Baked Potatoes. You’ll need them for the Baked Potato Soup recipe in this post.
Well, baby, it’s still cold outside. In fact it’s even colder than it was when I started this series a couple of days ago. When I woke up this morning, the temperature was -9F with a windchill of -23F (that’s -23C and -31C respectively, for those who speak Celsius). Michigan is having a really cold winter to make up for the last couple of years.

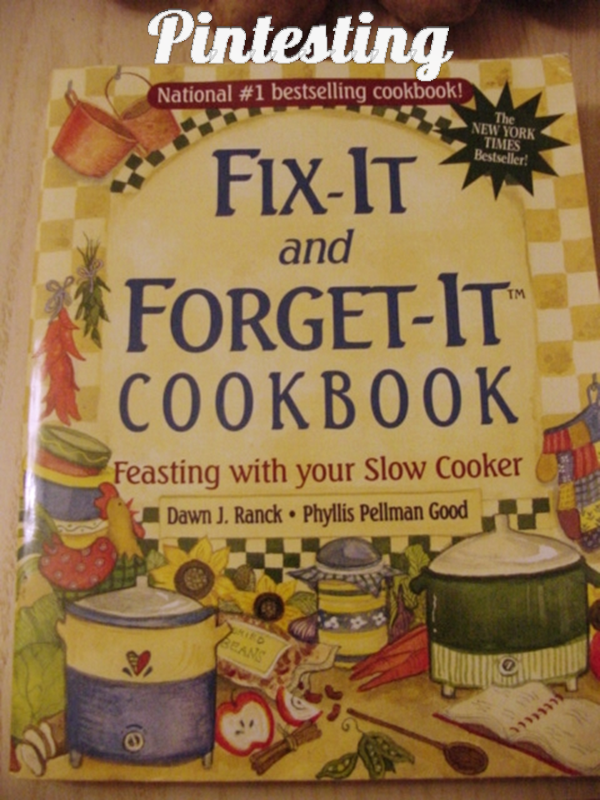
This is definitely soup weather, and this recipe is one that my family has enjoyed for many years. It’s from the original Fix It and Forget It cookbook. In a way, today’s post is a little bit of a cheat for me. Instead of selecting a new recipe from Pinterest, I went online and searched until I found someone who had used the exact recipe.

I was so thankful to see this post on the blog Three Picky Kids, and pinned it right away. Don’t judge me too harshly for cheating on this recipe. Once you try it, you’ll be very glad that I went through the extra effort to share it with you.

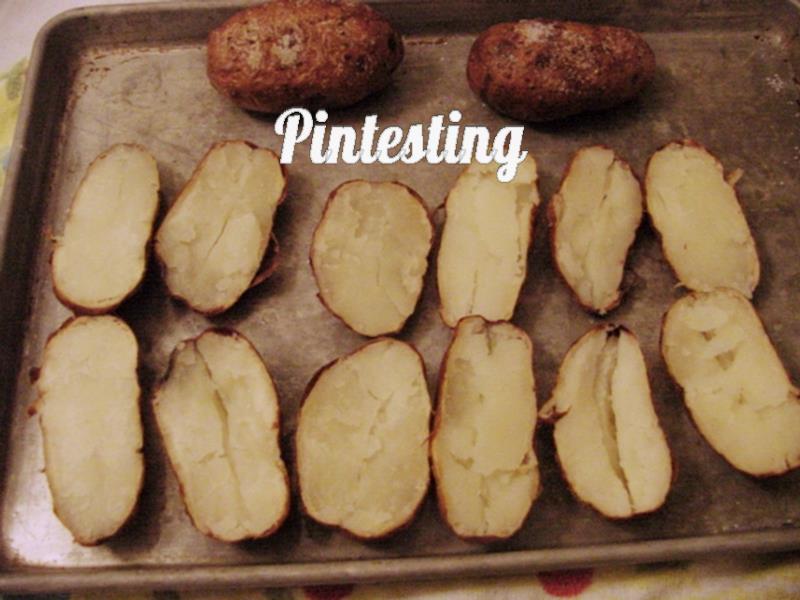
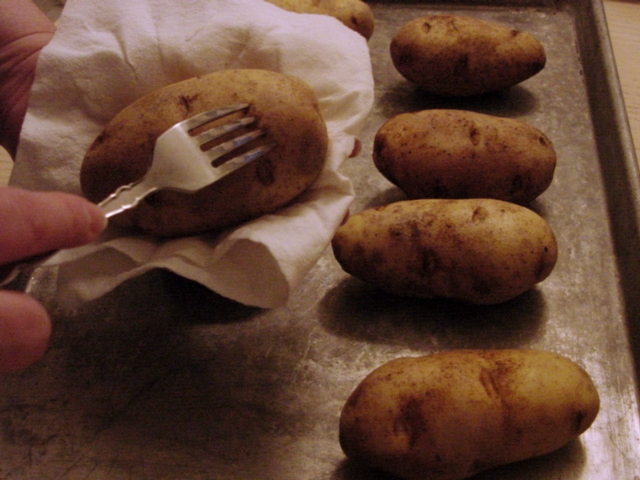
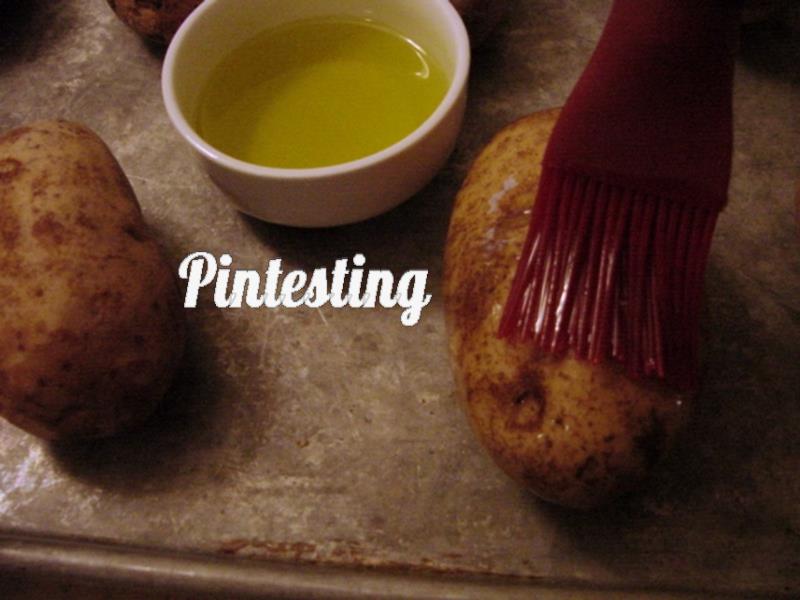
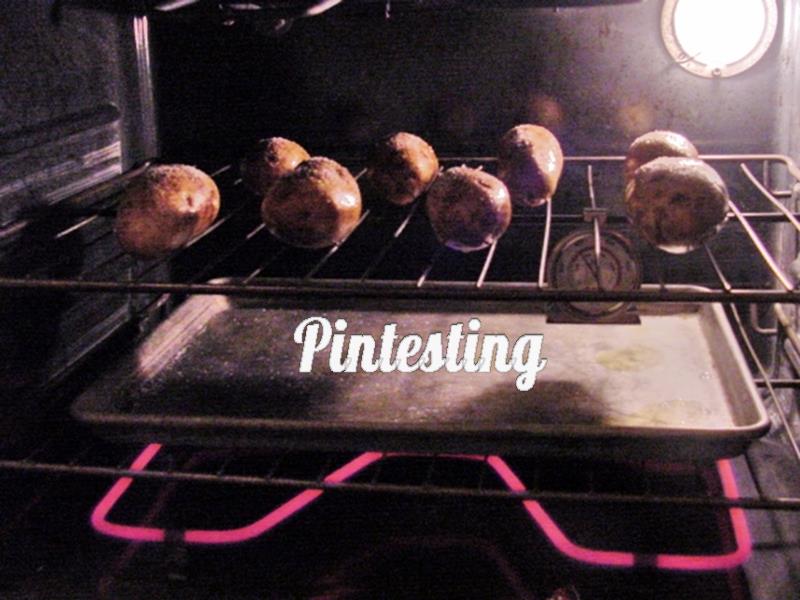
Now you’re going to need baked potatoes to make baked potato soup. You can use the recipe from the Outback Style Baked Potatoes post or your favorite baked potato recipe, or microwave bake the potatoes (which is what I used to do). Each way will give you properly cooked potatoes to use for the recipe, but having compared the taste of the oven baked vs. microwaved potatoes, I’d like to point out a couple of differences. The oven baked potatoes have a nicer flavor and texture, and you can use the potato skins for an appetizer or snack. The microwaved potatoes seem to release out of their skins a little easier. You can toss the skins in the garbage or compost bin.
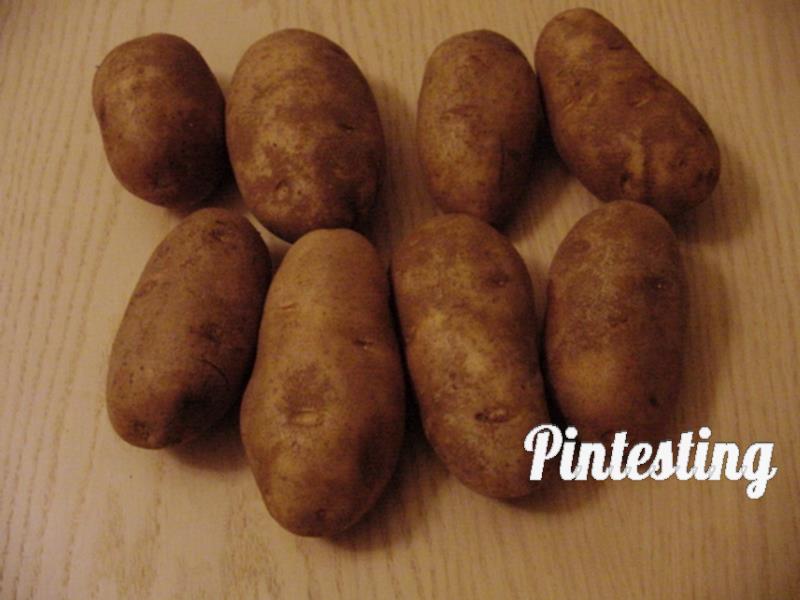
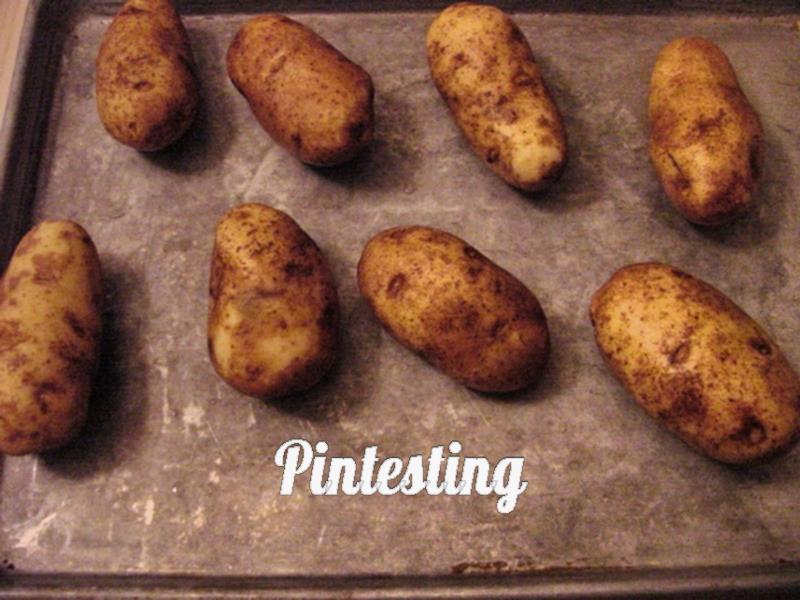
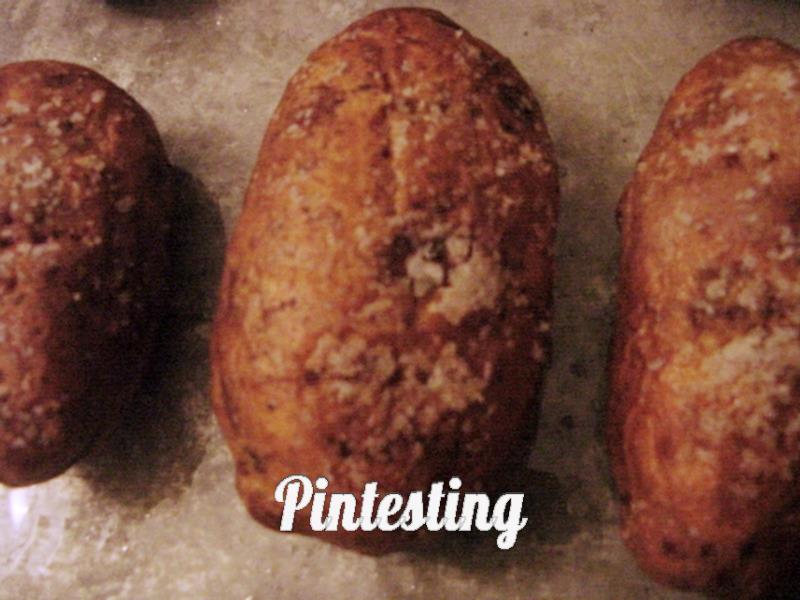
Here are the baked potatoes. The recipe calls for 4 baked potatoes, but since mine were on the smaller side I used six. (Ignore the two on the top of the baking sheet for now. They’re for the third post in this series.)

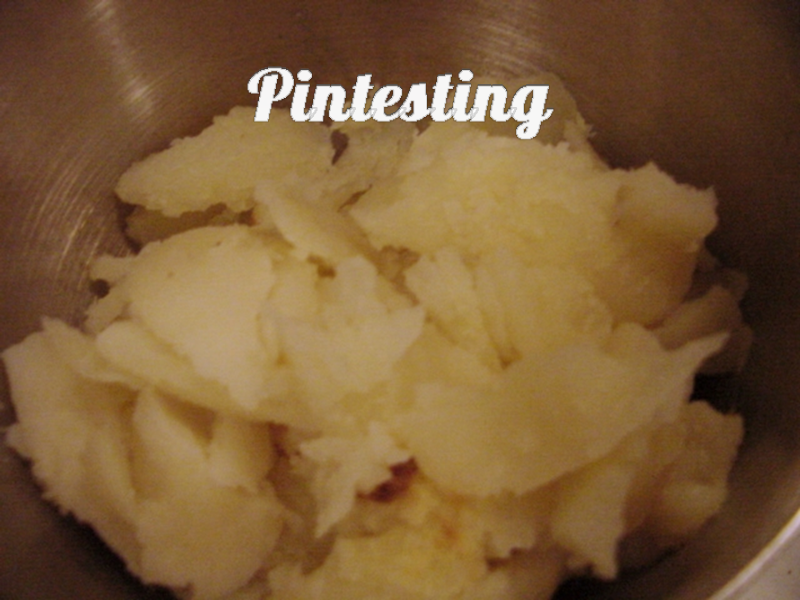
This is the scooped out potato flesh that I set aside, per recipe instructions.

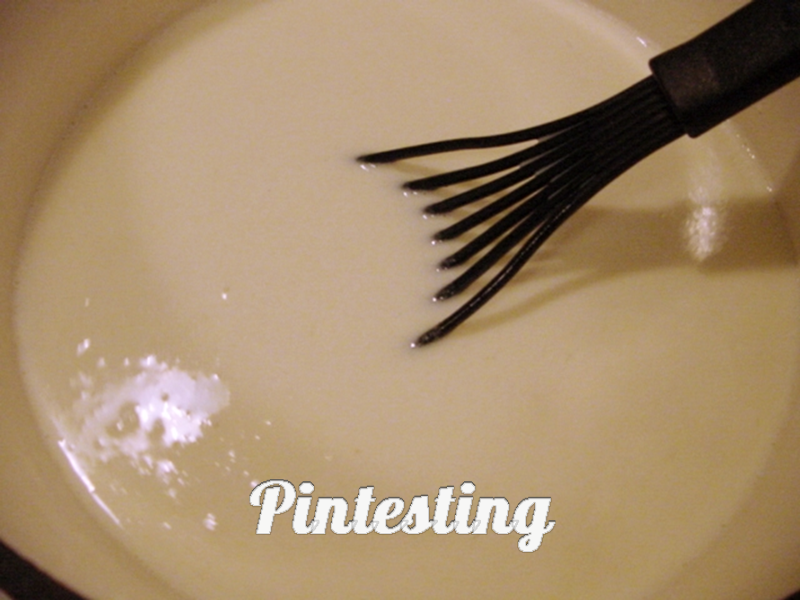
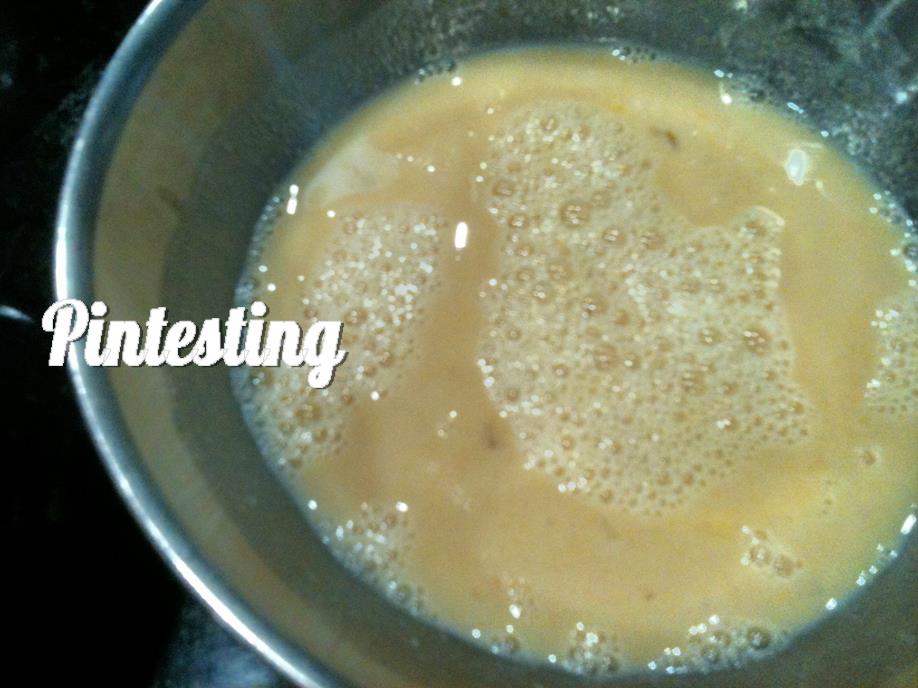
Next I made a roux of butter and flour, then added 2 of the 6 cups of milk.

Once blended, I added another 2 cups of milk.

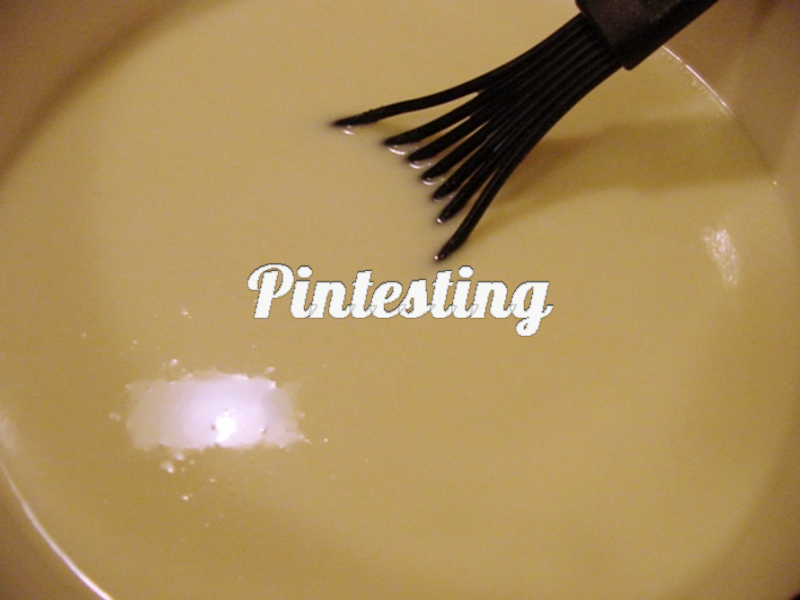
Now, since I’m already cheating on this post, I’m going to go hog wild and really give this a stretch. Instead of adding 2 more cups of milk, I’m going to add a secret ingredient.

Lots of potato soup recipes use chicken broth rather than milk. Since I was almost out of milk, I substituted 2 cups of chicken broth for the last 2 cups of milk. This is what it looked like.

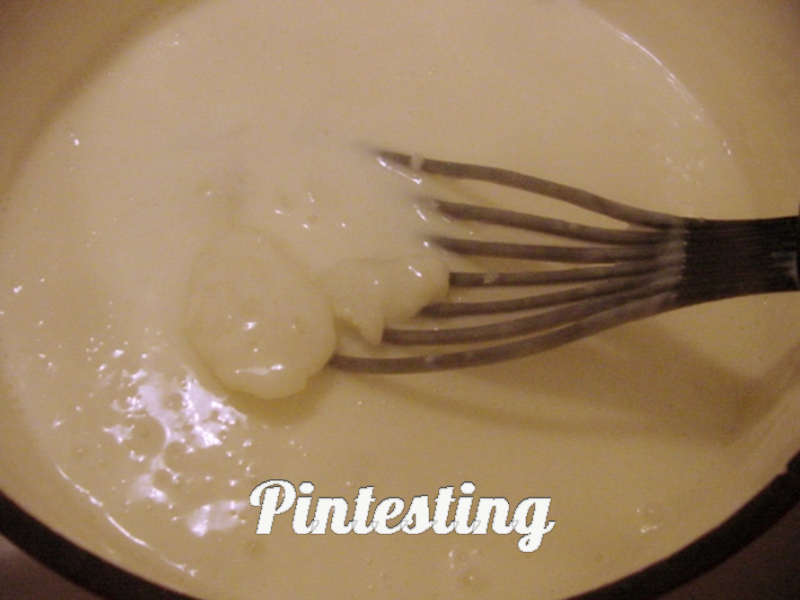
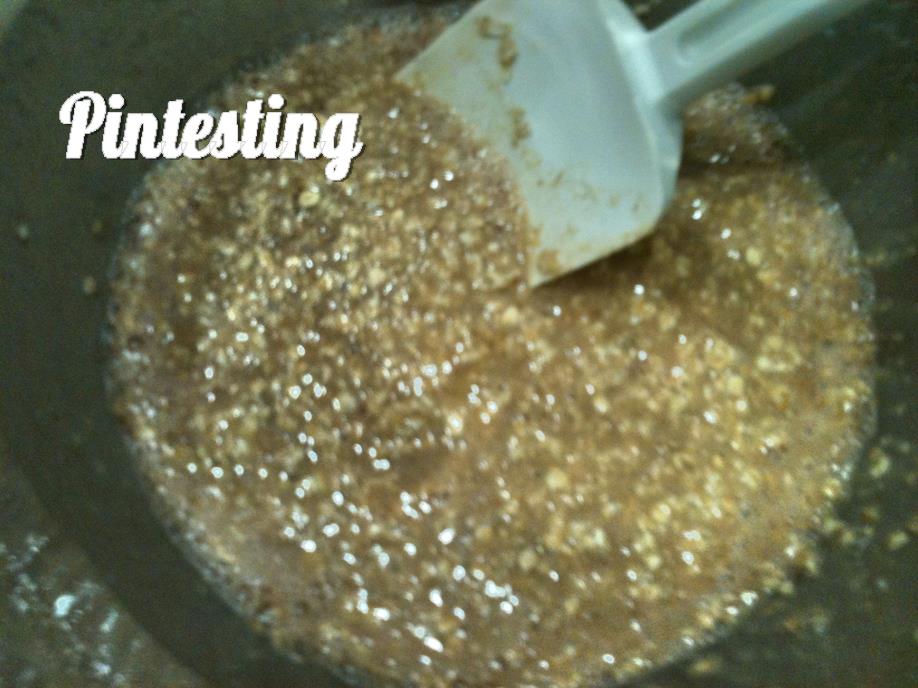
Once this cooked until thickened and bubbly, I added the potato pulp,

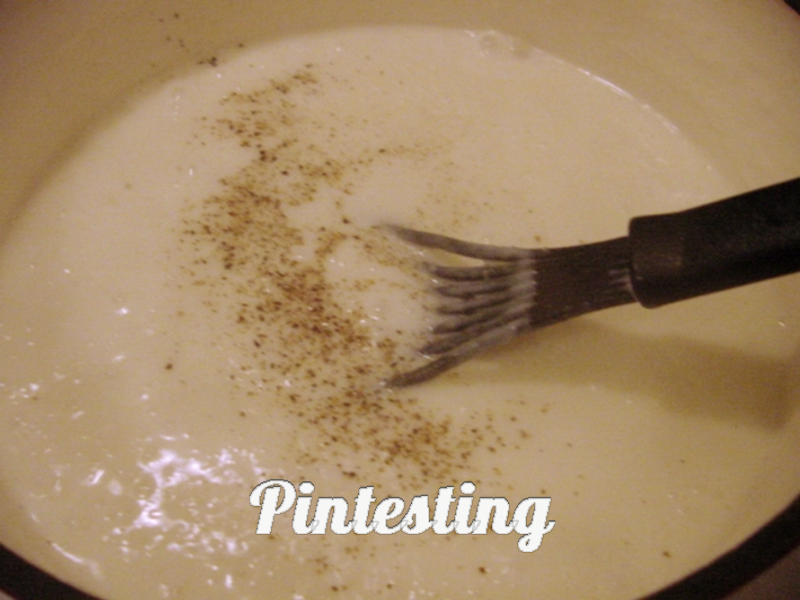
salt and pepper,

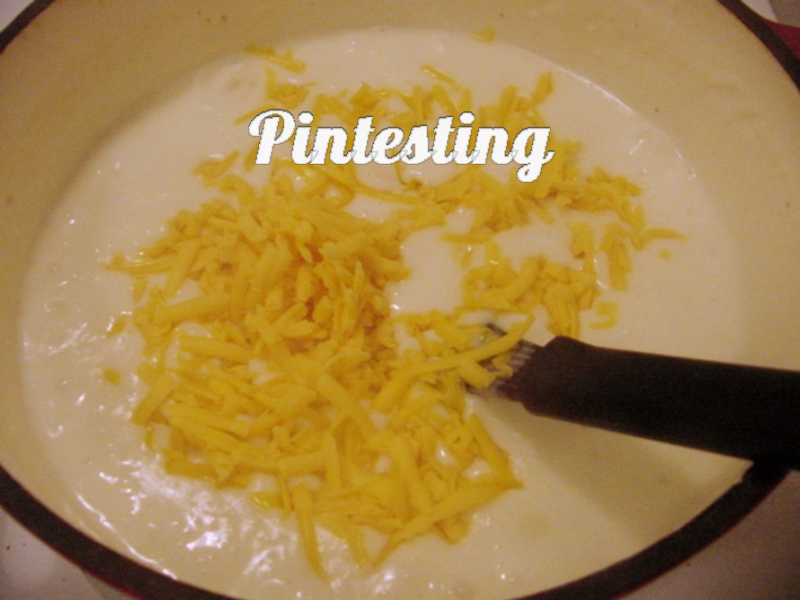
the cheese,

(stirring well with each addition to combine thoroughly)

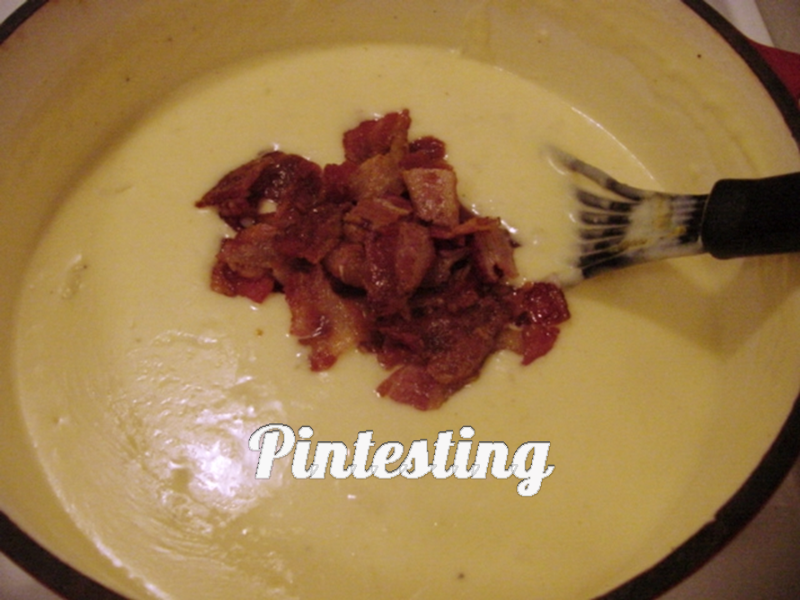
the onions and bacon,

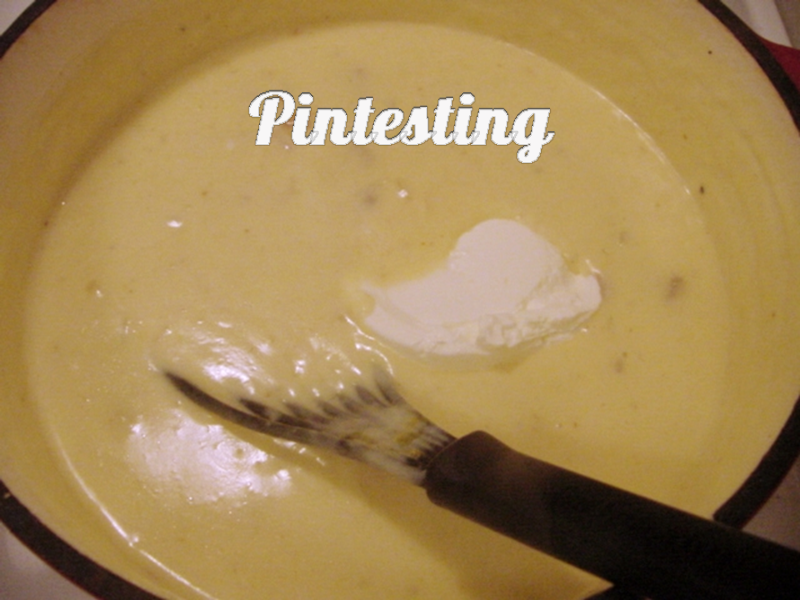
and finally the sour cream. I turned off the heat at this point so the dairy wouldn’t scorch.

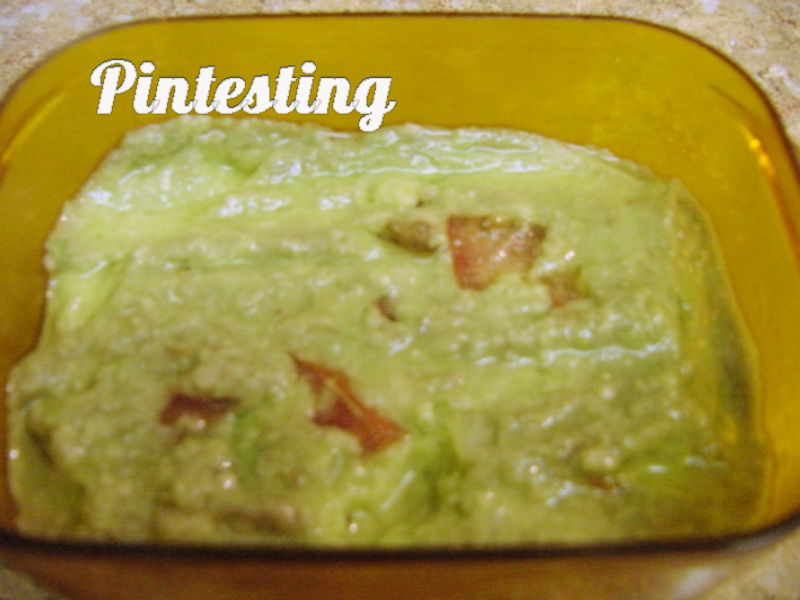
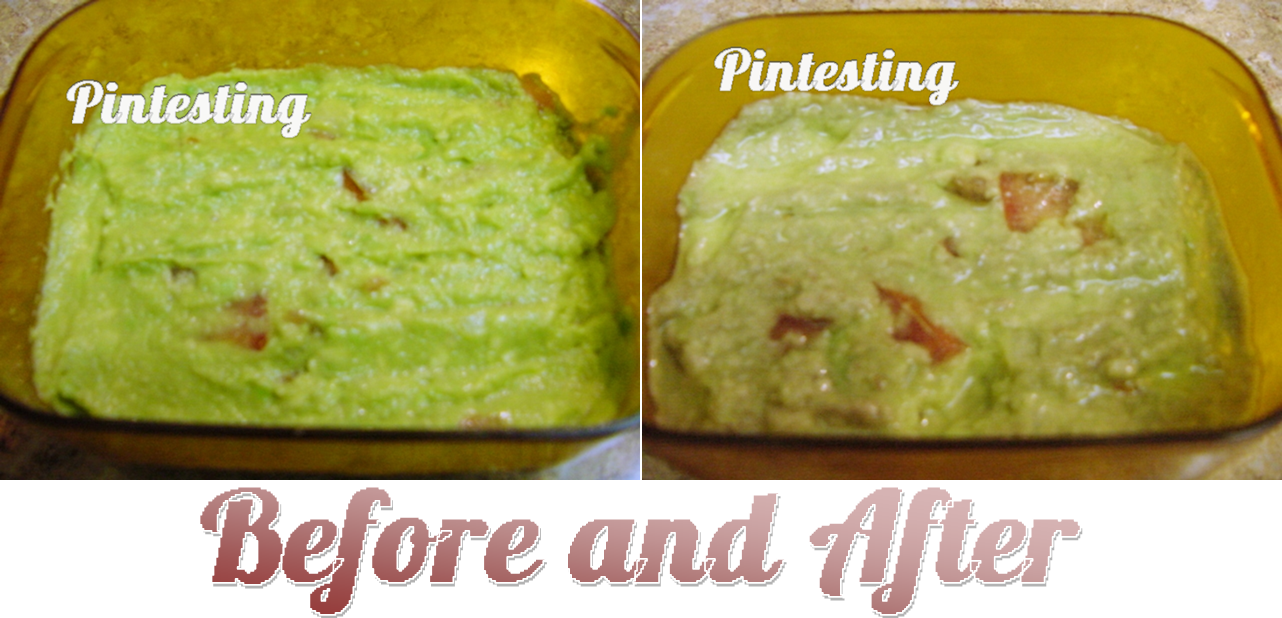
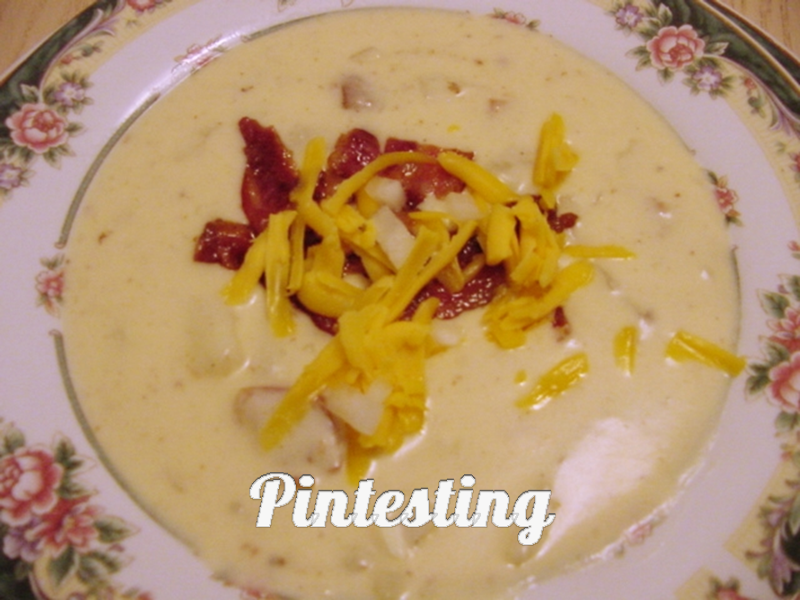
The end result is a rich, thick, creamy, comforting soup that has all the goodness of a loaded baked potato.

It’s January, and many people have begun their New Year’s resolutions to lose weight. If that’s you and you’re looking for a weight loss recipe, then this might not be the best recipe choice to try. Potatoes, cheese, bacon, and sour cream are not normally considered diet friendly foods. (You can cut back on any of the above, but it loses the loaded-baked-potato-ness if you do.) However, if you’re looking for something that’s going to warm you up and be fantastically delicious, then this is the recipe for you. Serve this with some fresh baked bread and I guarantee you’ll be the most popular person of the year (so far).
And now for the Pintesting results.
Overall Results: 5 Pins

Accuracy: This creamy, hearty soup has been a family favorite for many years. The taste really captures a baked potato loaded with lots of my favorite toppings. The recipe posted on the Three Picky Kids blog was true to the Fix-It and Forget-It recipe with easy to follow directions. Substituting the 2 cups of chicken broth for 2 cups of milk did not take anything away from this recipe. It was just as flavorful, creamy, and hearty as it’s always been. 5-Pins

Difficulty: The first time that I made this recipe was the first time that I had made a roux. I felt like I had taken a huge step toward becoming a real cook. It’s a wonderful recipe for a beginner cook, but I would recommend getting all of your ingredients prepped and on hand before you start; potatoes baked and cooled, bacon cooked and crumbled*, cheese shredded, green onions chopped*, etc. Although the recipe is not complicated, because of the extra step for baking the potatoes I’m giving this 4 Pins.

Time: The prep time for the recipe is roughly 45 minutes if you bake the potatoes in the oven, and roughly 20 minutes if you microwave them. The cook time is an additional 20-30 minutes. That adds up to about an hour, give or take. 4 Pins
Cost: While none of the ingredients are expensive, this recipe requires quite a few. The total comes to between $15-$20. You’ll have leftover ingredients to use if you want to make the potato skins, or anything else. 4 Pins
Practicality: This is practically one of the most delicious soups I’ve ever tasted. It makes enough to feed a family of four with leftovers for lunch – maybe. If you do have leftovers, the soup will thicken a lot in the refrigerator, so you’ll need to add more milk or broth to loosen it to the desired soup consistency. I did use the extra ingredients to make the next two posts for breakfast and appetizer. 5 Pins
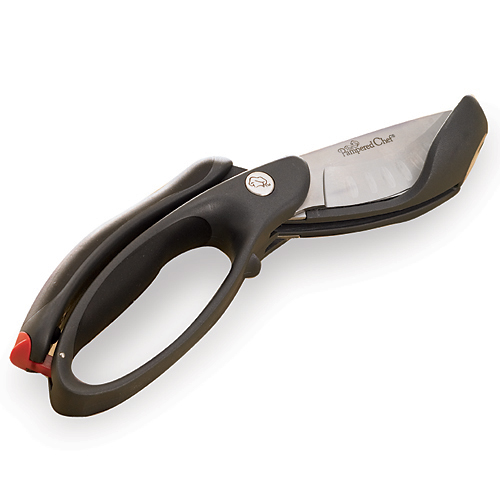
*Final Note* I don’t sell Pampered Chef products, but I do have quite a lot of them. When my Best friend became a Pampered Chef Consultant, I had to show my support. There was one product that really made the prep work go quickly in this recipe and I wanted to share it with you. The Salad Chopper was great for cutting up the green onions and bacon in no time flat. My hands didn’t get all greasy from crumbling the bacon, and everything was evenly cut to the same size – nice for presentation. It’s like two scissors connected with a scoop to catch everything, or to scoop salad ingredients for easy chopping in the salad bowl. I like that it’s dishwasher safe, and has a safety lock for protection for children and graceful people like me. Those blades are very sharp, which makes chopping up a salad very quick work.

* Final Final Note* I didn’t receive any compensation for this mini endorsement other than a “thank you” from my friend. This opinion is my own and not supported or paid for by Pampered Chef or any other company.