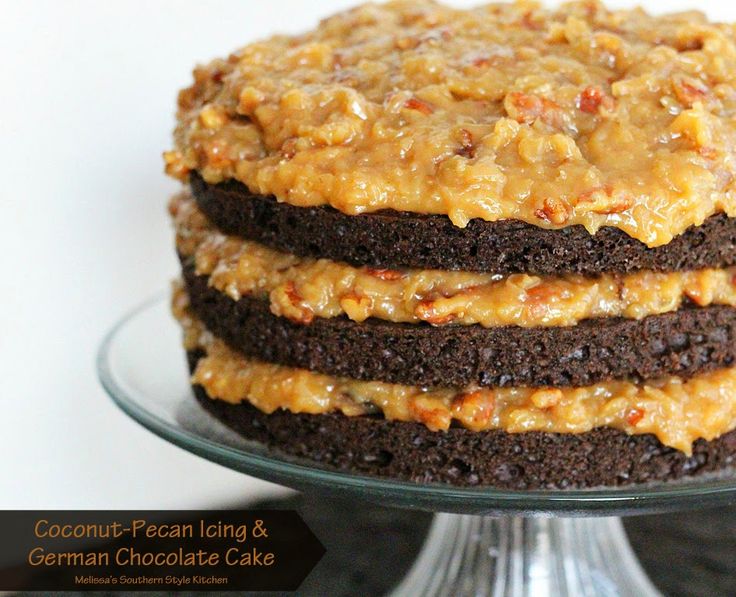
Coconut-Pecan Icing and German Chocolate Cake
Work Birthdays mean treat days. They give the perfect opportunity to make delicious desserts without the guilt since everyone else helps eat them. The added break time is just an added bonus.Since the Birthday Girl loves chocolate and coconut, I thought a German Chocolate Cake would be the perfect treat. Another upside about this cake is that the topping won’t get damaged by the Florida heat over the hours during transportation and while it’s waiting to be served. (Read no melty buttercream.)
I had already had a chocolaty butter cake in mind and went to my Everyday and Specialty Cakes board on Pinterest to find a great Coconut-Pecan Icing. After reviewing about a dozen recipes, this pin was the one I thought would best fit the bill. It helped that I had all of the ingredients on hand, meaning I didn’t have to run out to the store for any specialty ingredients. Major bonus. Thank you, Melissa, from Melissa’s Southern Style Kitchen!
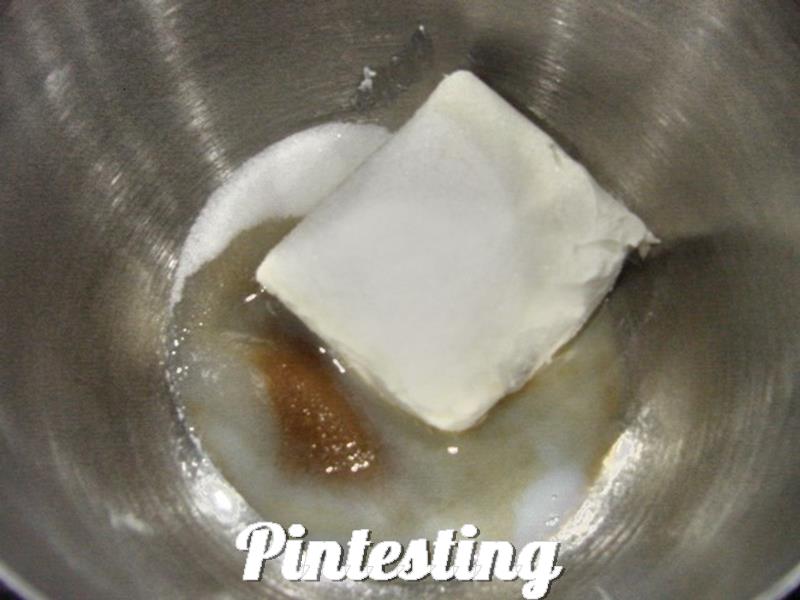
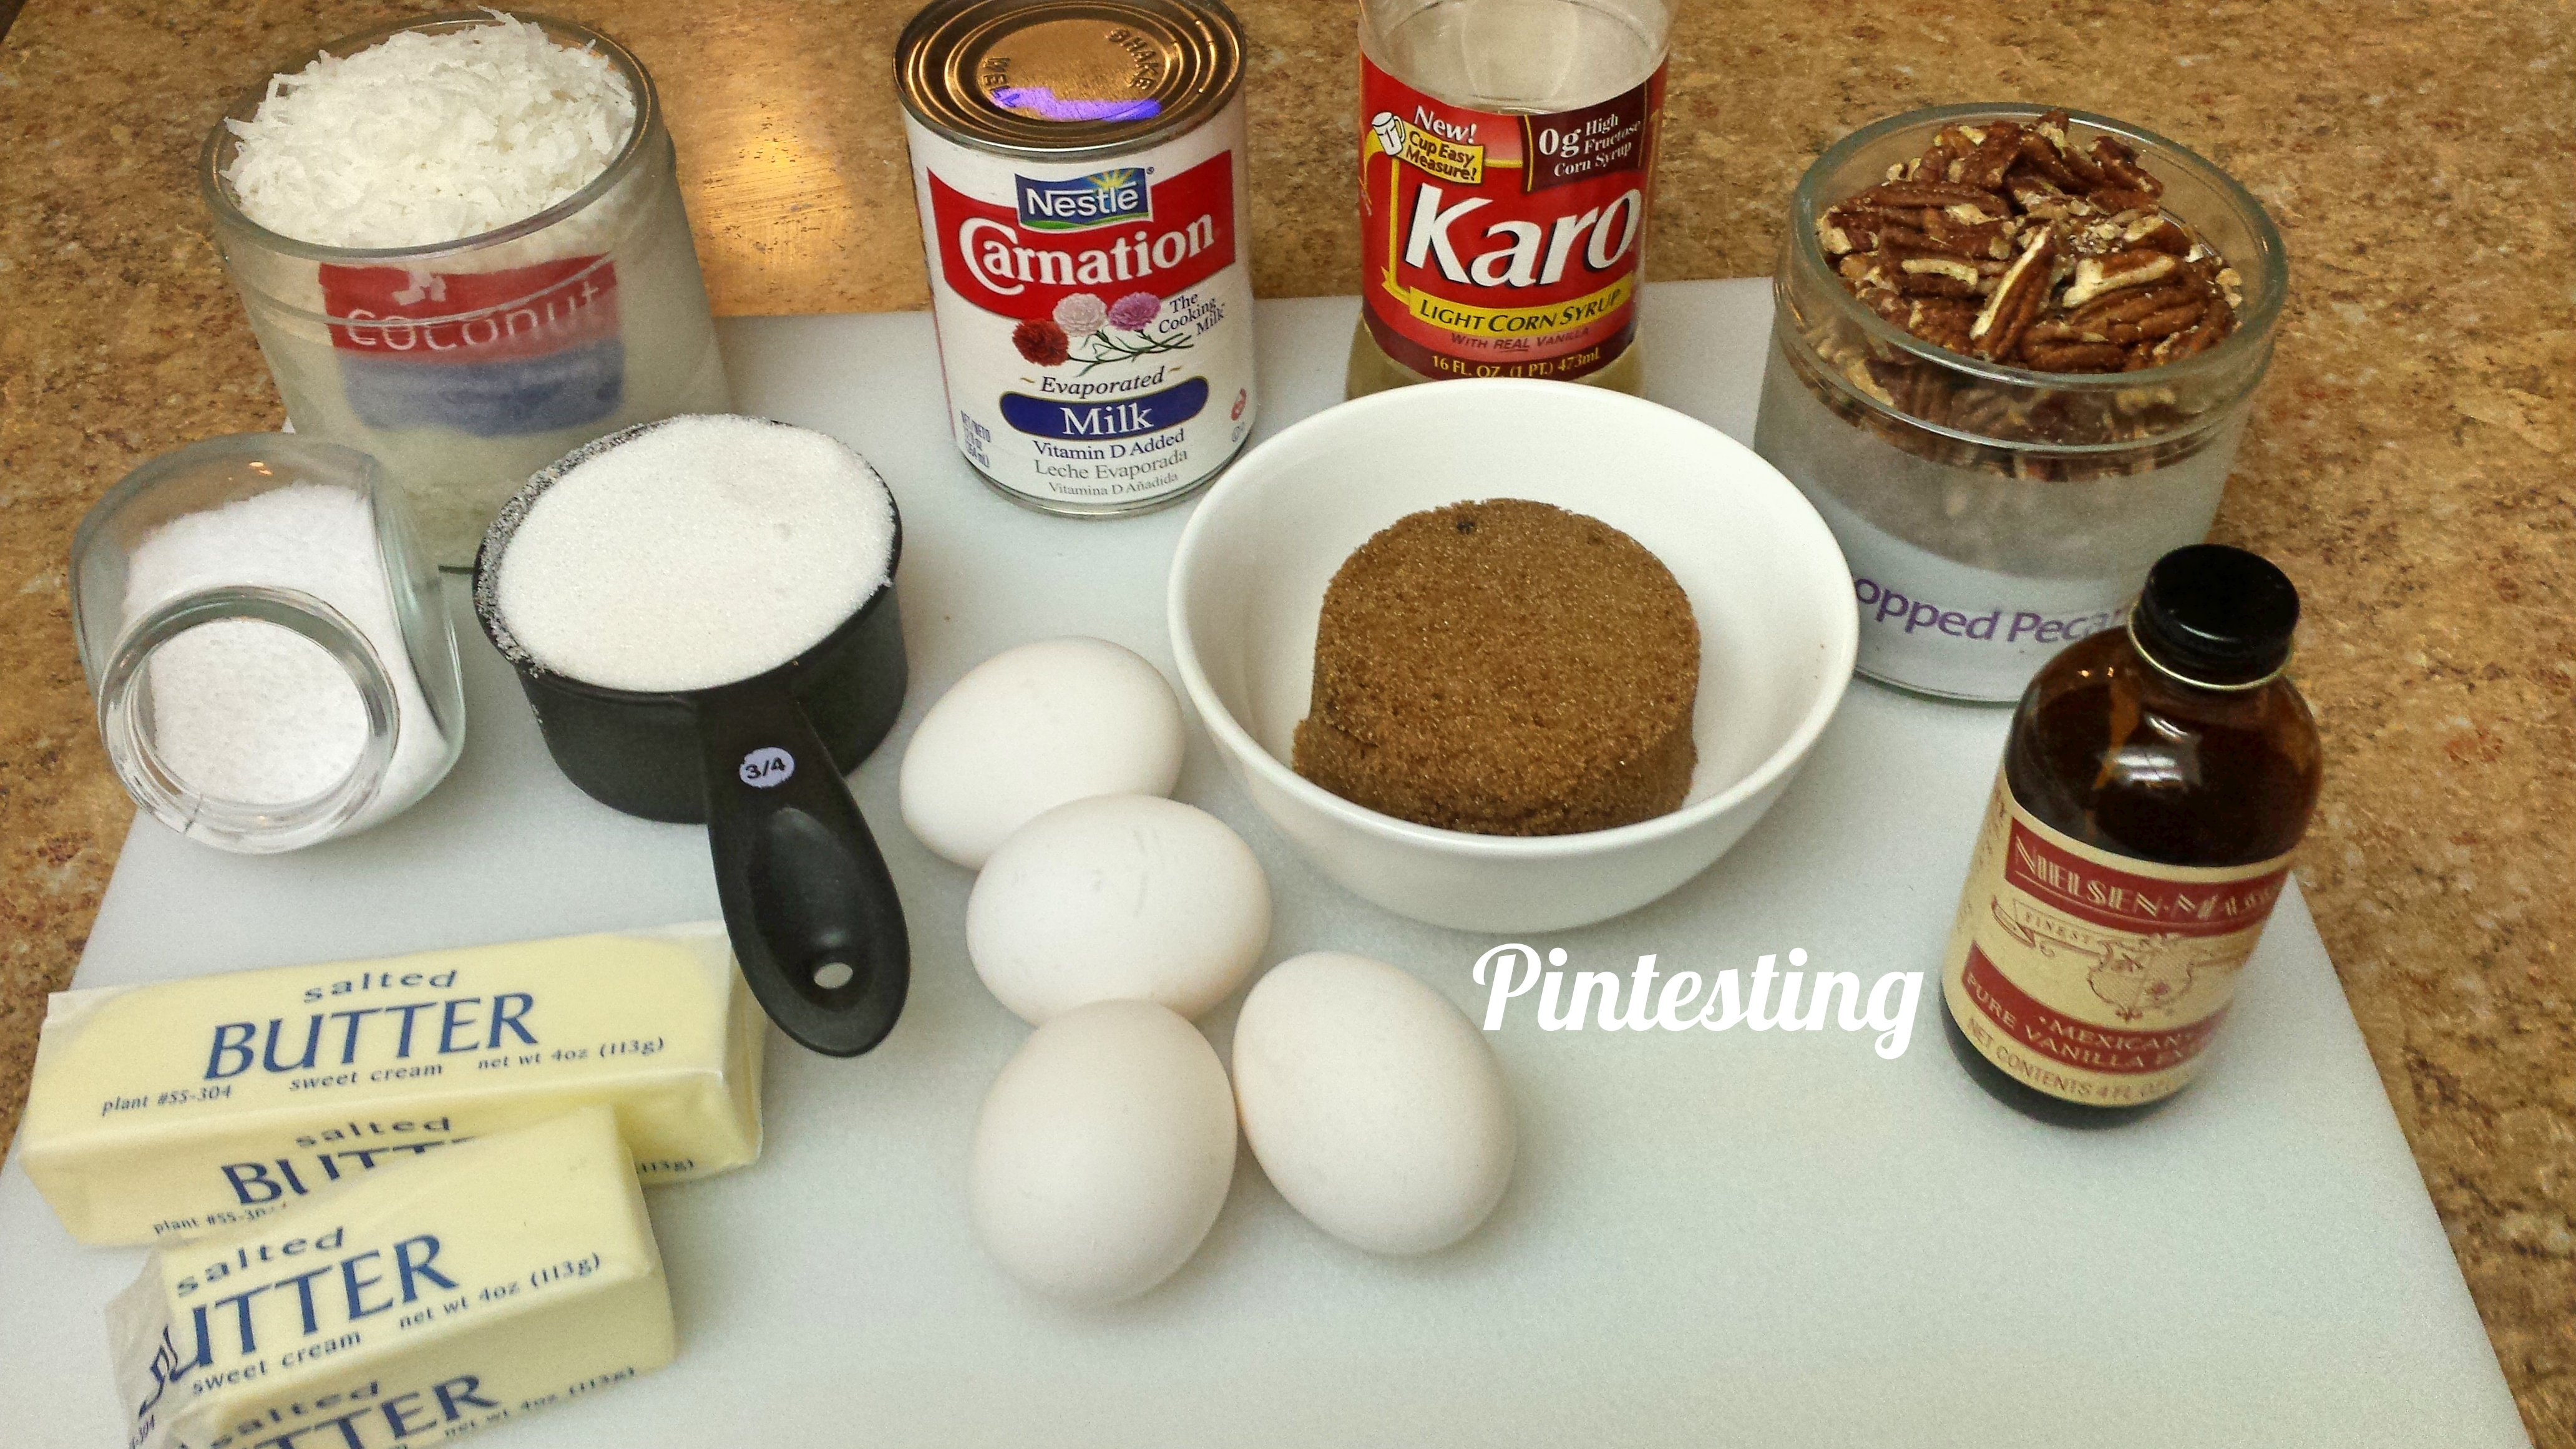
The ingredients; butter, evaporated milk, brown sugar, sugar, corn syrup, salt, egg yolks, vanilla, pecans, and coconut. (Yes, I keep all of the above on hand – in case of a baking emergency. Don’t ask. I’m sure there’s therapy for this, but why not just be prepared to bake?)
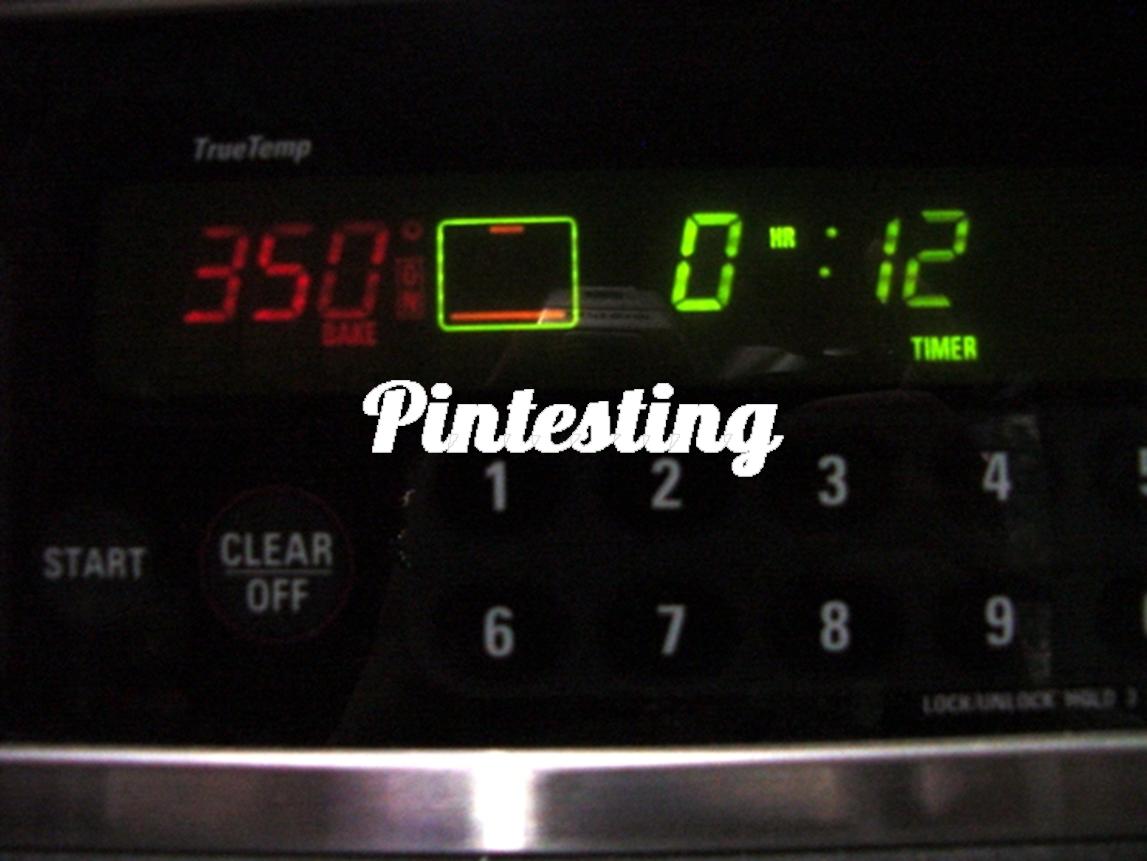
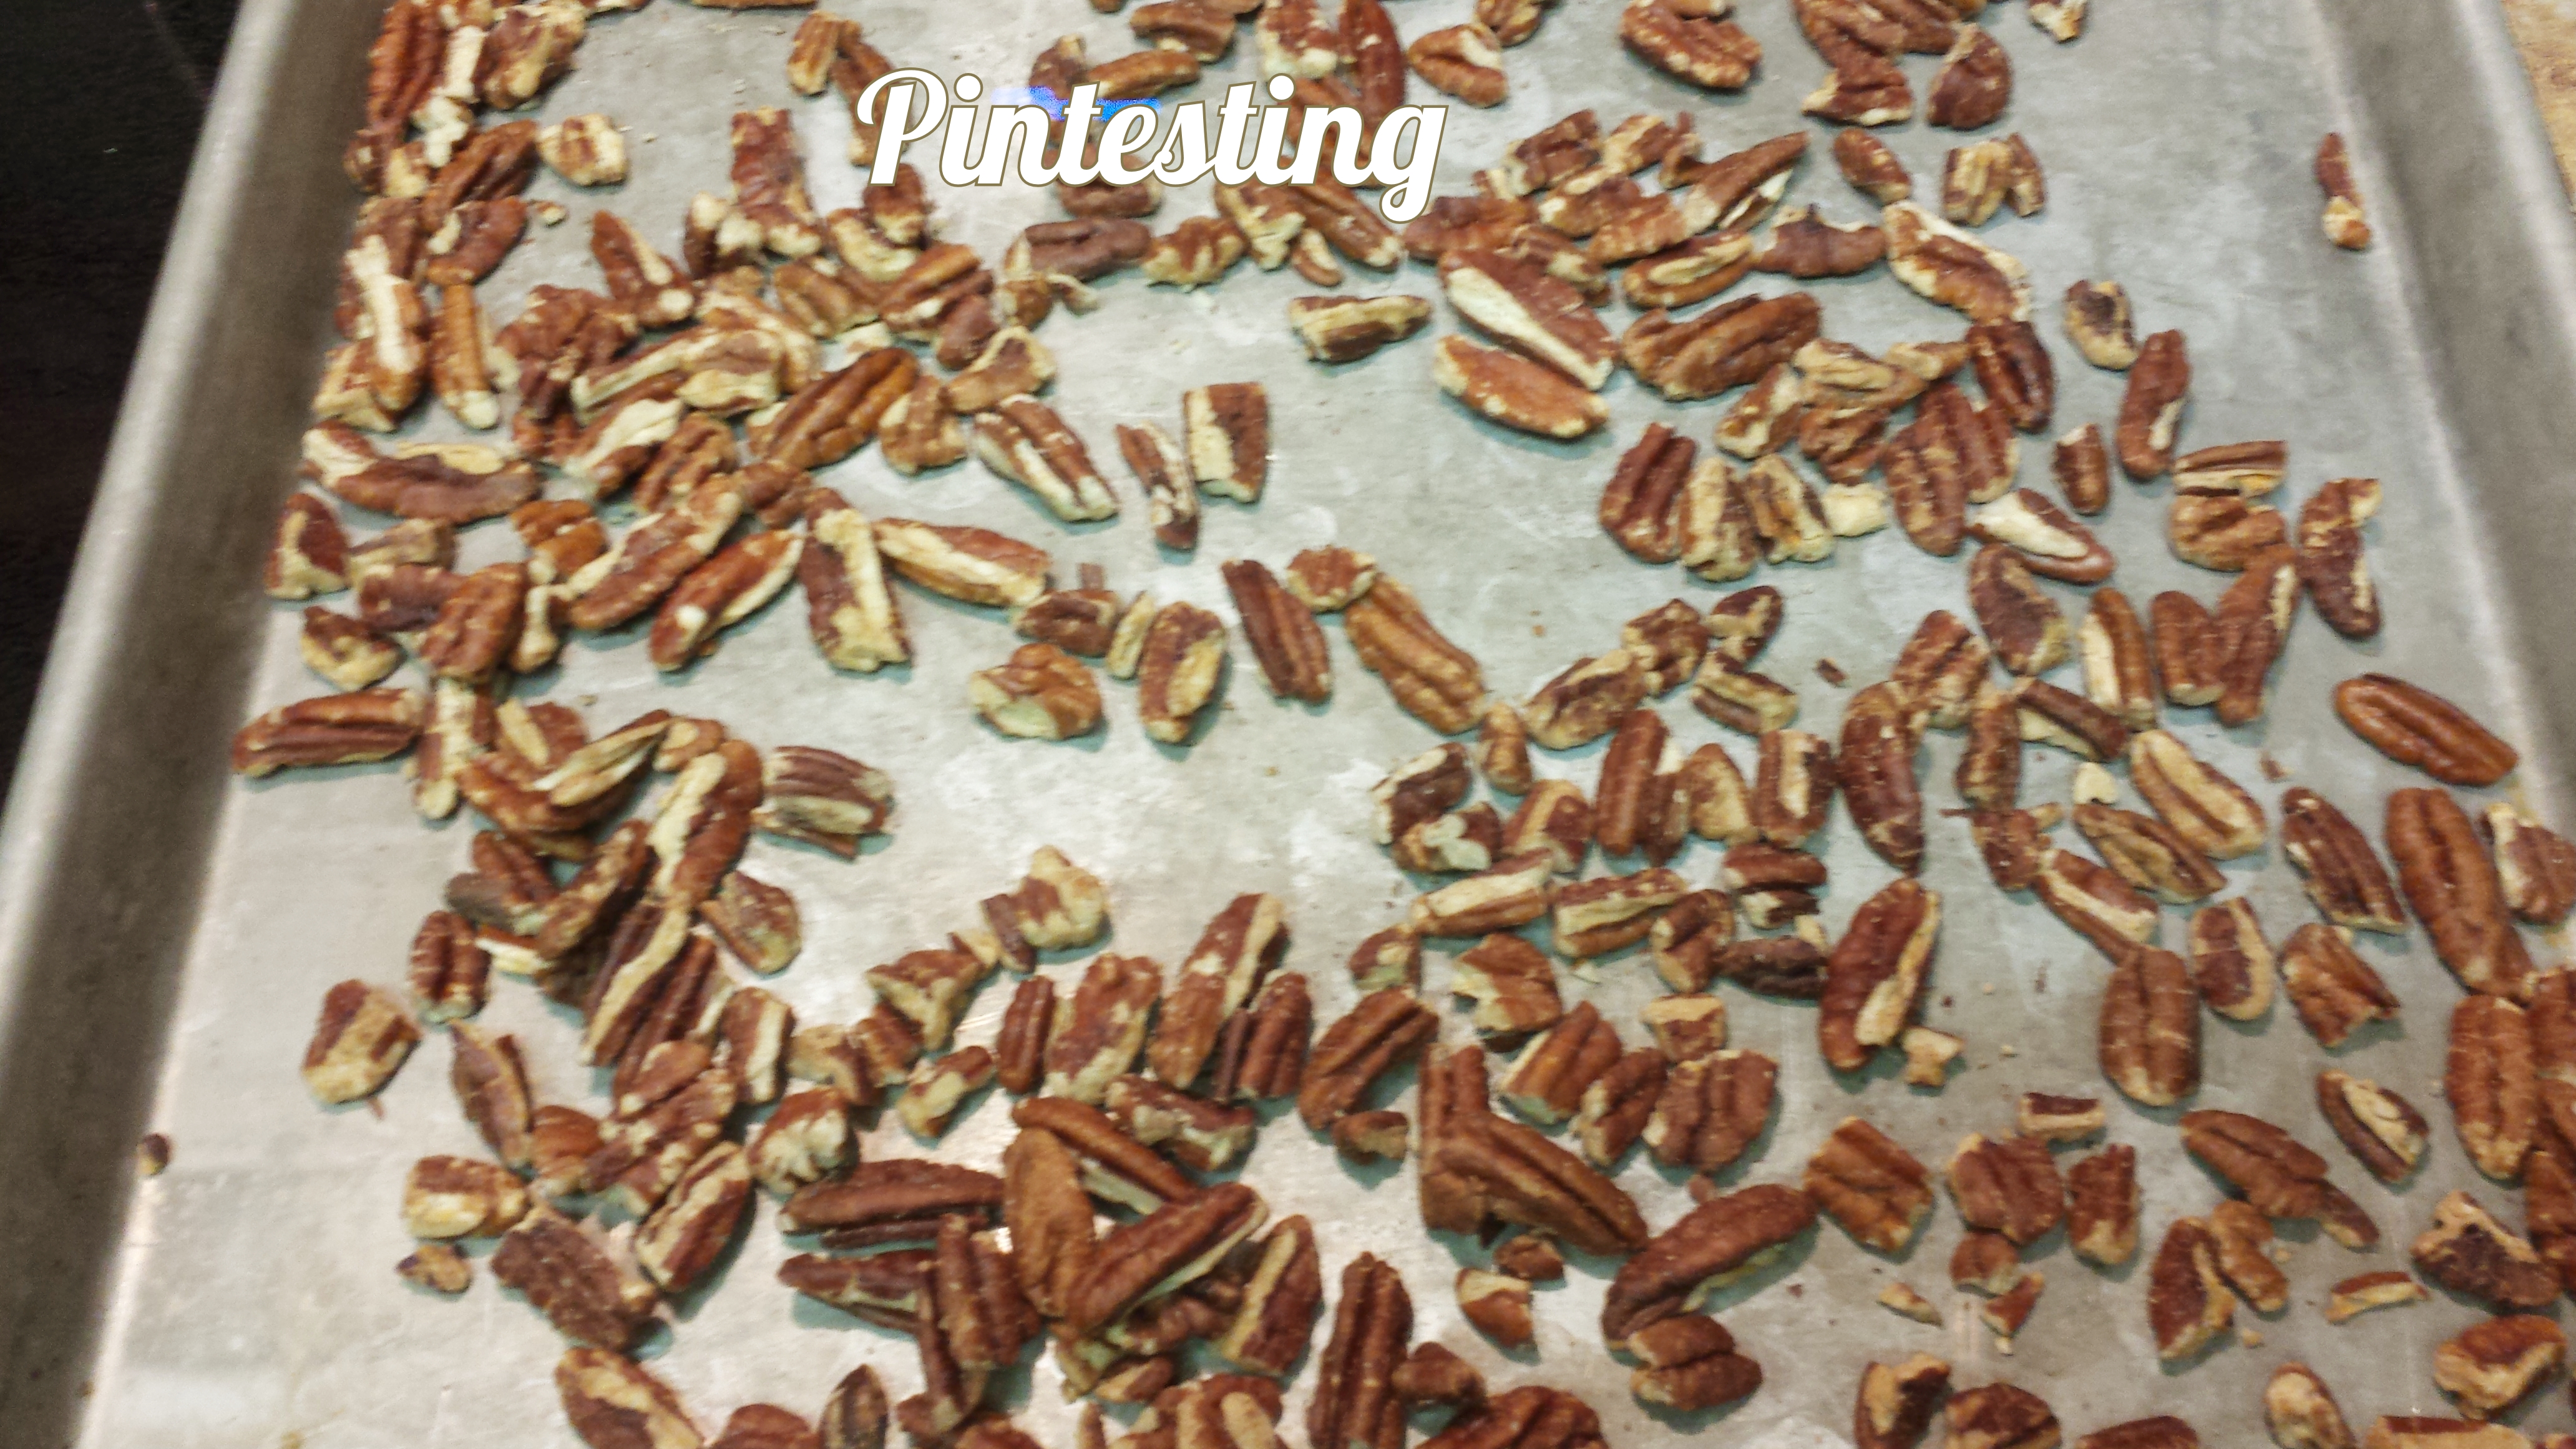
Start by toasting the pecans in a 350°F oven for 6-8 minutes.
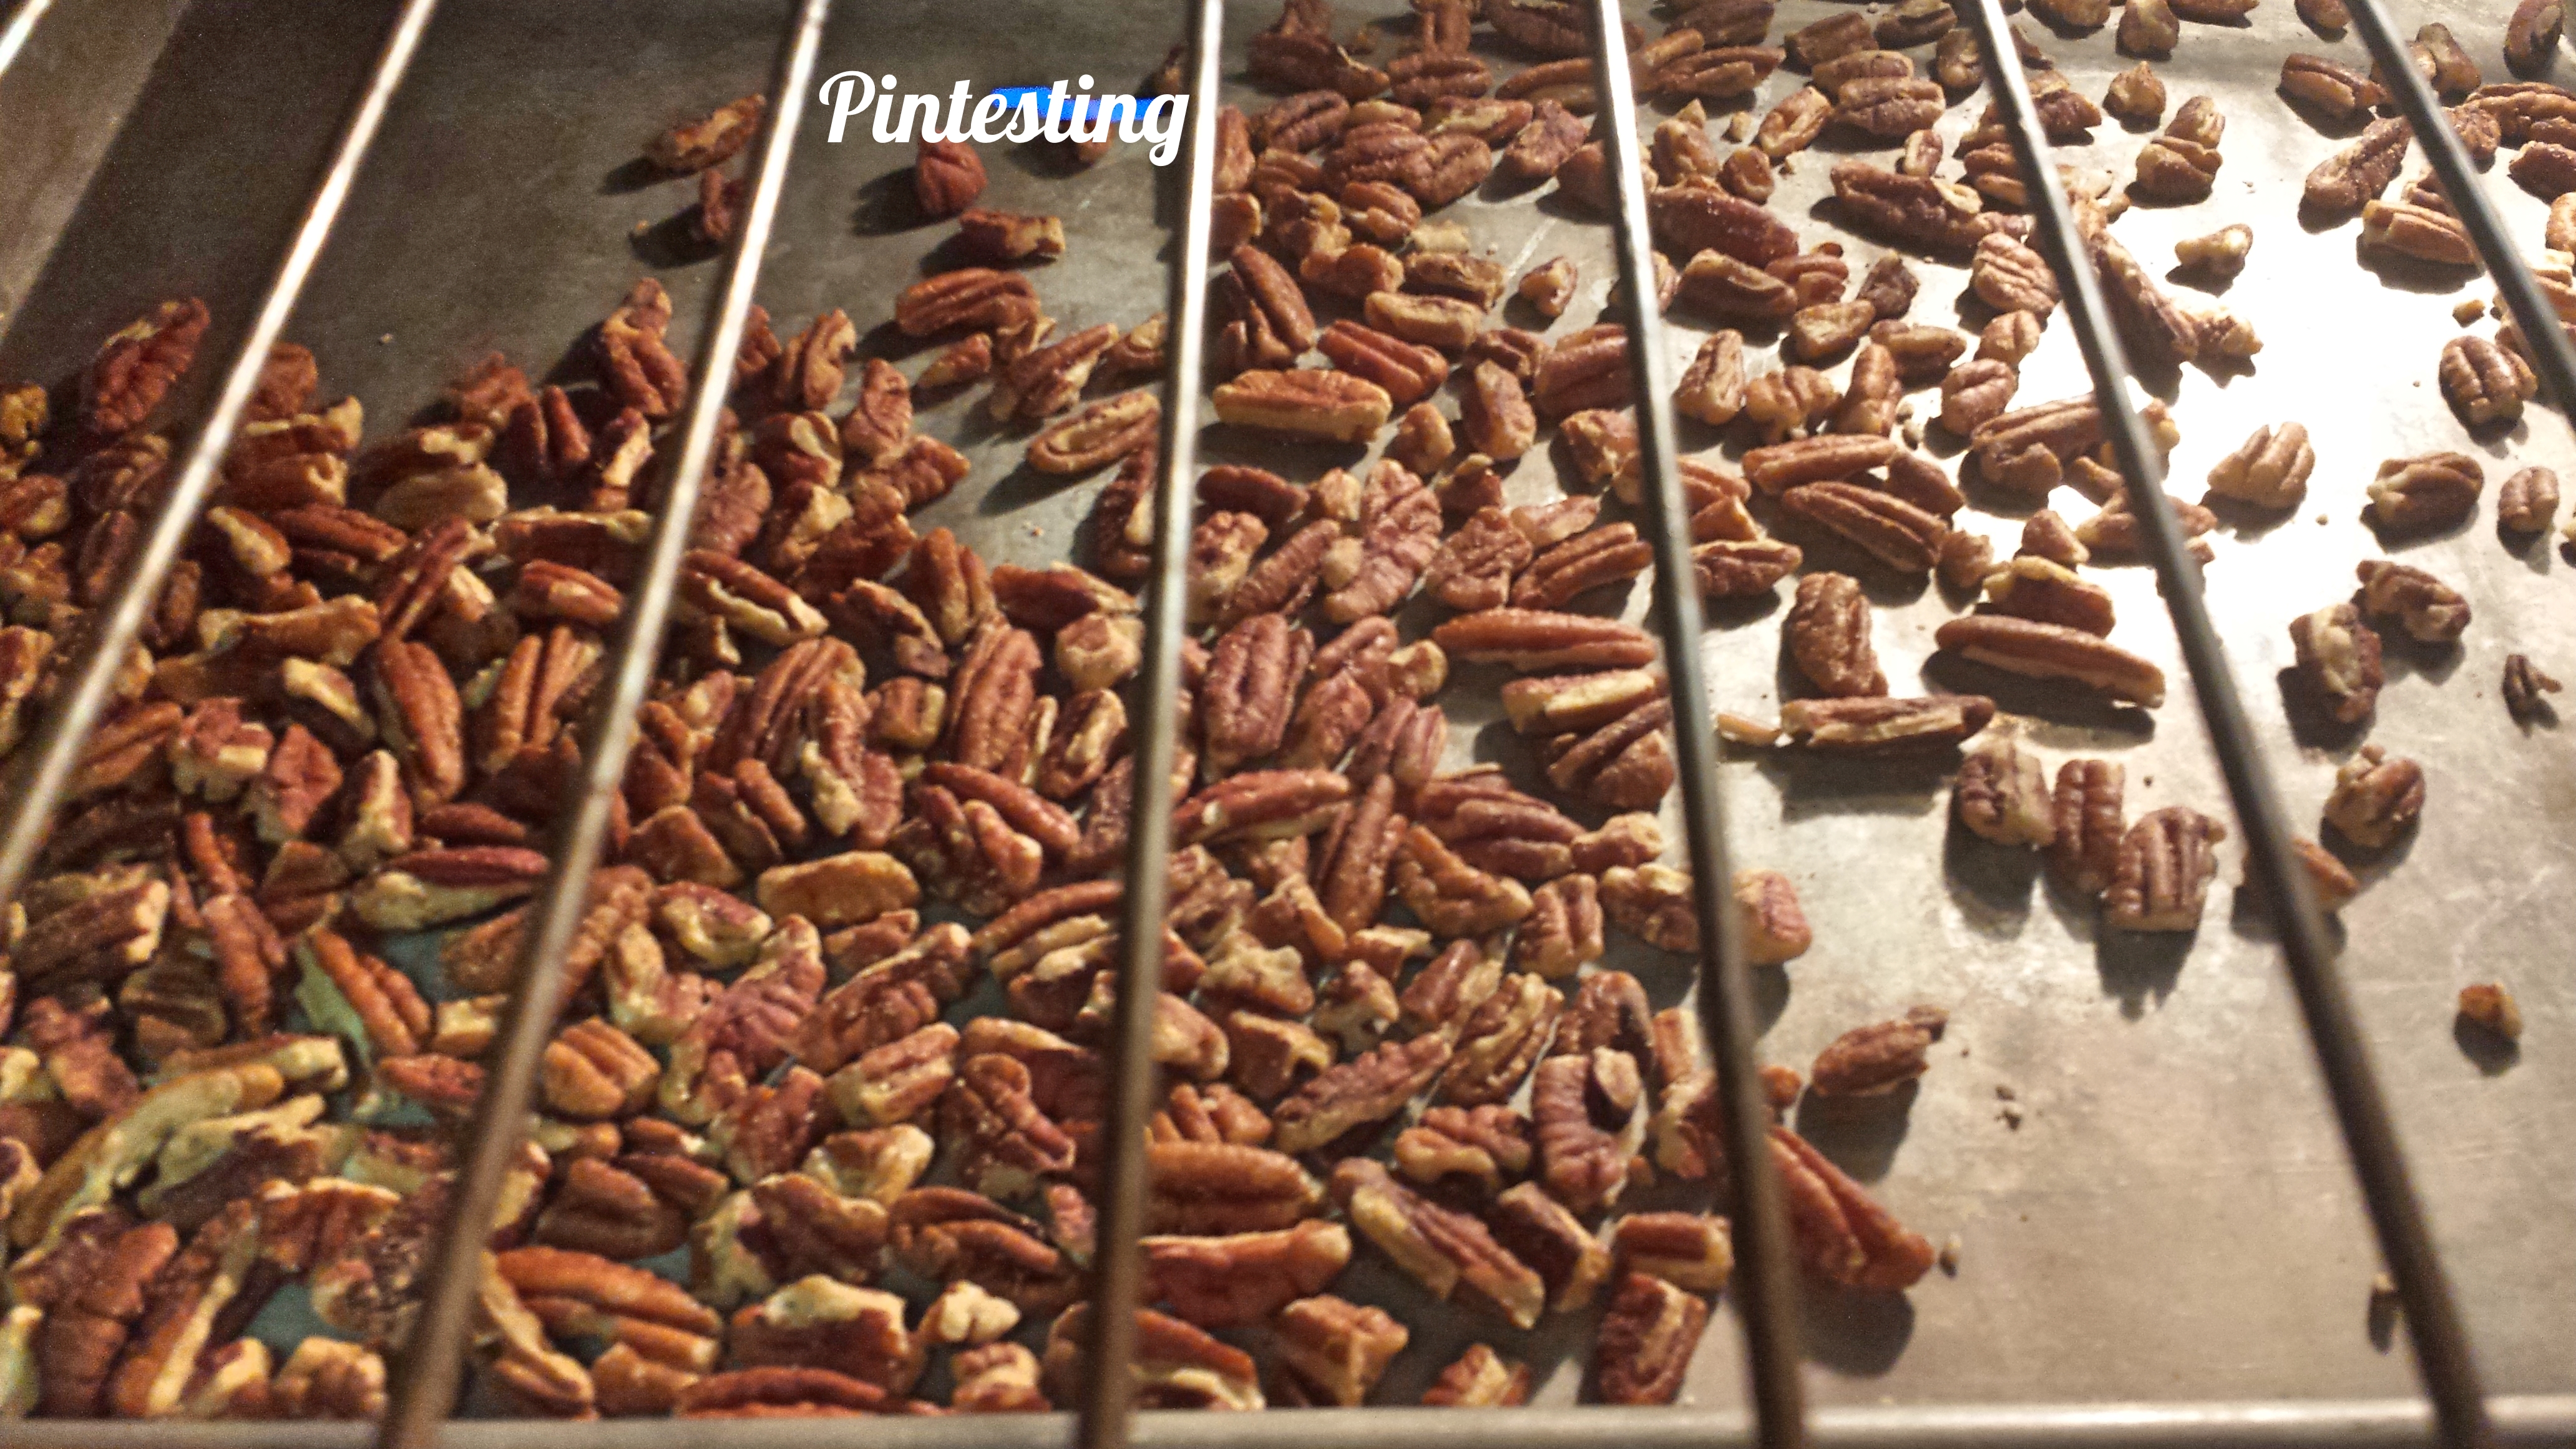
I pulled them out of the oven at 7 minutes, and the smell was fantastic. The taste test was amazing, too.
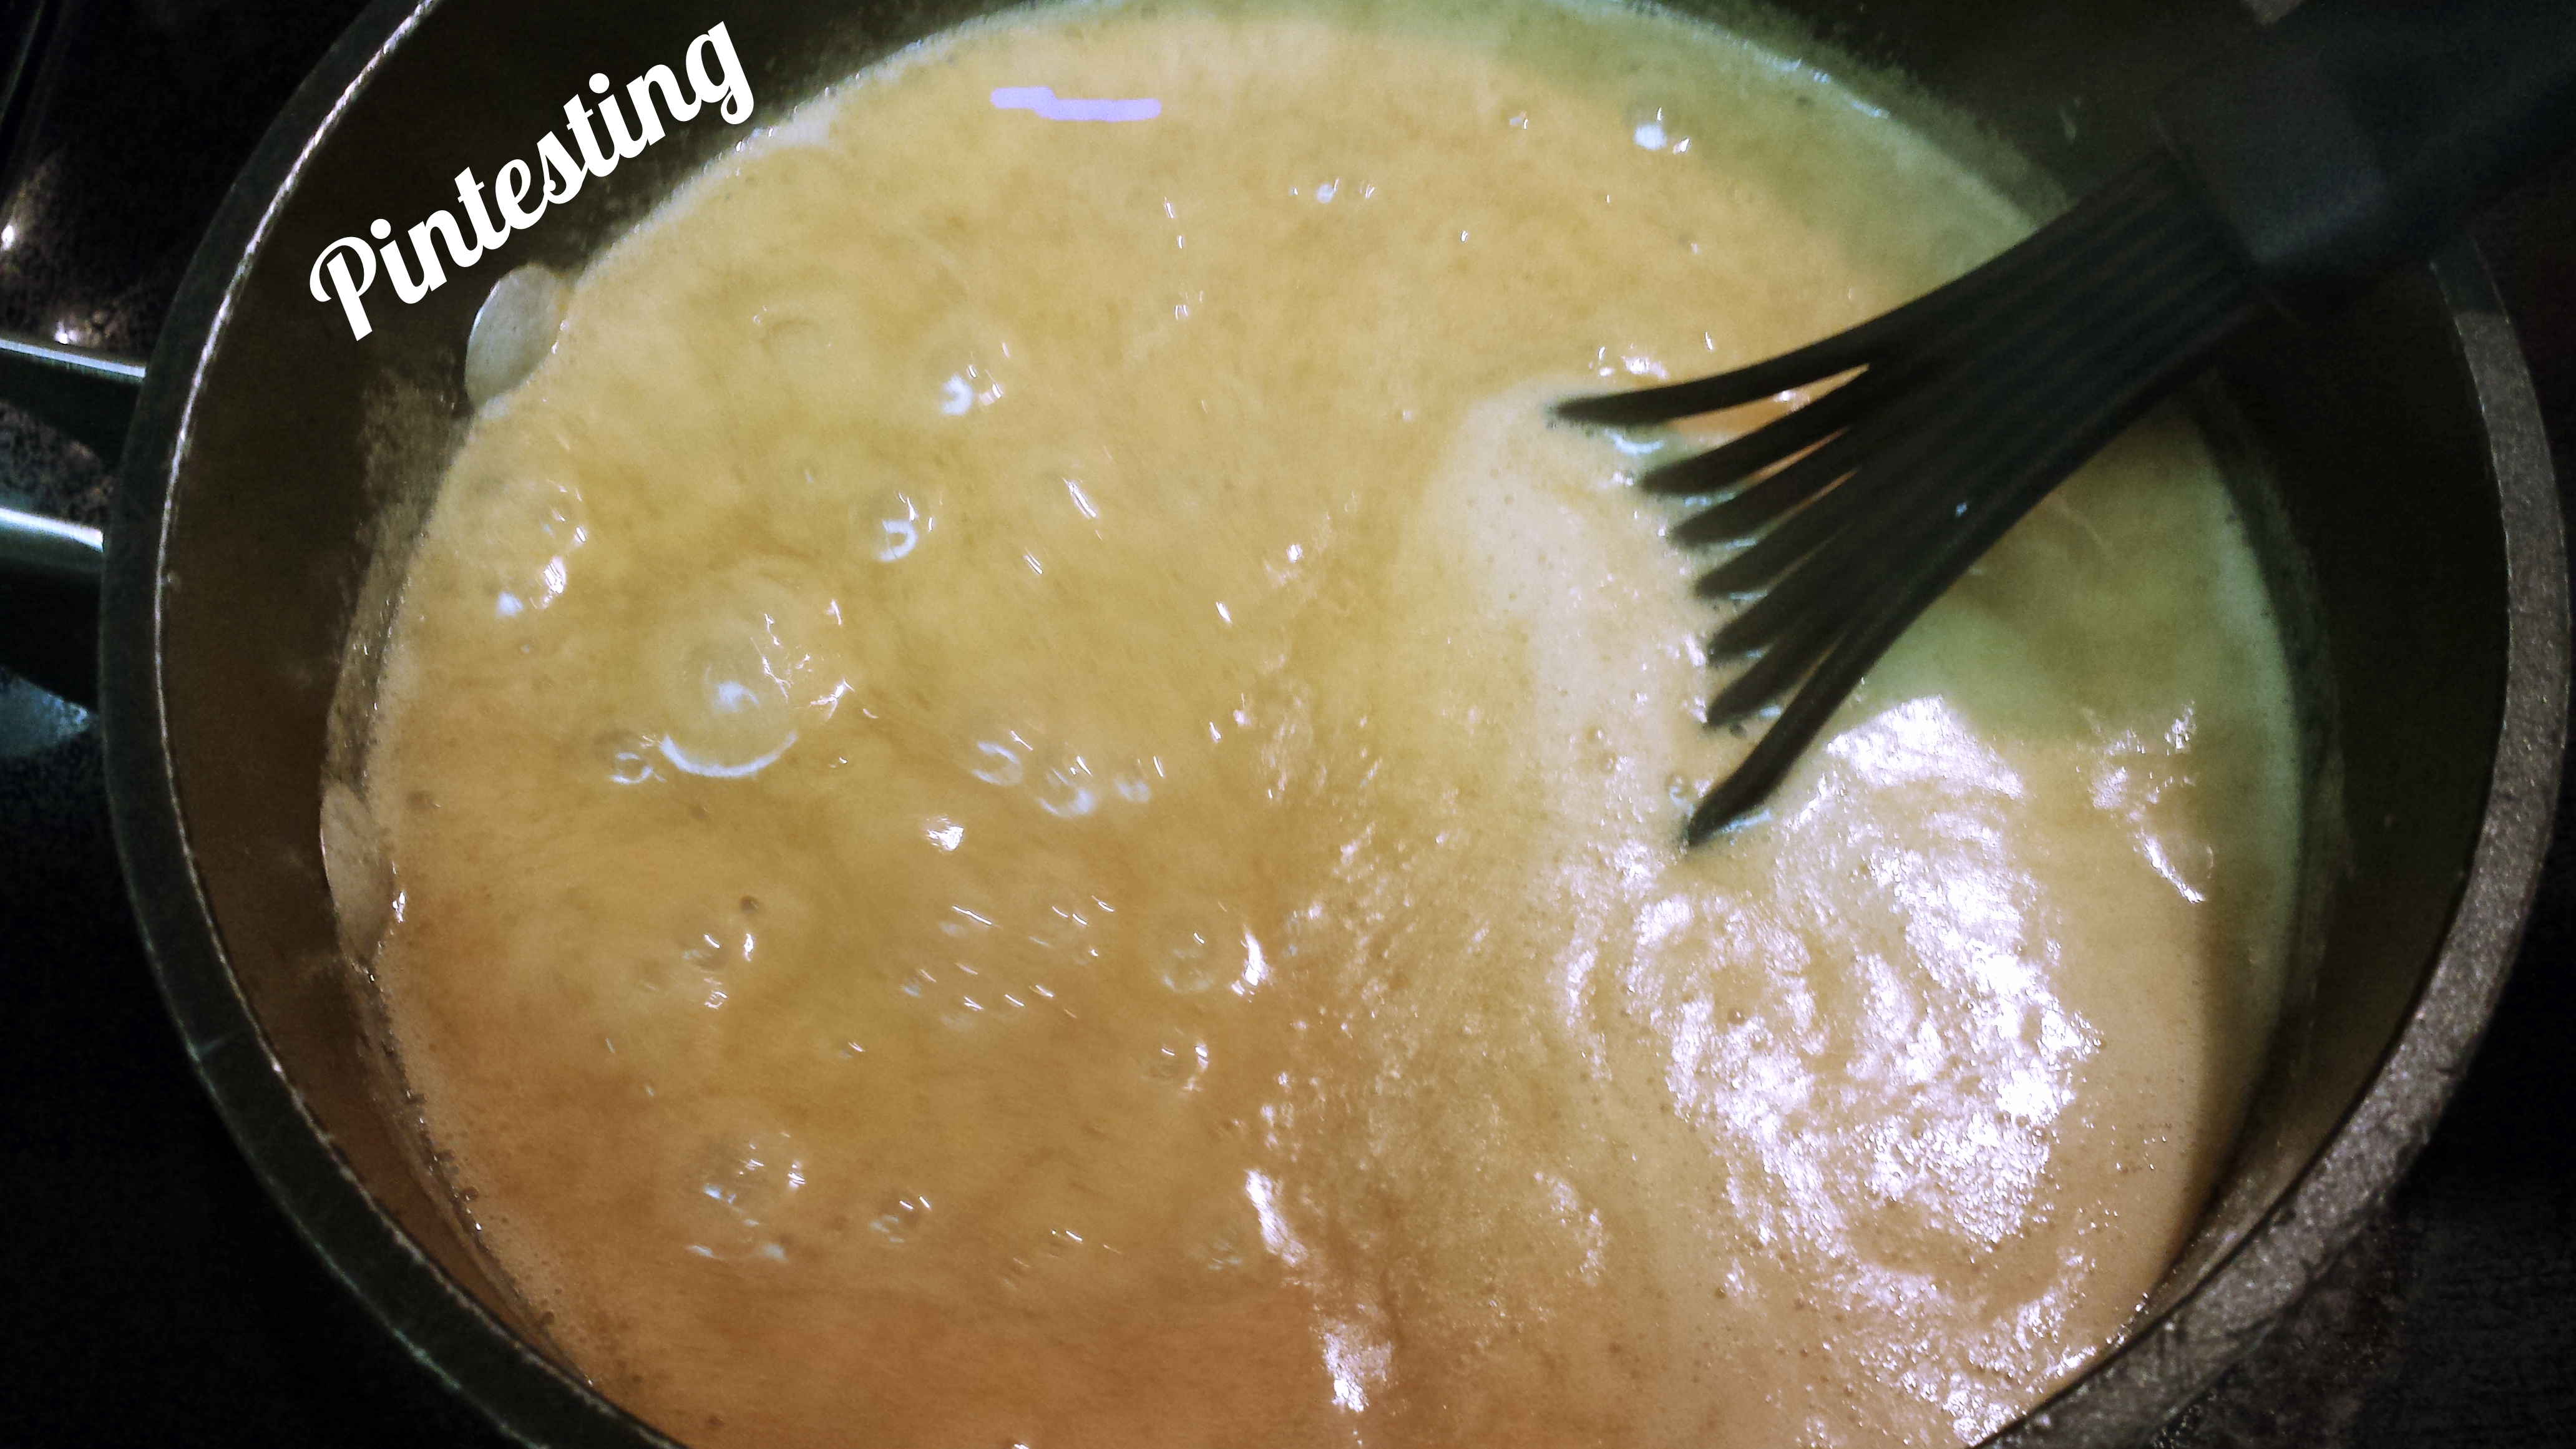
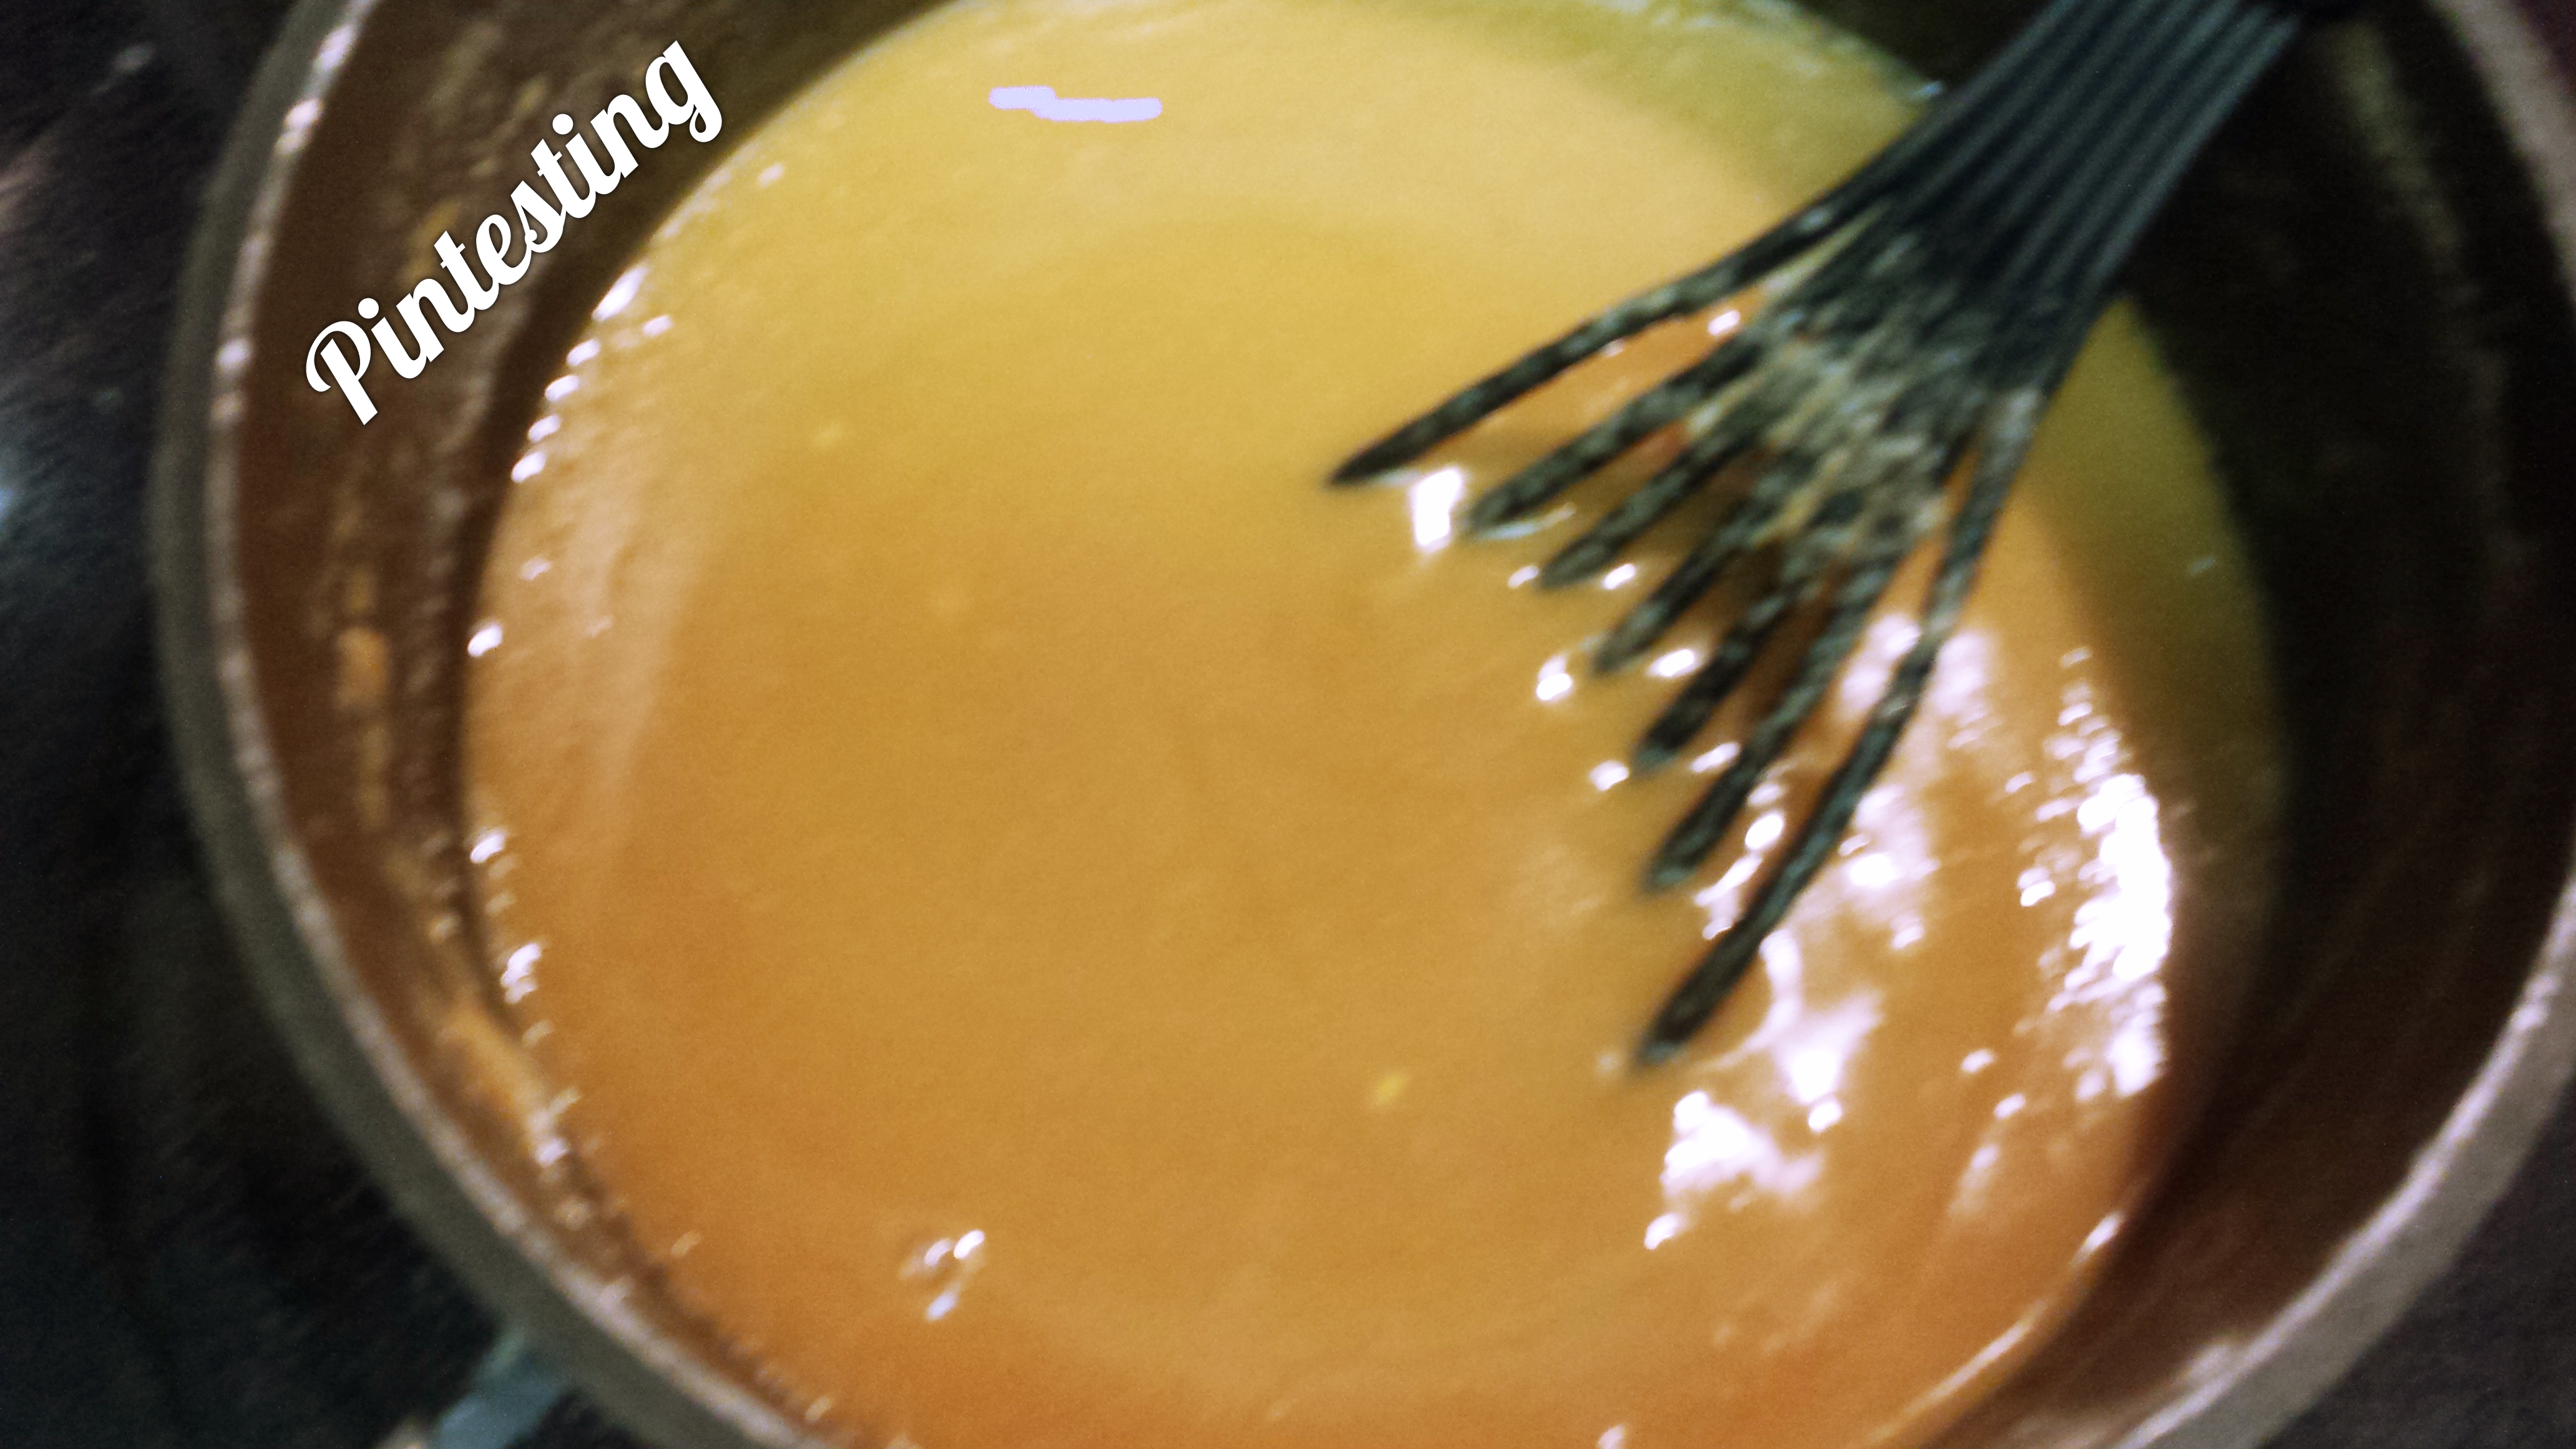
Melt the butter, evaporated milk, brown sugar, sugar, corn syrup, and salt…

…until bubbly.
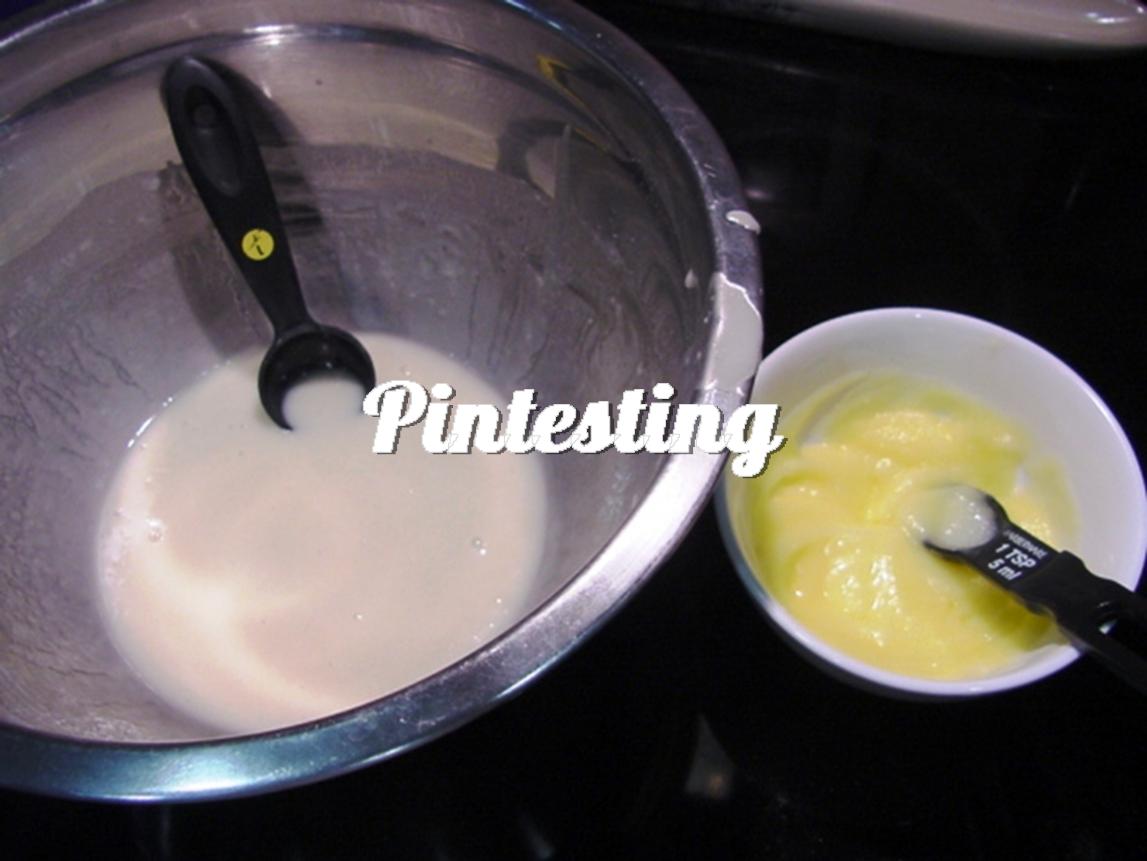
Next comes the egg yolks to thicken.
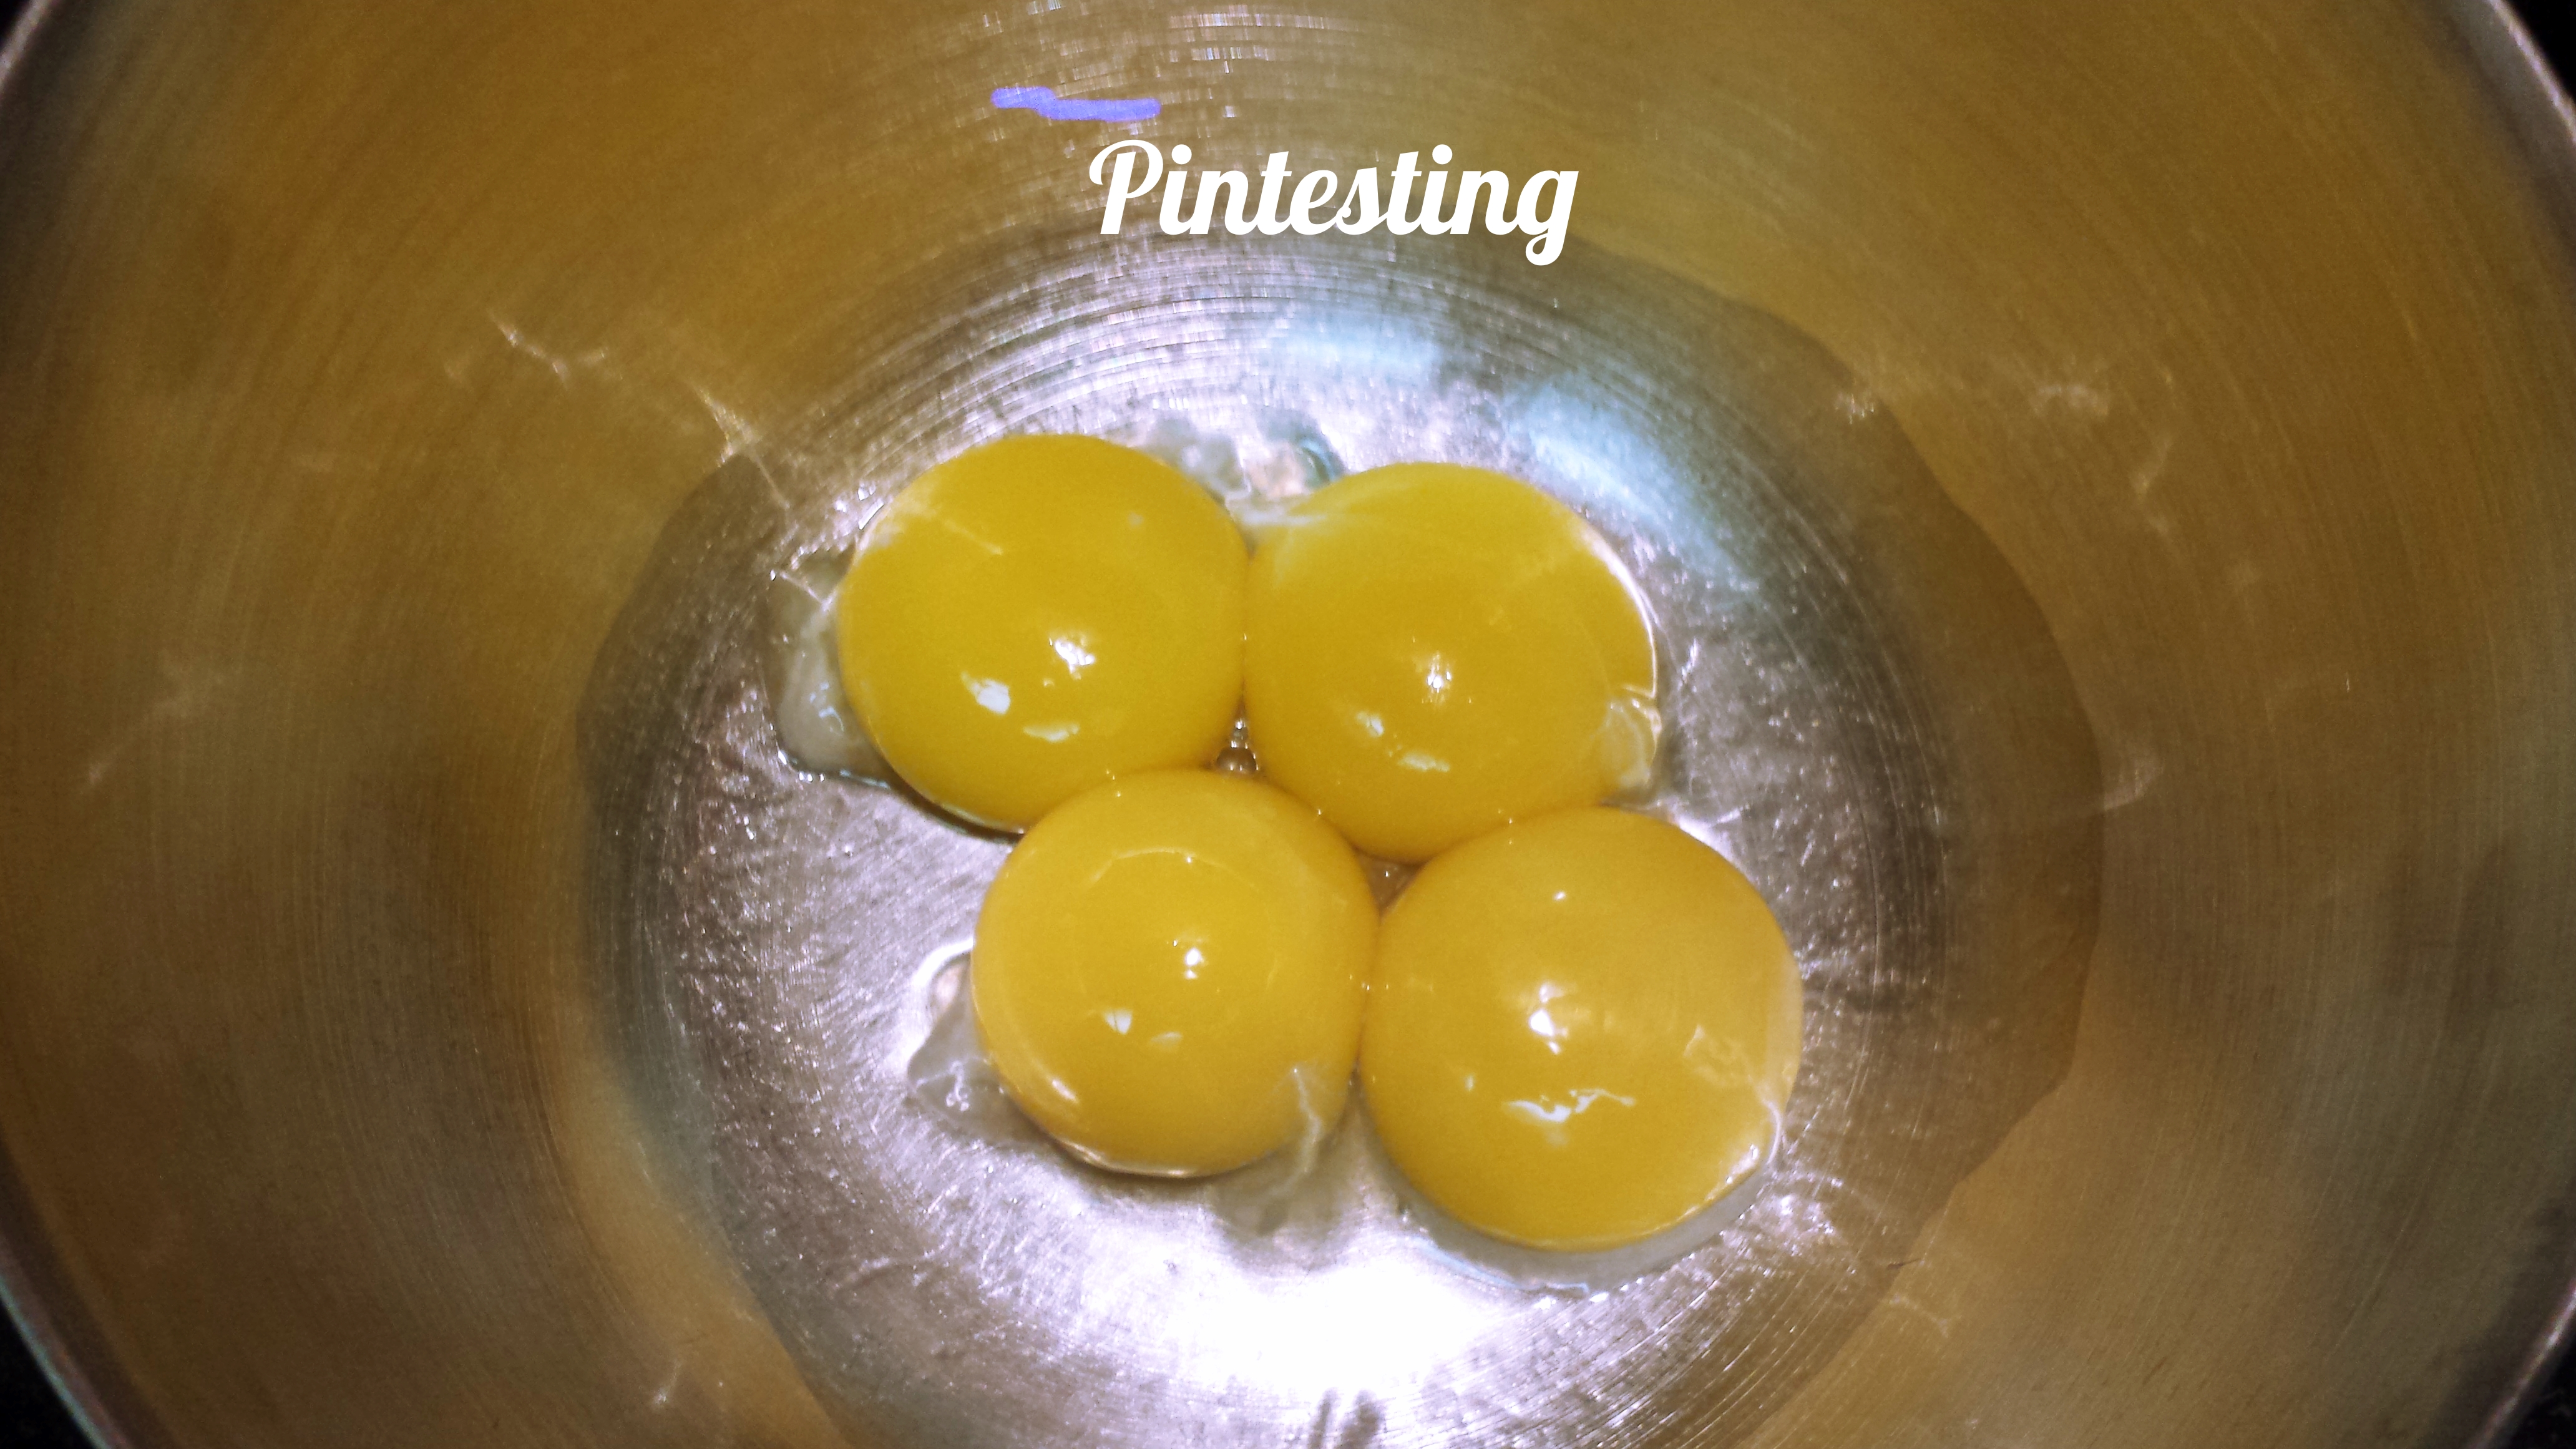
Temper them so they don’t scramble.
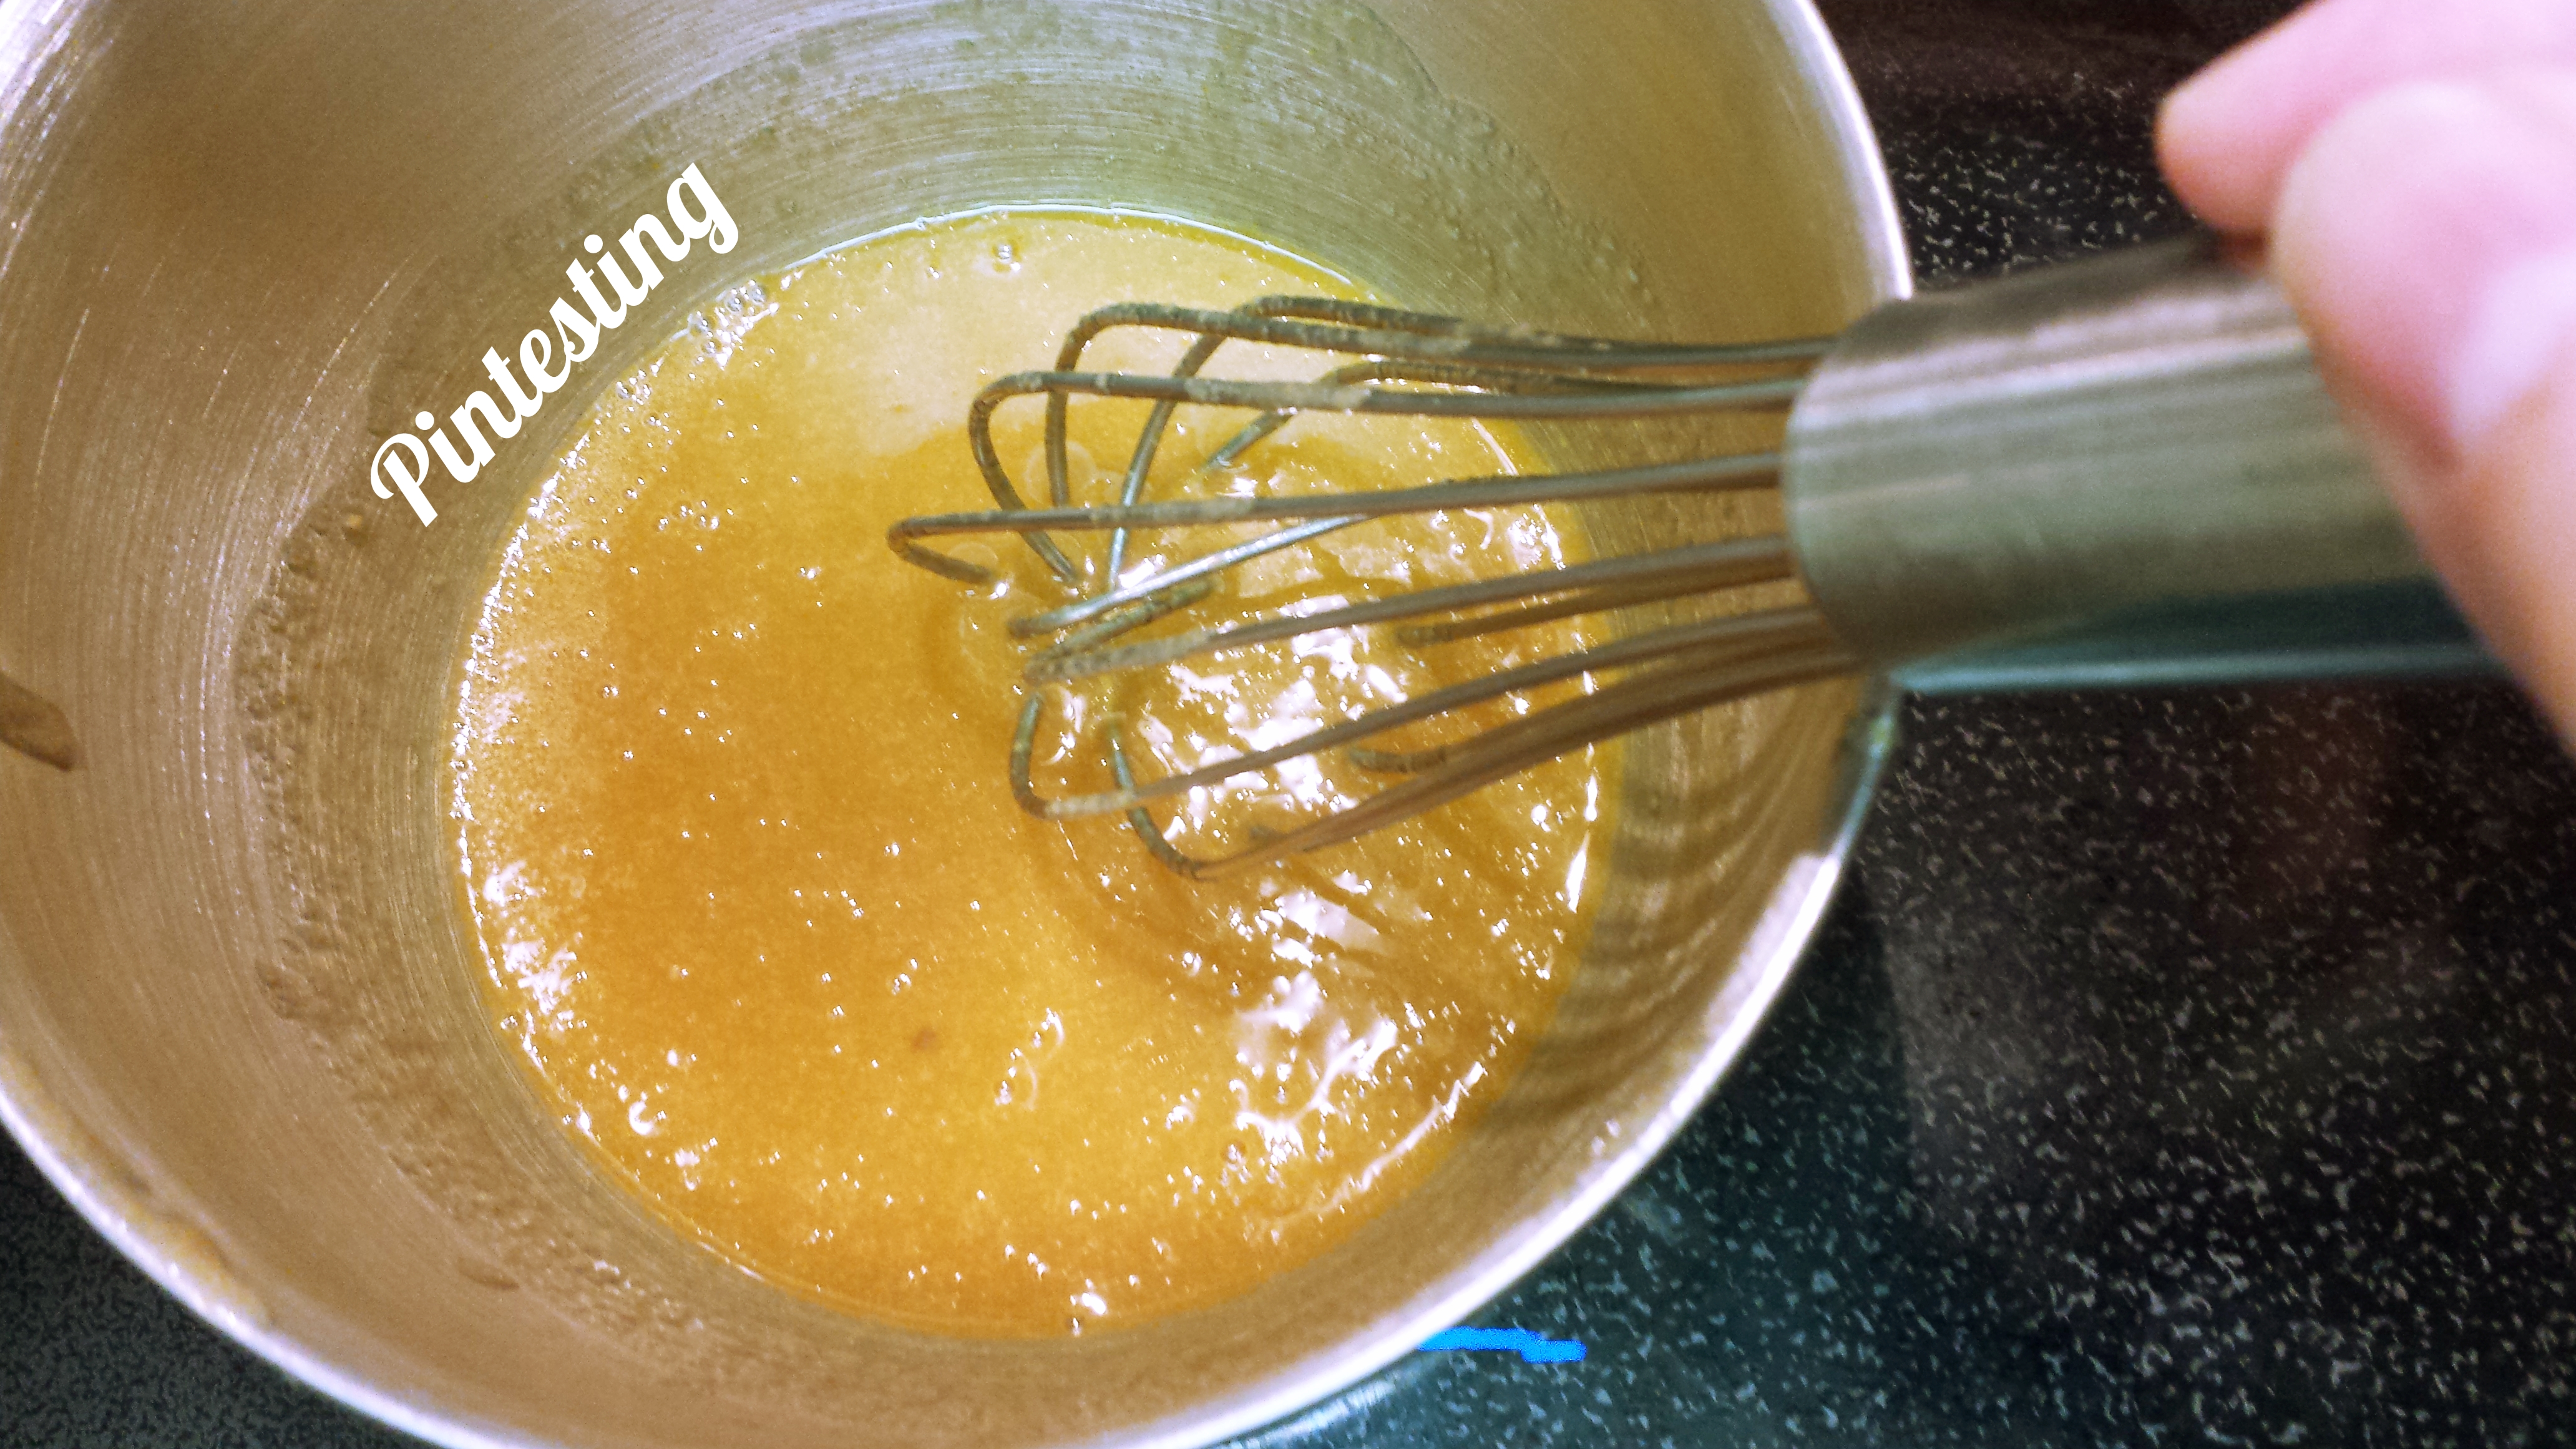 Then add back to the pan to finish cooking for about 15 minutes.
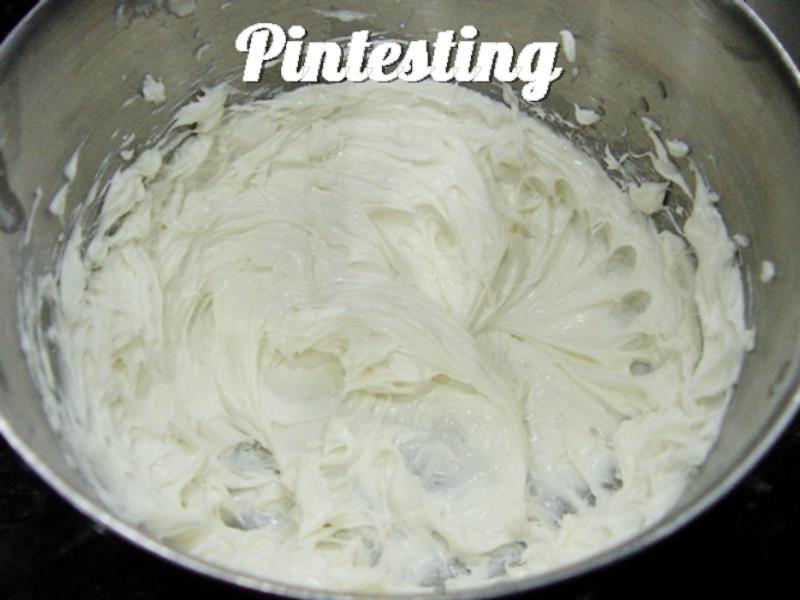
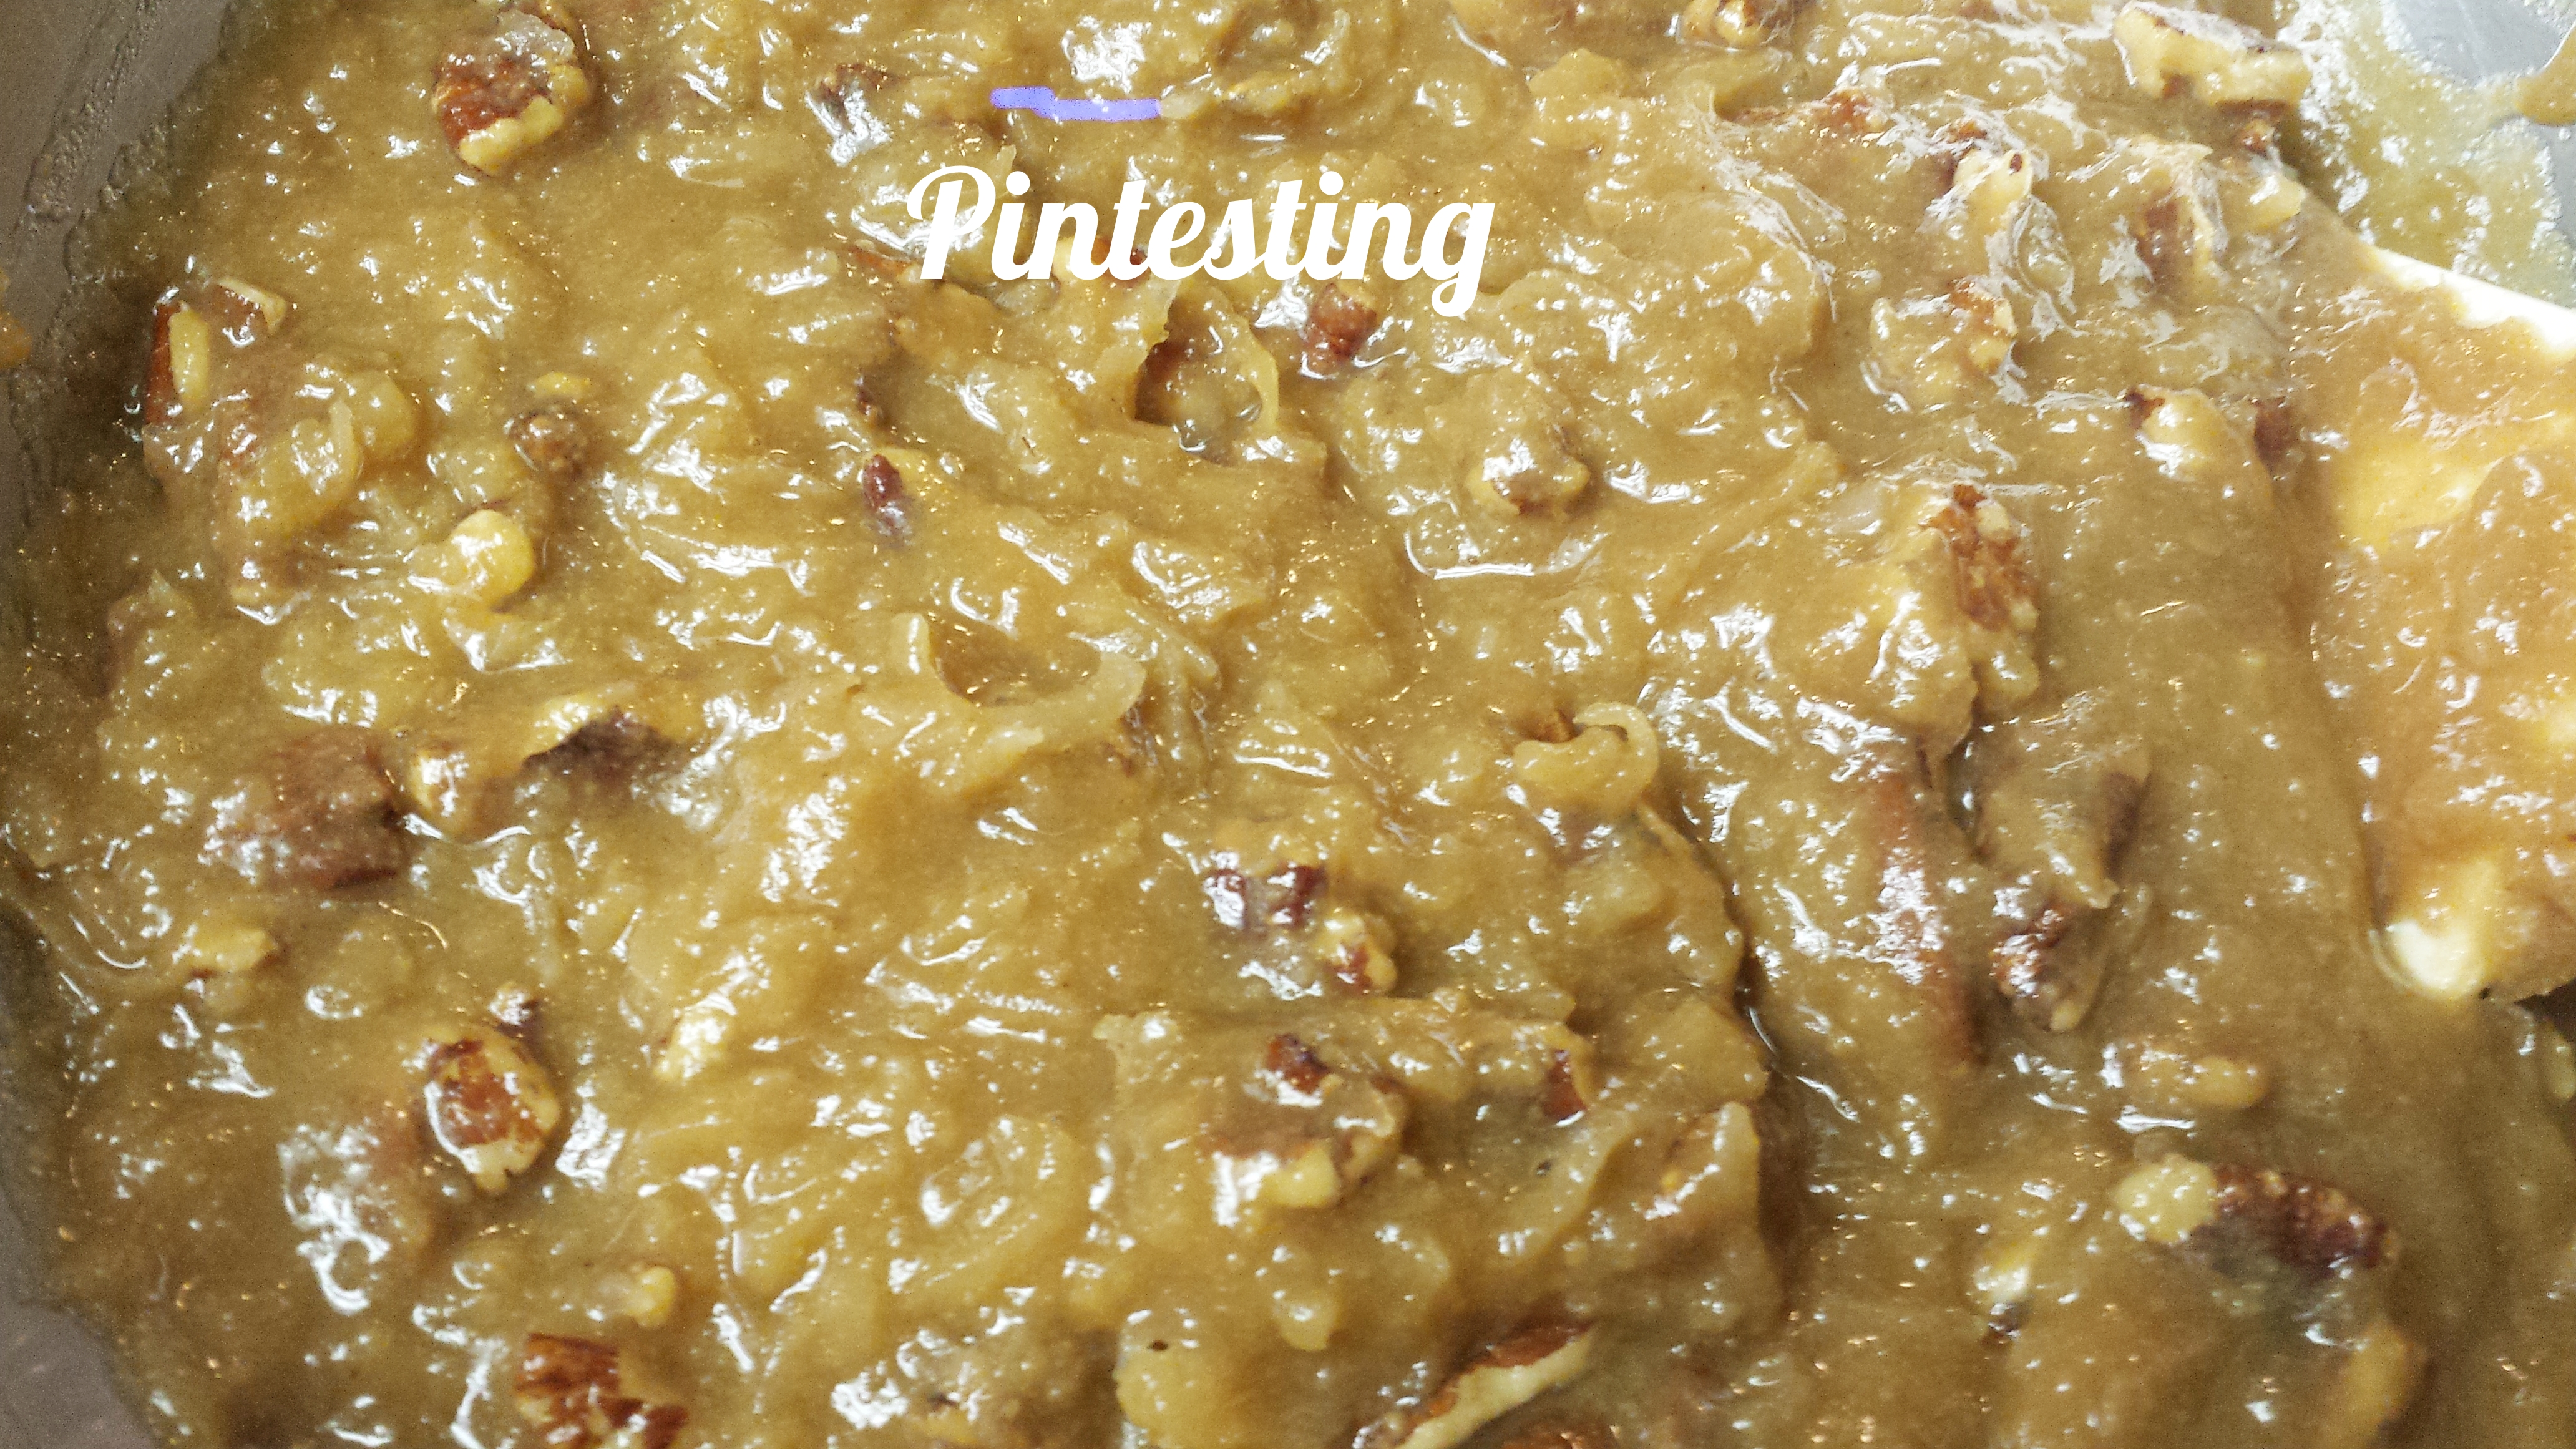
Once cooked, pour into a bowl and add the coconut, pecans, and vanilla.
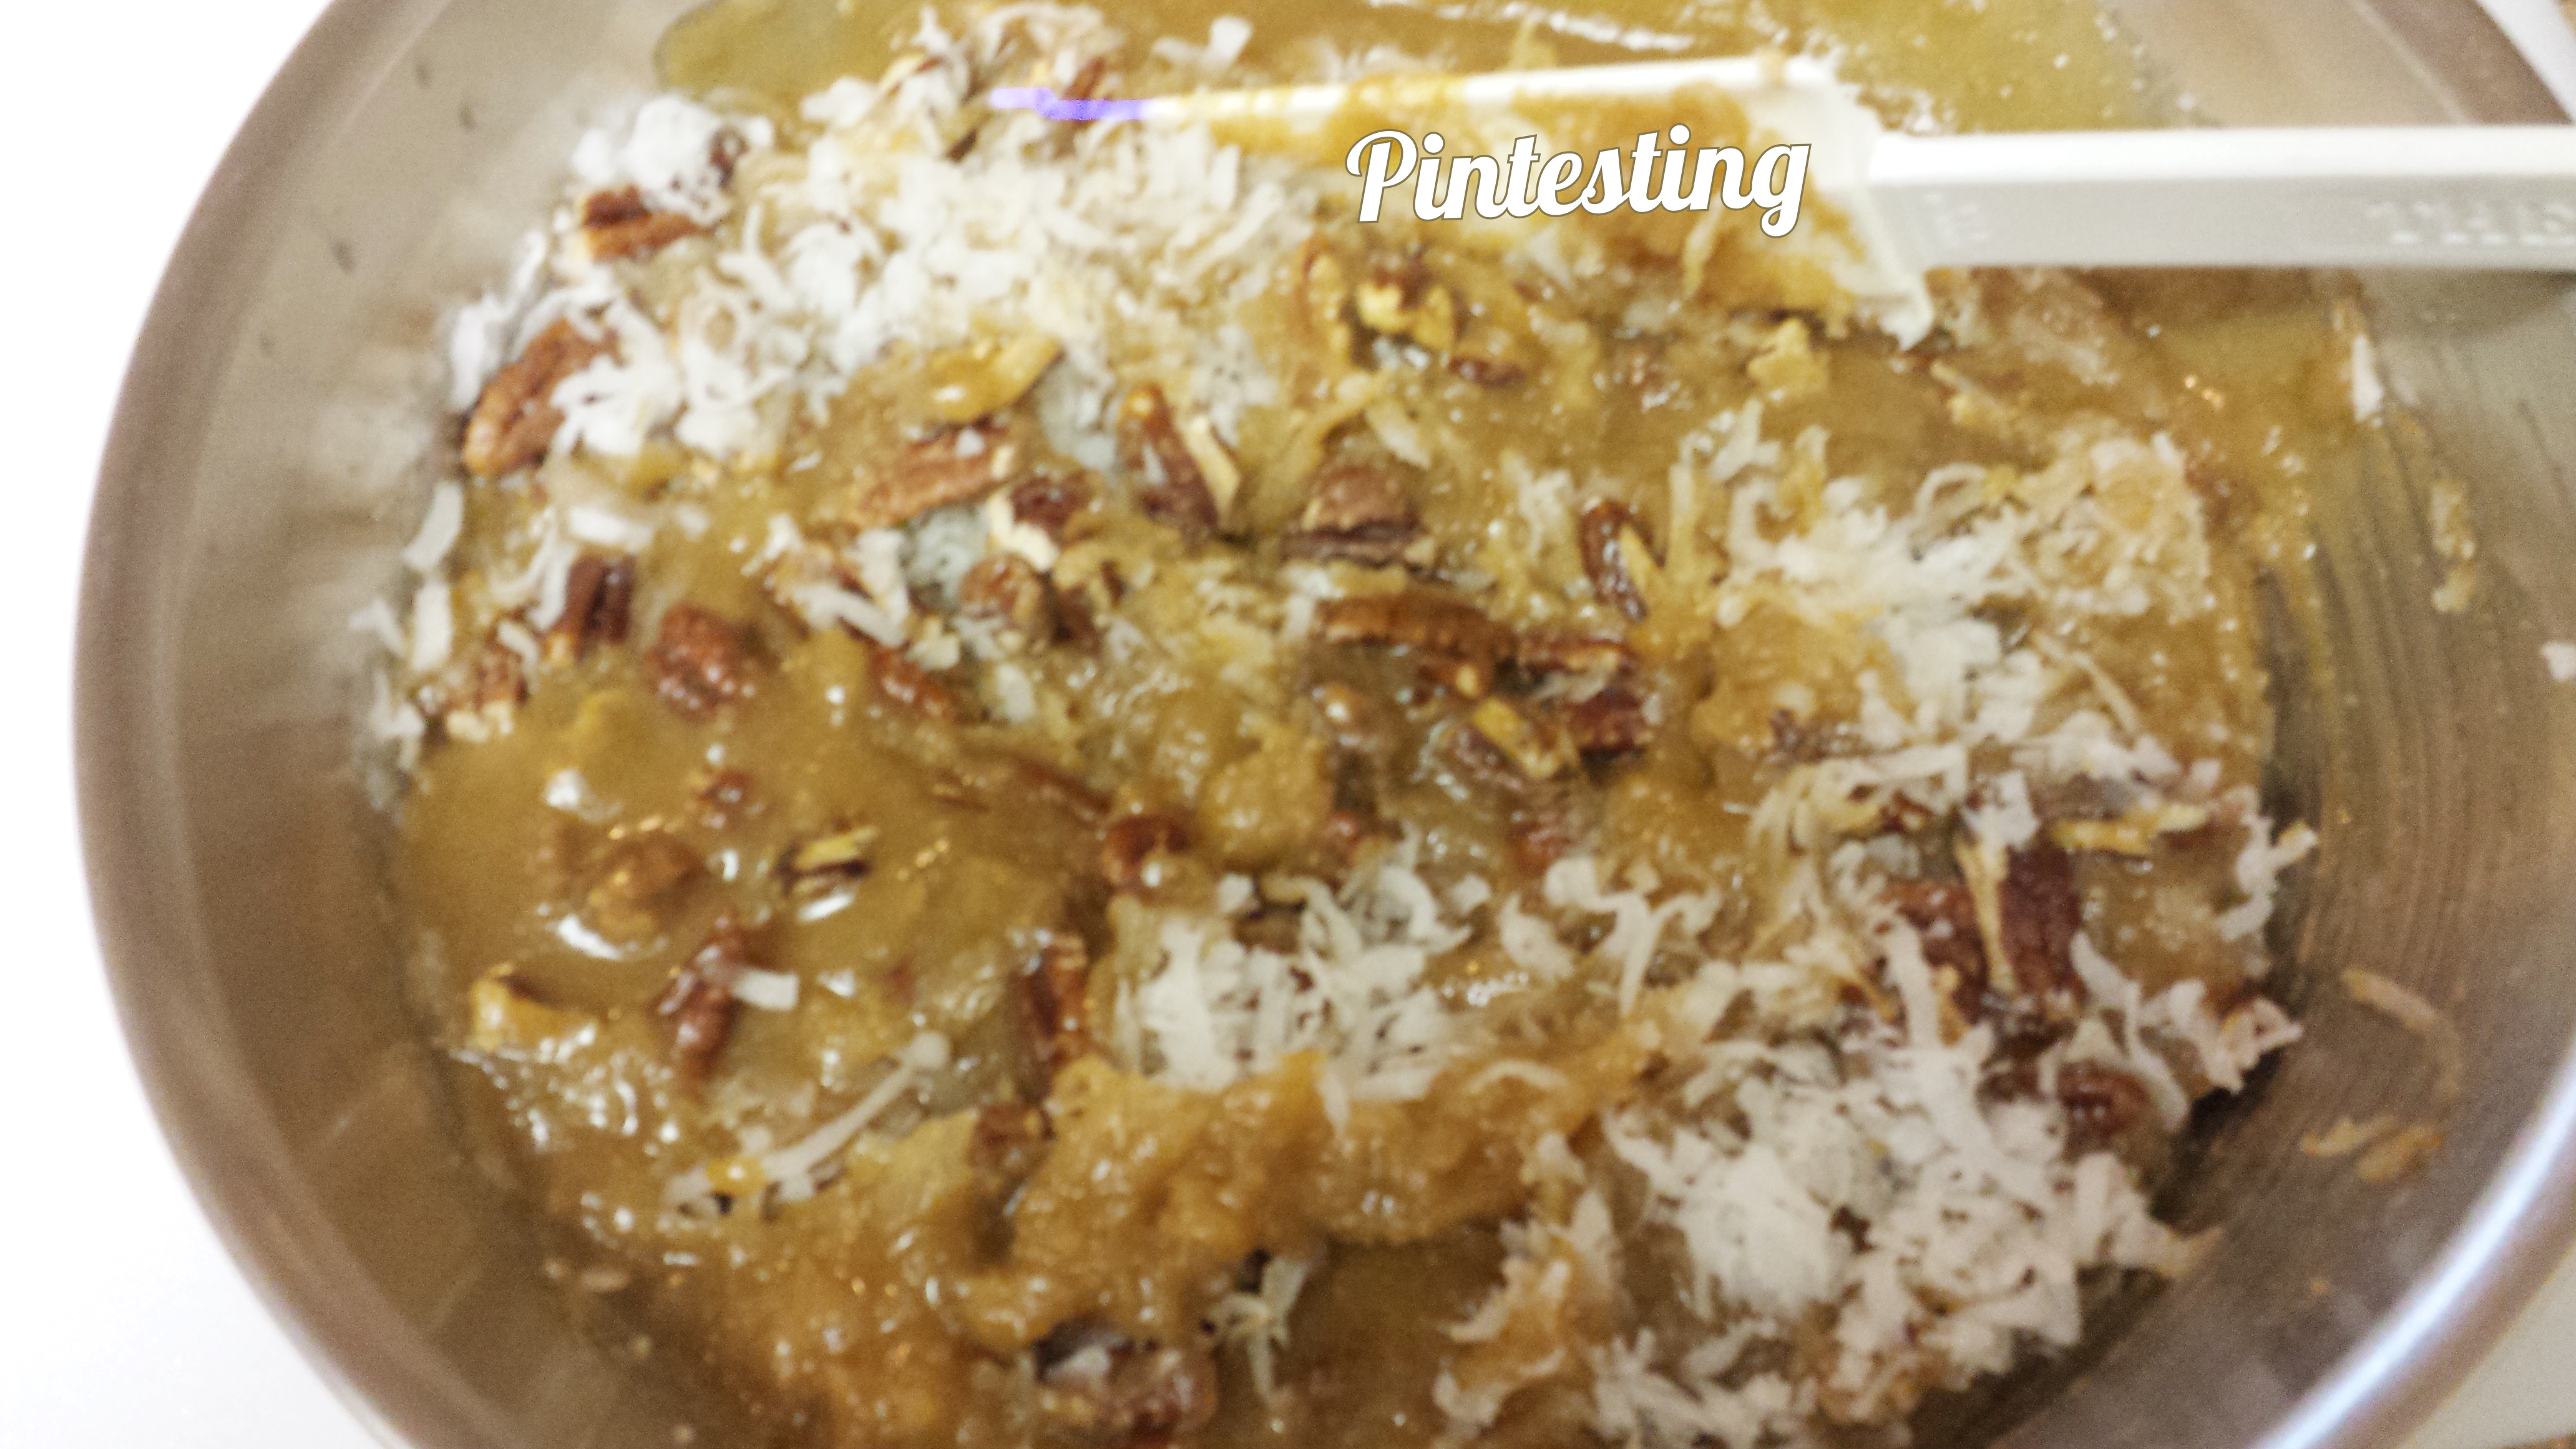
Stir to combine, and let set to cool and thicken more.
This is the point where I deviate from Melissa’s recipe and used my own cake recipe. Also, since this was going for a long car ride to work, I thought a 9×13″ would be more practical.
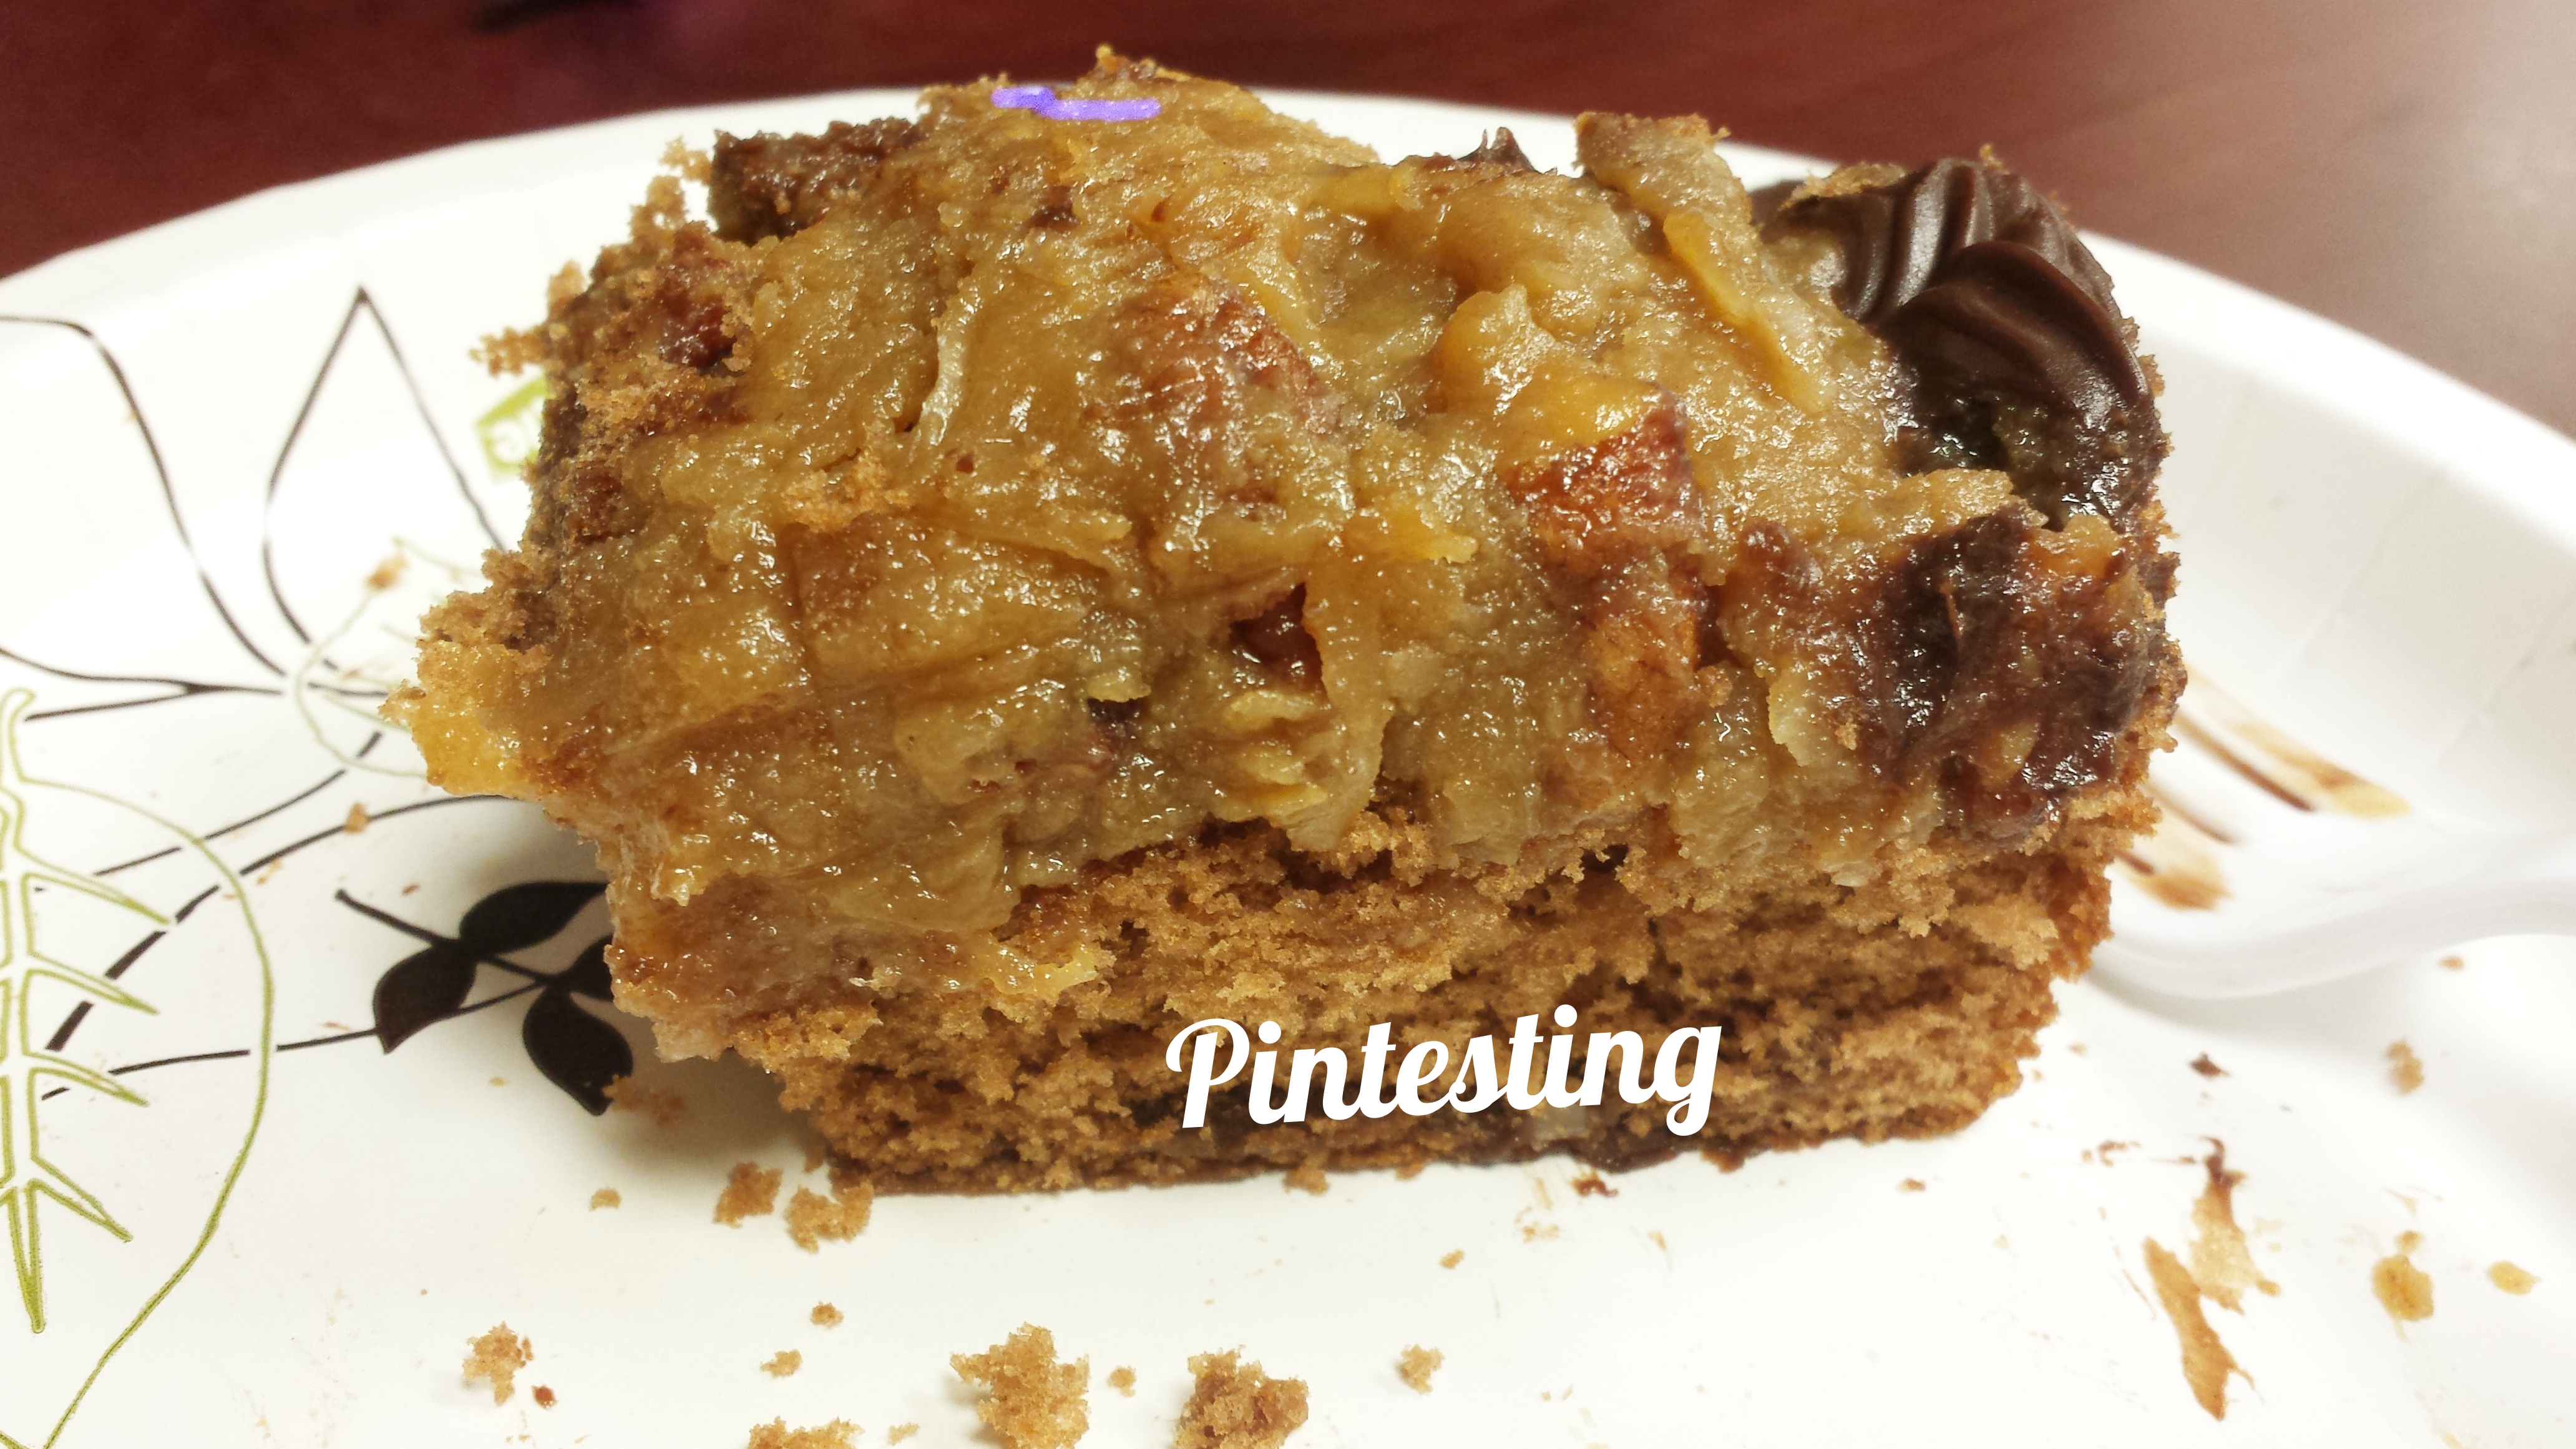
I had some extra chocolate ganache in the fridge, so I piped a border. Then I added the B-day girl’s name. It didn’t turn out as good as I wanted it to, but in my defense it was 5:30 in the morning and I hadn’t had any coffee. Most days I don’t walk and talk before coffee much less bake and decorate a cake. Thanks for understanding.

Jess thought it was sweet (sentiment) and delicious (cake). You can see that the Coconut-Pecan Icing was piled high, and EVERYONE loved it. The next time I make this cake, and I’m DEFINITELY making it again, I’m going to make a layer cake like Melissa did. Then I can edge each layer in chocolate ganache – and NOT write on the top.
Now for the Pintesting results.
Overall Results: 4.4 Pins

Accuracy: This Coconut-Pecan Icing recipe is easily as good as what I get at my favorite bakery. It has a wonderful caramely background to support the crunchy-sweetness of the coconut and toasted nuttiness of the pecans. 5 Pins

Difficulty: Any time you’re making a caramel you are flirting with disaster. I think it’s kind of a culinary rush, but if you’ve ever burned sugar or caramel, you know it’s no laughing matter. The corn syrup and melting the butter and milk with everything all together helps reduce the risk of burning. Another thing to watch is burning the pecans when toasting them. If it smells like they’re done before the timer has gone off, get them out – FAST. Nuts can go from perfection to trash in less than a minute. As long as you don’t get distracted, this recipe will go off without a hitch. But if you take your eyes off for too long, then very bad things can happen and your smoke detector will yell at you. 3 Pins

Time: This recipe was ready in the time it took to bake and cool the cake. I started the icing first, then got the cake going. Total time, including cooling was about 40 minutes. I did help the cooling by chilling the metal bowl and stirring often. It’s great when things time out perfectly. 4 Pins

Cost: Since I had everything on hand, I’m going by approximate memory of cost for most items. Fortunately most of the ingredients are common to most kitchens. The possible exceptions could be the corn syrup, coconut, and pecans. If you had to buy these three ingredients you’d be under $10 and you’d have leftovers for the next time. 4 Pins
Practicality: I’m not sure when I’ve last wanted to sit down and eat a whole bowl of frosting with a spoon, but this would definitely call for it. It makes a LOT and doesn’t take long. I’ve found my new go-to recipe. 5 Pins