Category: Desserts

Secret-Layer Cakes Cookbook Review & A Giveaway

Pintesting Secret-Layer Cakes Cookbook - Mexican Hot Chocolate Cookie Pudding & A Giveaway

I’m so excited to share this cookbook review for Dini Kodippili’s brand new cookbook, Secret-Layer Cakes. Dini has a blog called The Flavor Bender with delicious food and beverage recipes packed with loads of flavor. Before I tell you about the Mexican Hot Chocolate Cookie Pudding that I’m Pintesting, I have to tell you about the recipe that caught my eye.

Pintesting Mexican Hot Chocolate Cookie Pudding - Secret-Layer Cakes Cookbook

I have a love of bacon, as you can see from this, this, this, and this post. So when I saw that Dini had a recipe for a Brownie Bottom Candied Bacon Cheesecake, I just about lost it. Brownie + Cheesecake is always delicious, but the add Candied Bacon?!?!?! And just look at that ganache that blankets the lot with chocolate. I’ve had maple-candied bacon. I’ve had chocolate covered bacon. But this looks swoon-worthy.

Pintesting Mexican Hot Chocolate Cookie Pudding - Brownie Bottom Candied Bacon Cheesecake Cookbook Review & A Giveaway

But the recipe I’m testing is the Mexican Hot Chocolate Cookie Pudding. I was so excited to try this because it’s very tiramisu-ish (if that’s a word). It’s a no-bake dessert – like tiramisu – but instead of using ladyfingers, espresso, and a mascarpone custard mixture it uses Maria cookies, milk, a Mexican Hot Chocolate buttercream, and is topped with stabilized whipped cream and toasted marshmallows. And if that wasn’t enough, the cinnamon and hint of cayenne in the buttercream is a fantastic replication of what makes a Mexican hot chocolate so unique.

Pintesting Mexican Hot Chocolate Cookie Pudding - Cookbook Review & Giveaway

The Pintesting:

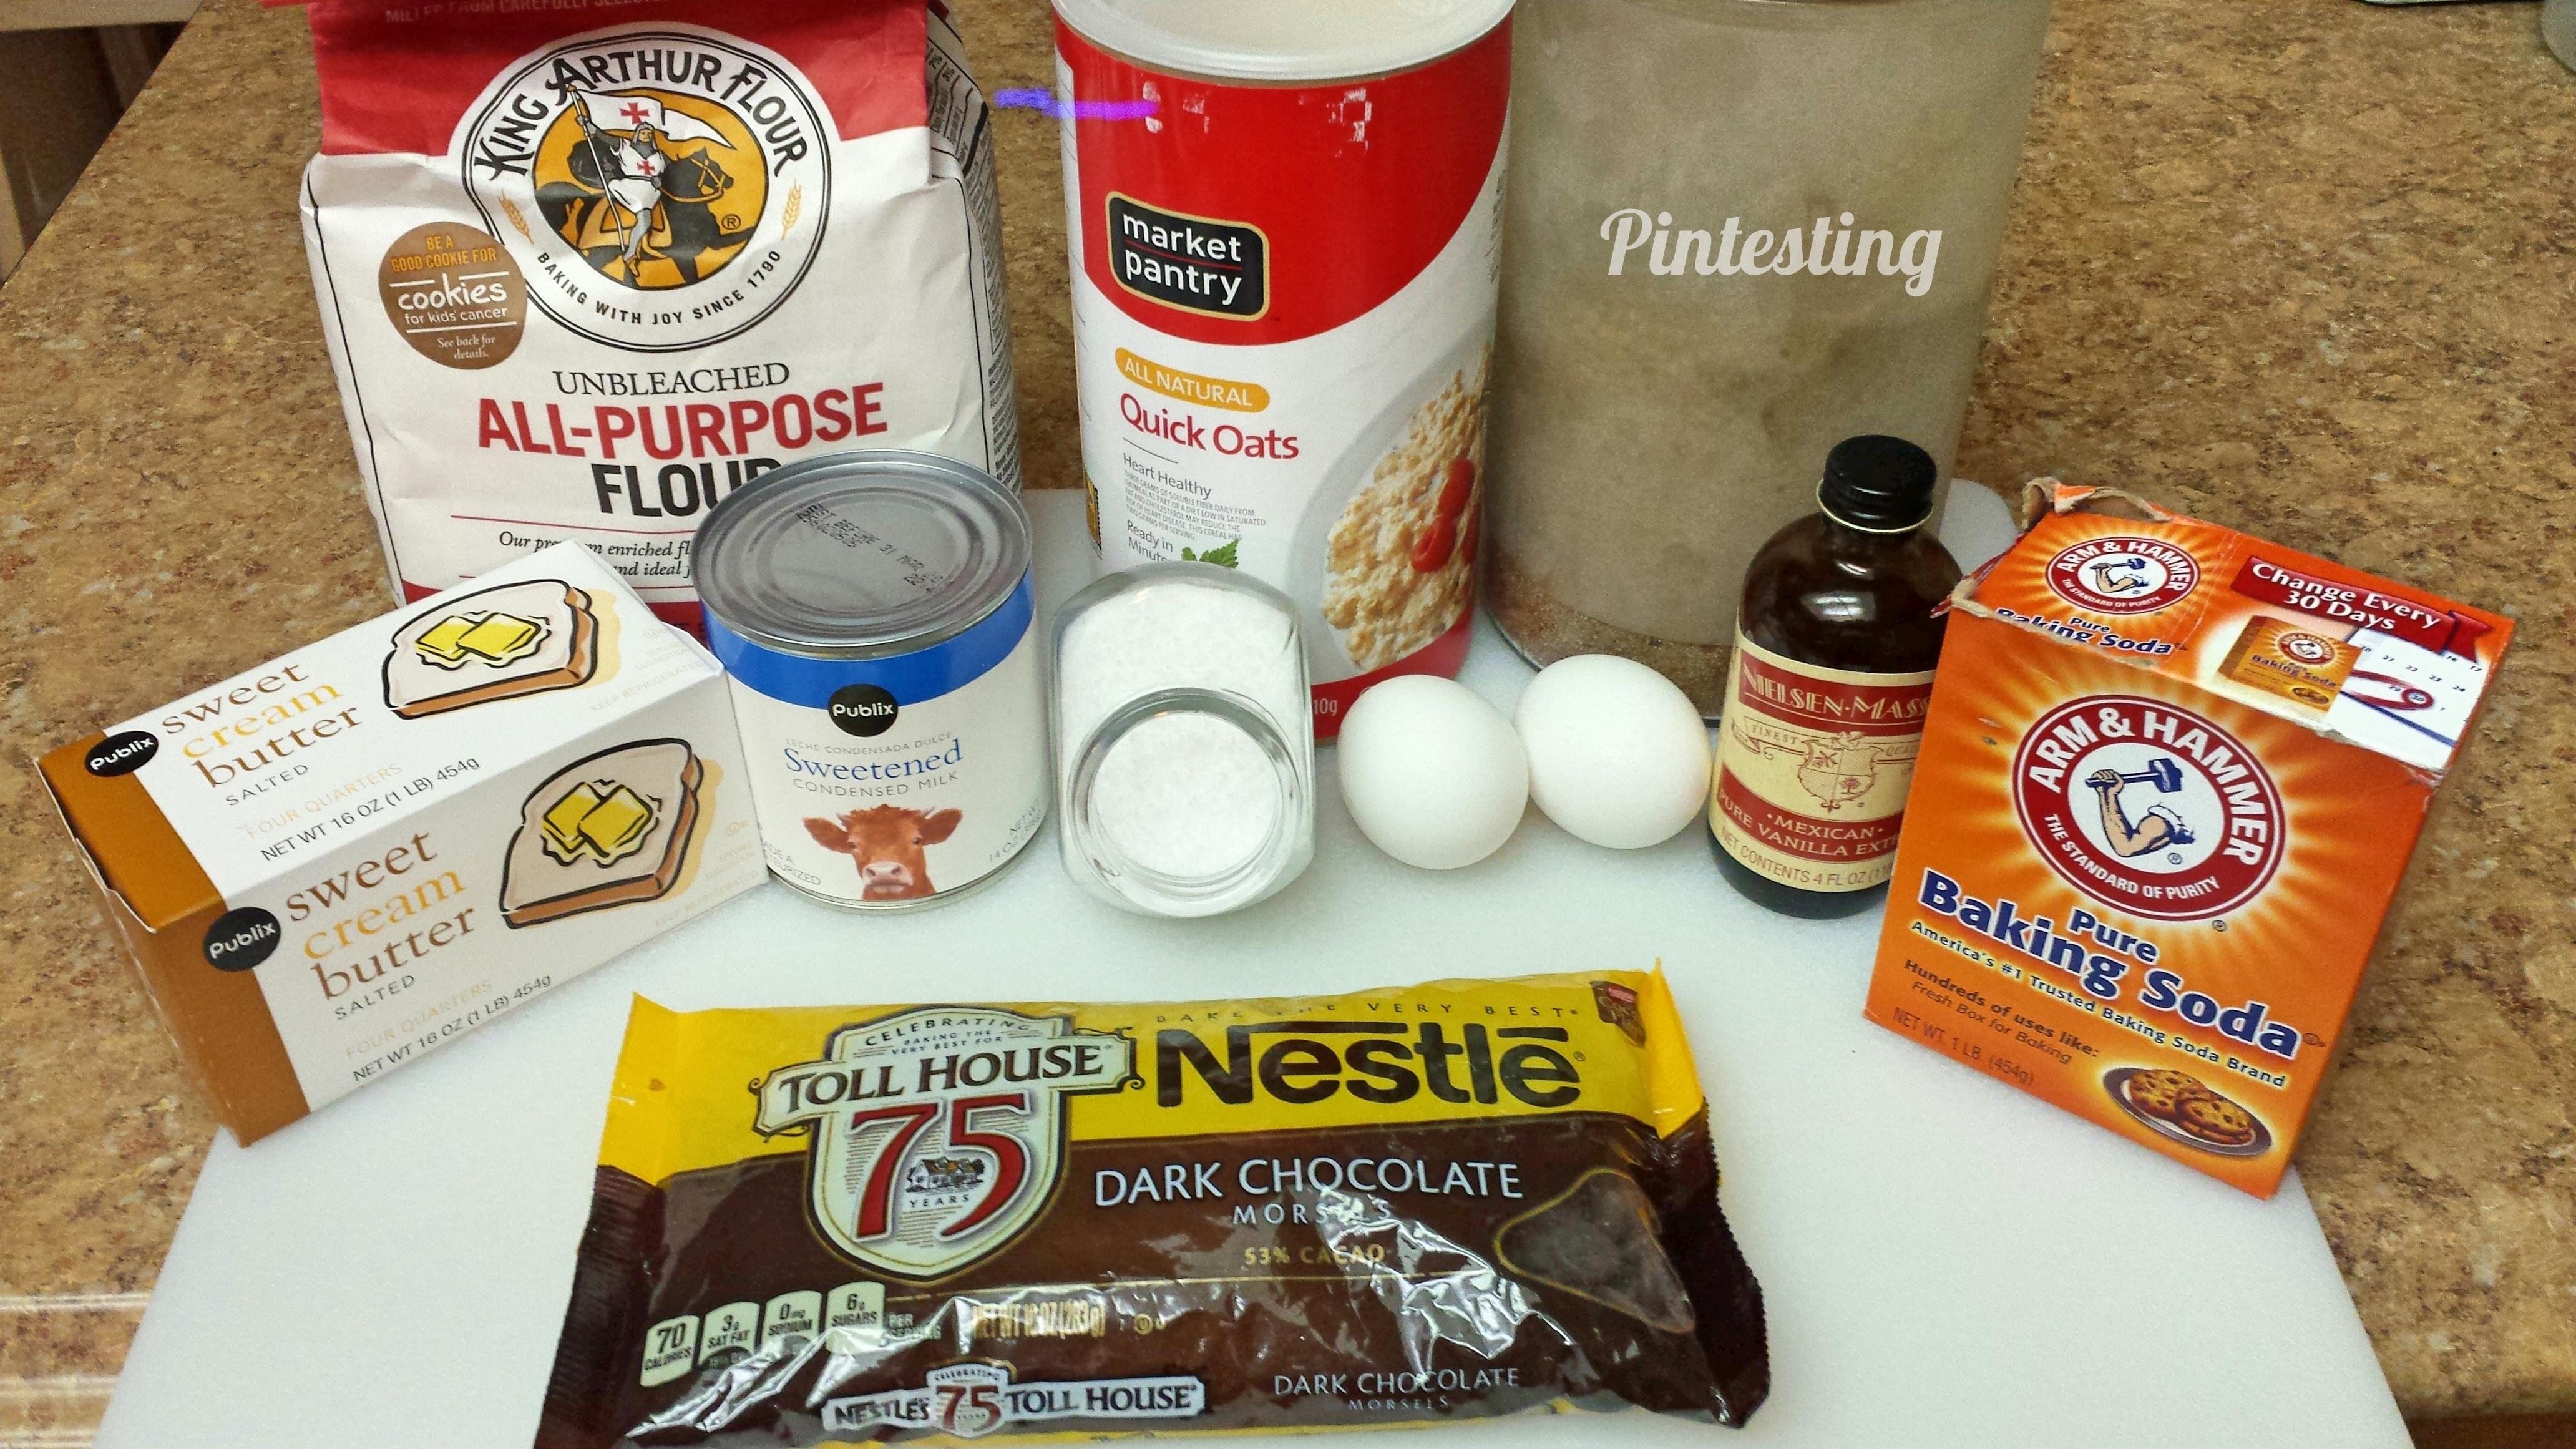
Rather than break them up, I included all of the ingredients for all components for this dessert. This is definitely a recipe that you want to have all of your ingredients all prepped and ready for – mise en place!

Pintesting Mexican Hot Chocolate Cookie Pudding - Ingredients

The Buttercream:

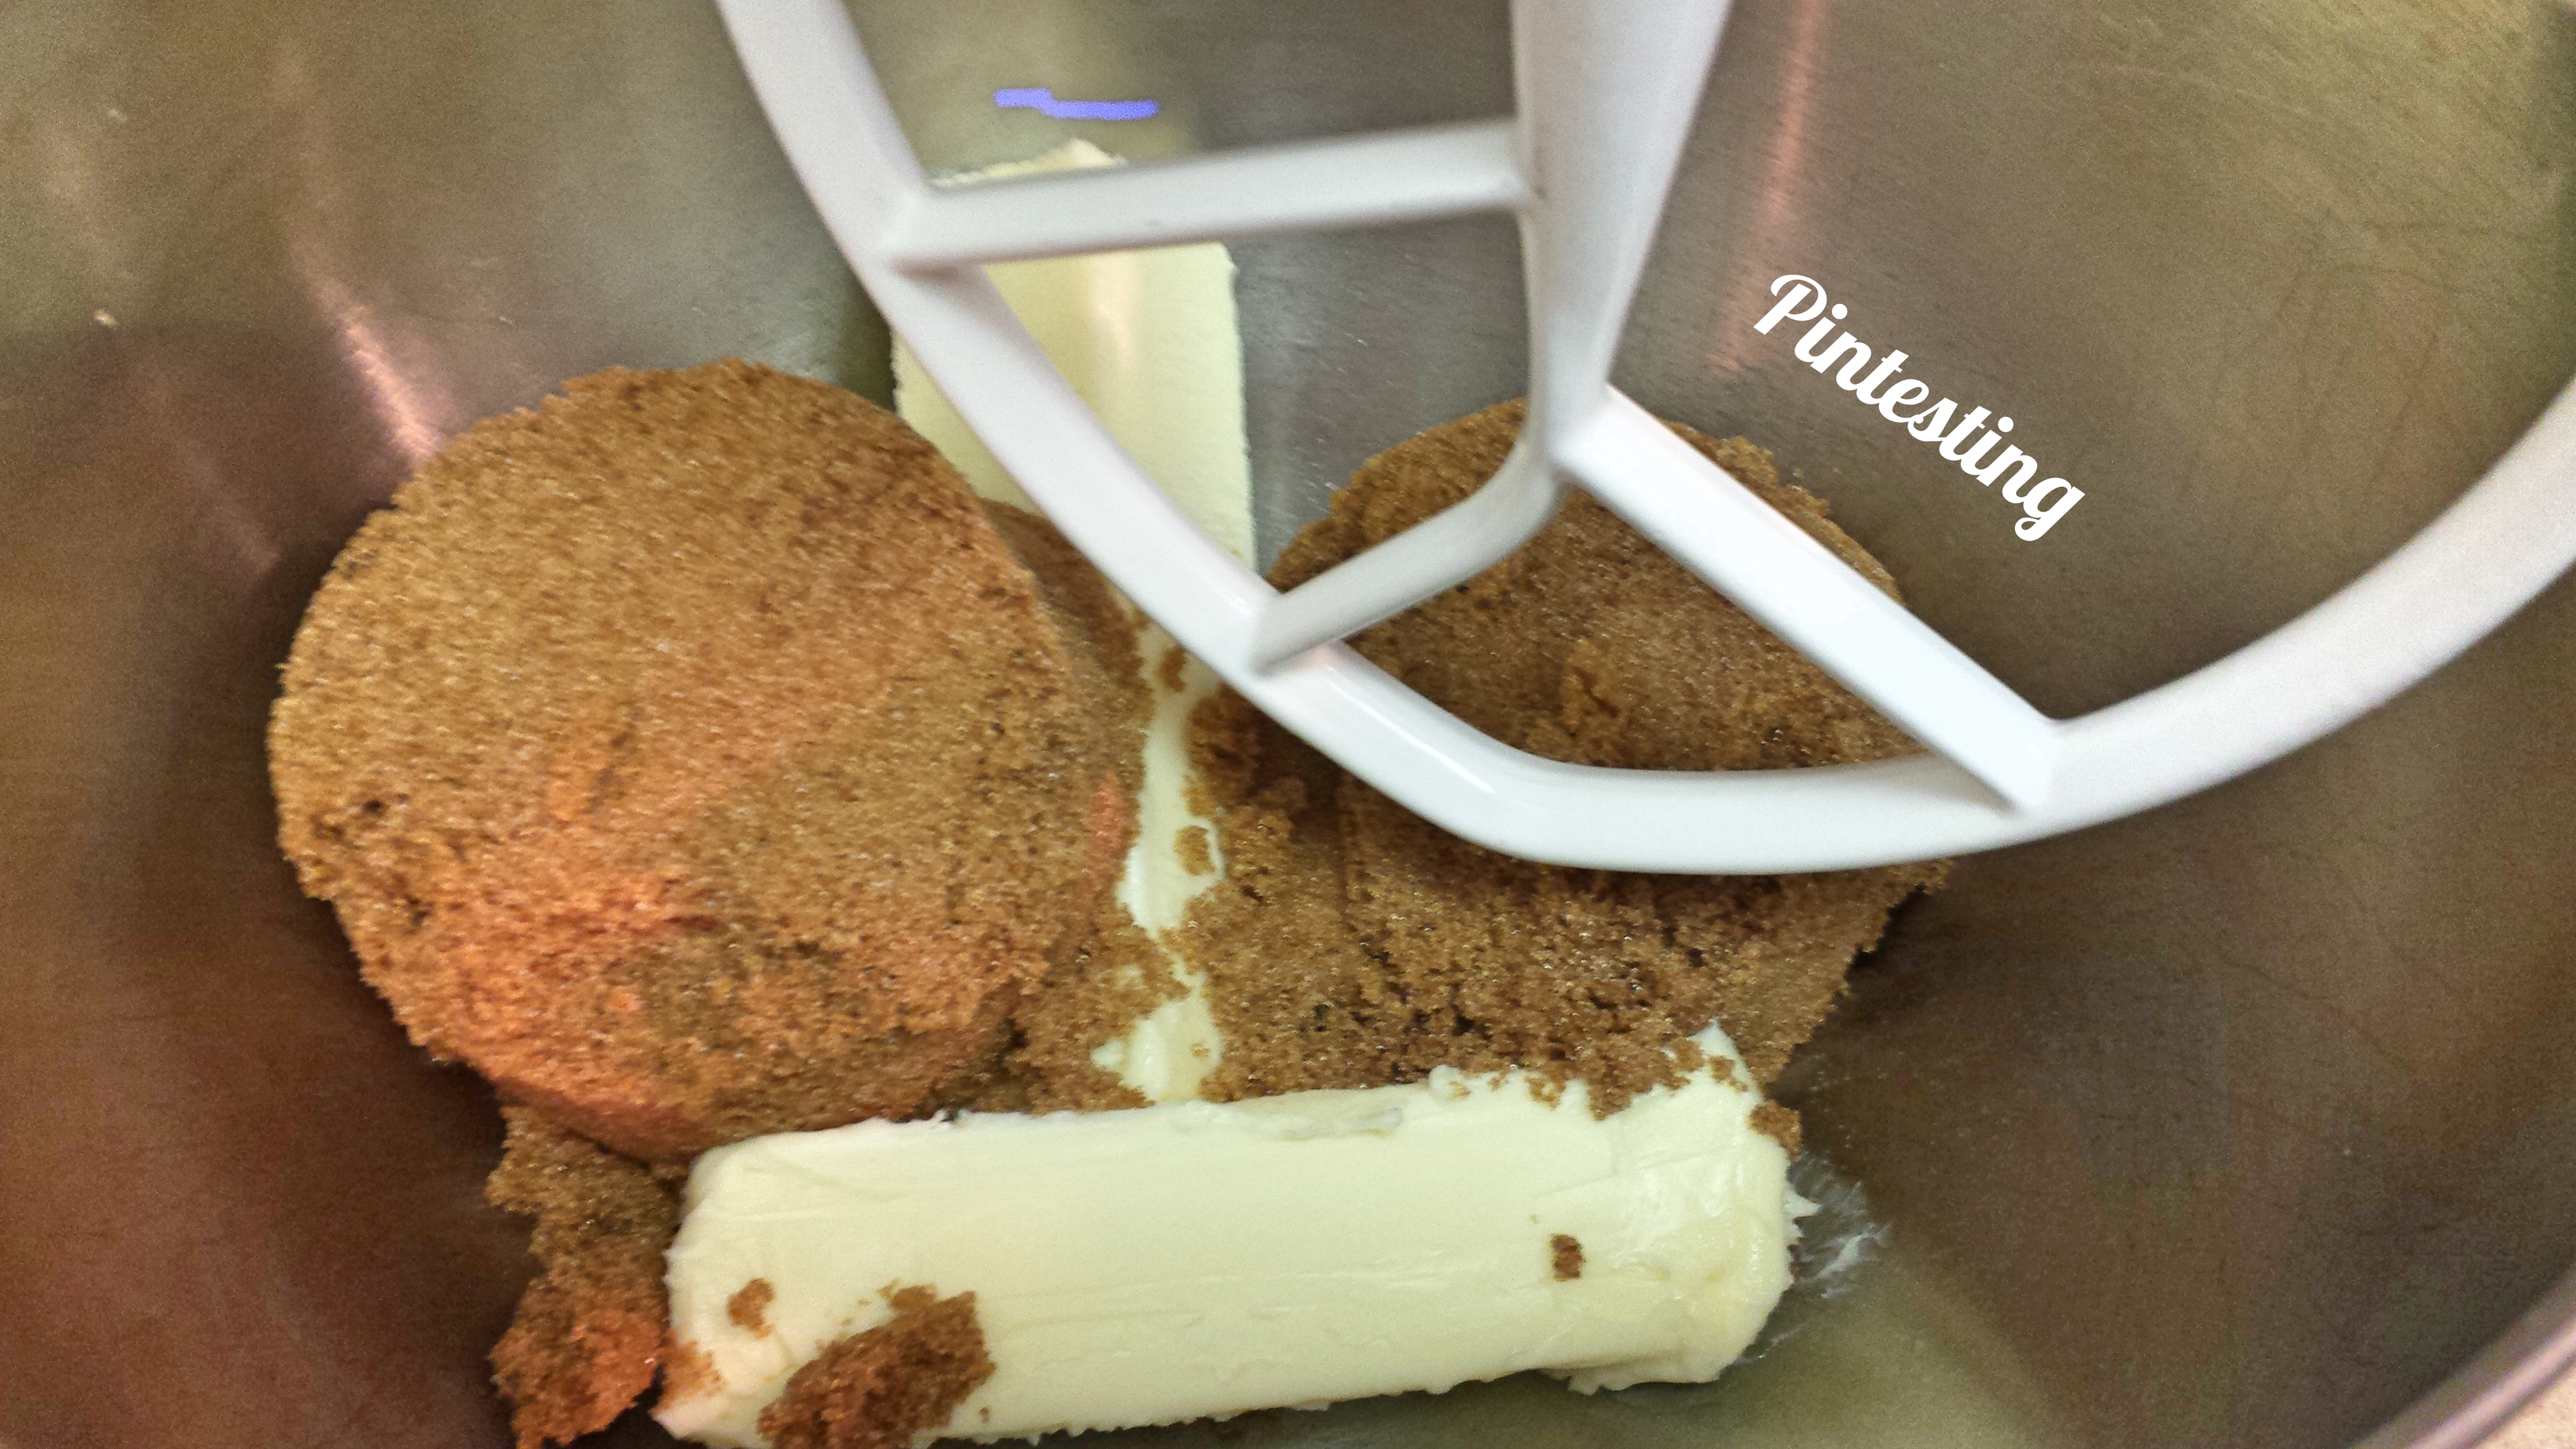
The Custard/Swiss/French Buttercream starts with 6 egg yolks and 3 whole eggs and sugar.

Pintesting Mexican Hot Chocolate Cookie Pudding - Eggs & Sugar

Whisk them with the spices.

Pintesting Mexican Hot Chocolate Cookie Pudding - Whisk with spices

Once they’re mixed, continue to whisk them over a double boiler so that you’re not eating raw eggs. You’ll want to keep whisking by hand for this or you’ll have a layer of scrambled eggs in the bottom of the bowl.

Pintesting Mexican Hot Chocolate Cookie Pudding - Waterbath

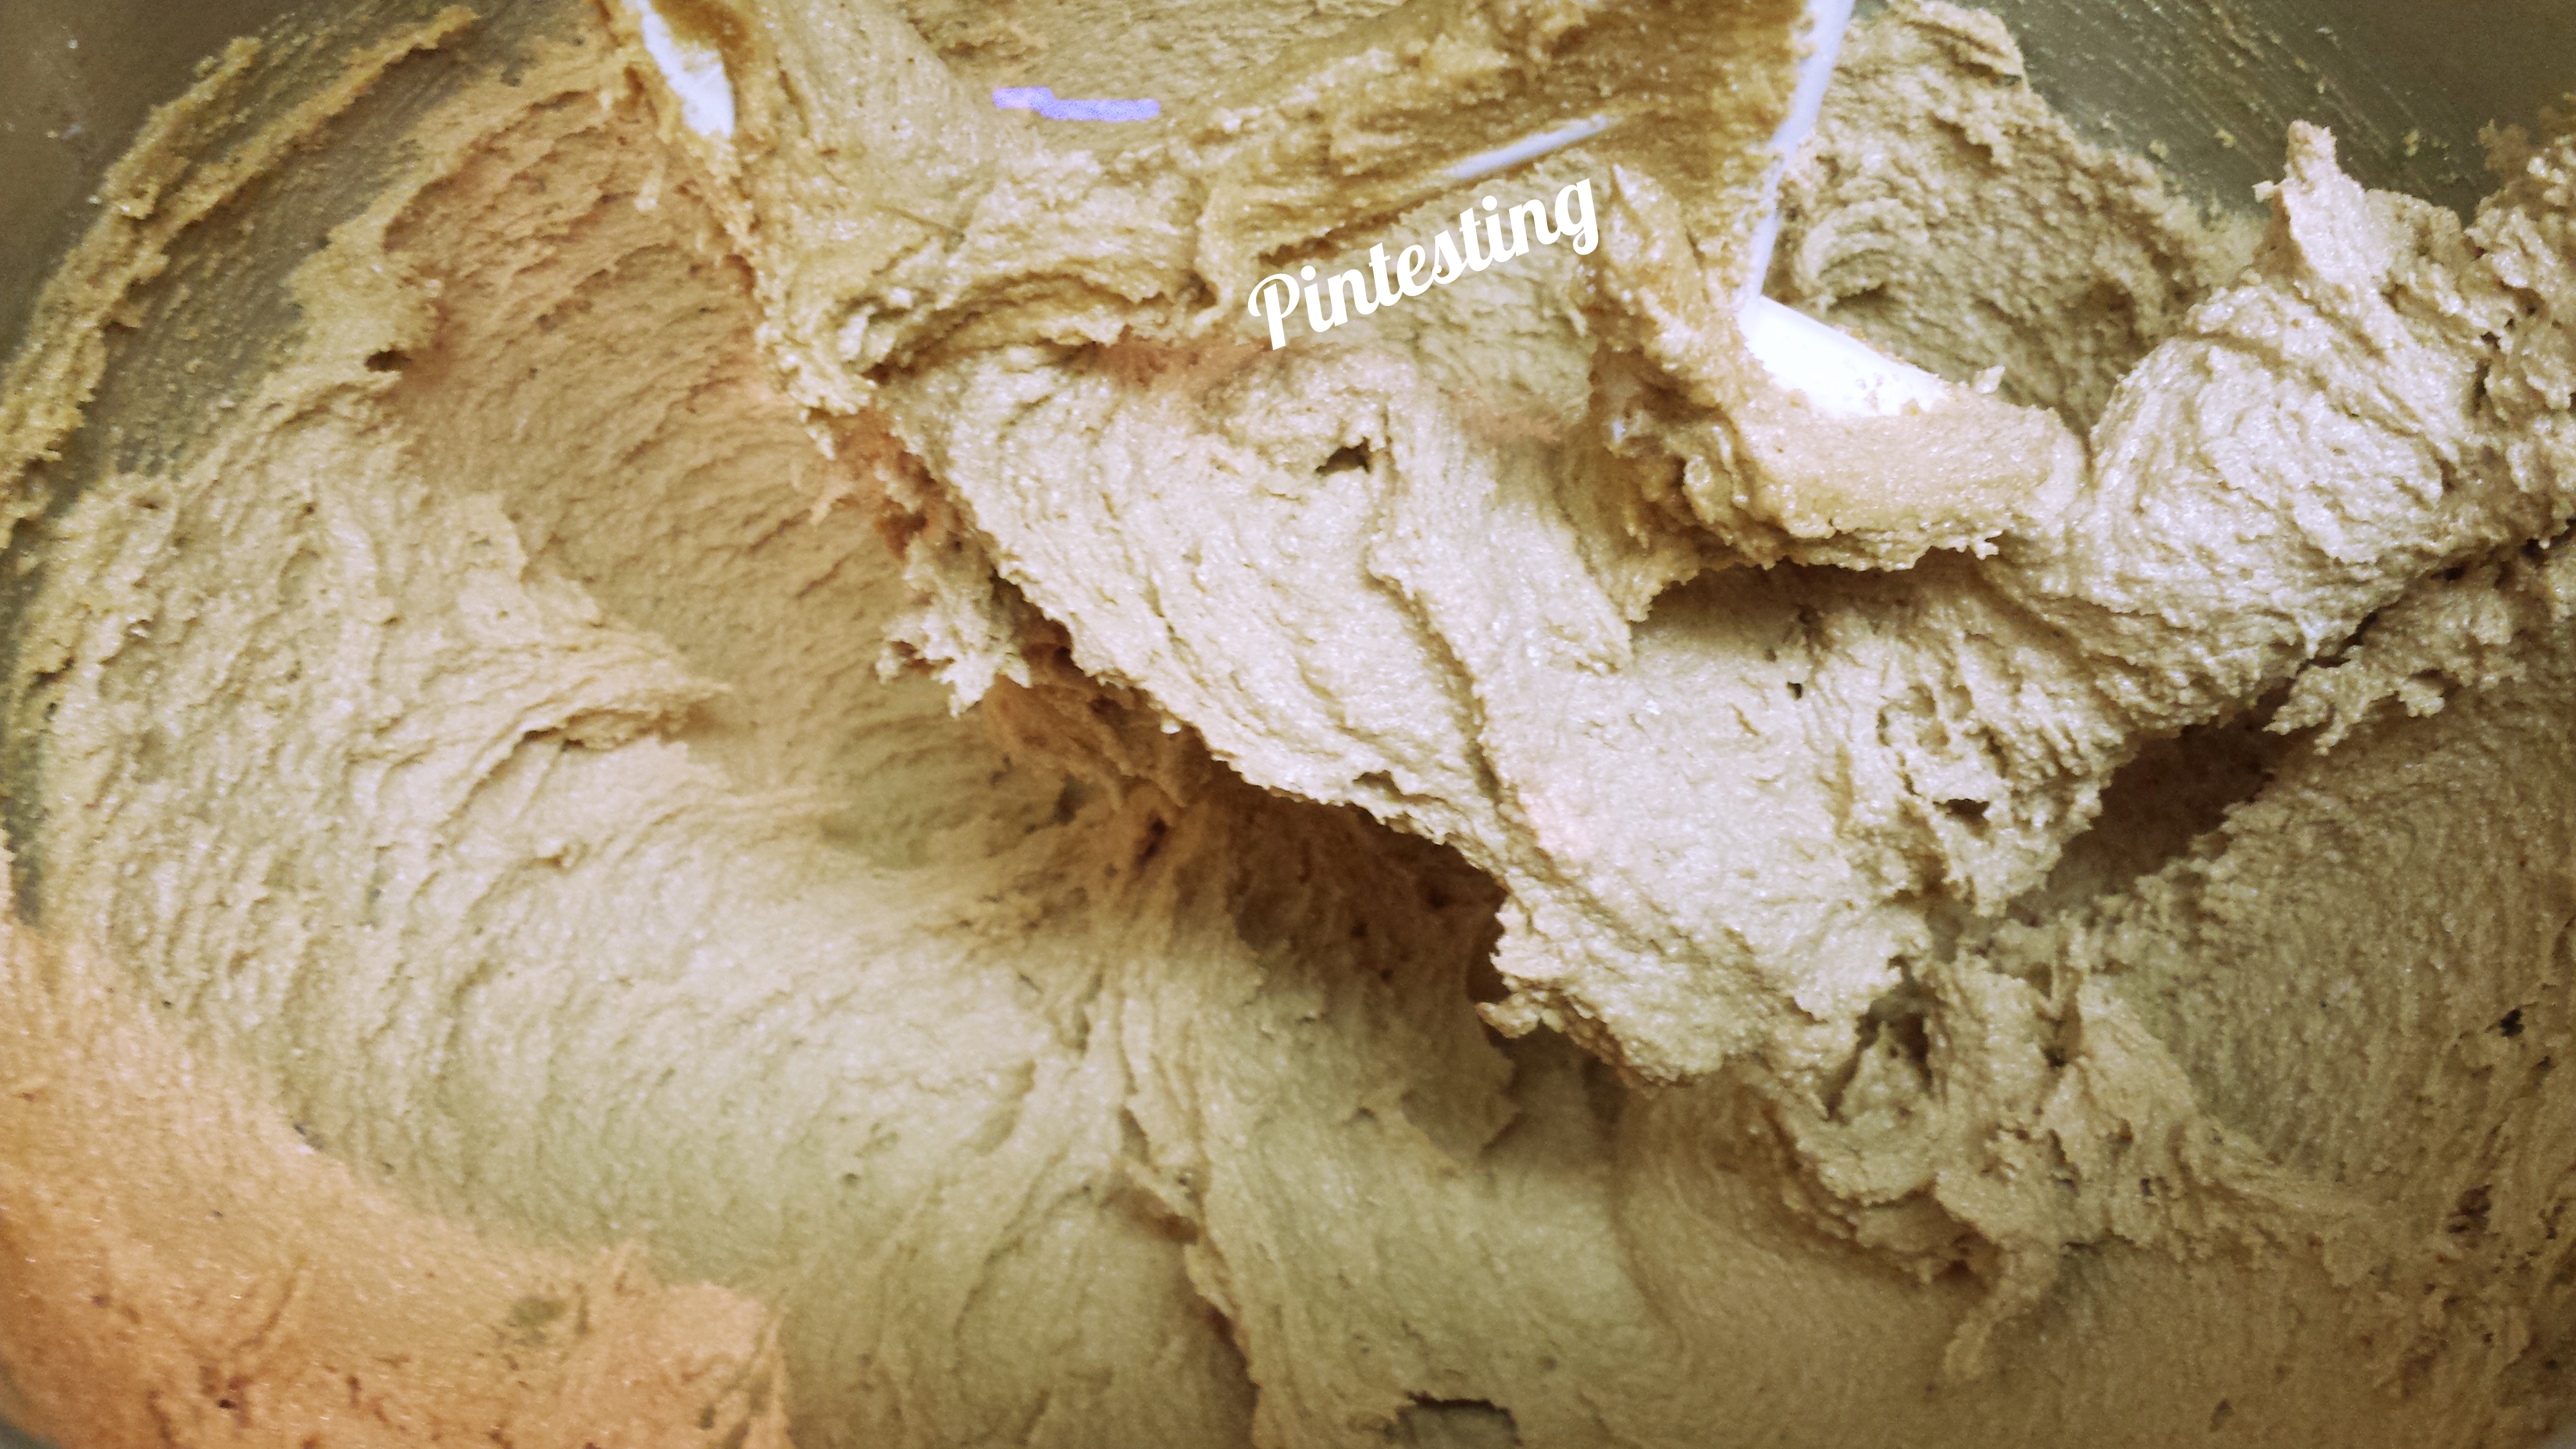
After about 7 minutes on the double boiler, remove the bowl from the heat and whisk even more to cool the mixture down. Then mix in the butter, one stick at a time, until it’s fluffy.

Pintesting Mexican Hot Chocolate Cookie Pudding - Add Butter

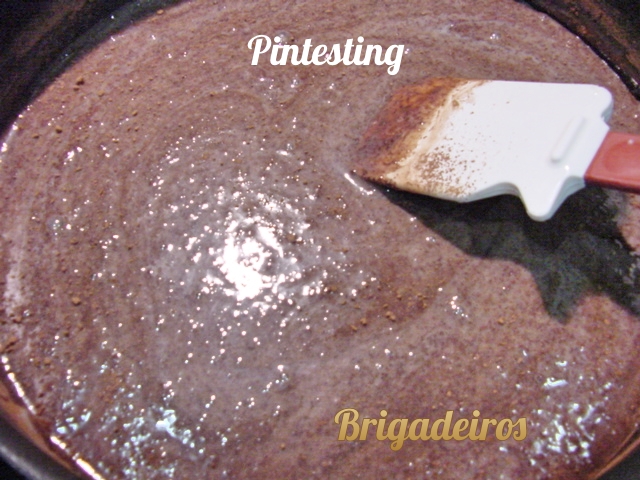
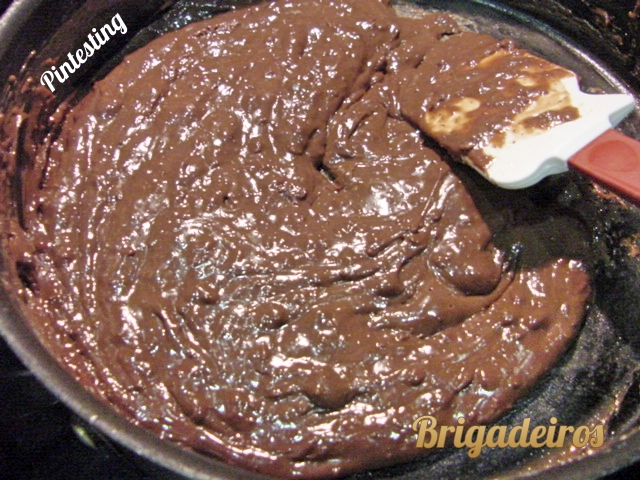
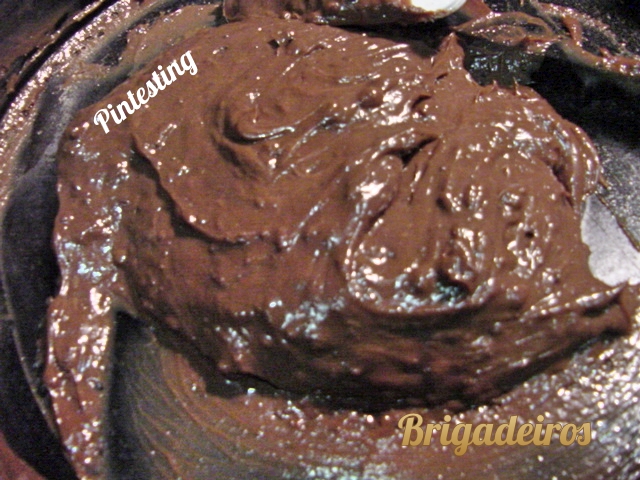
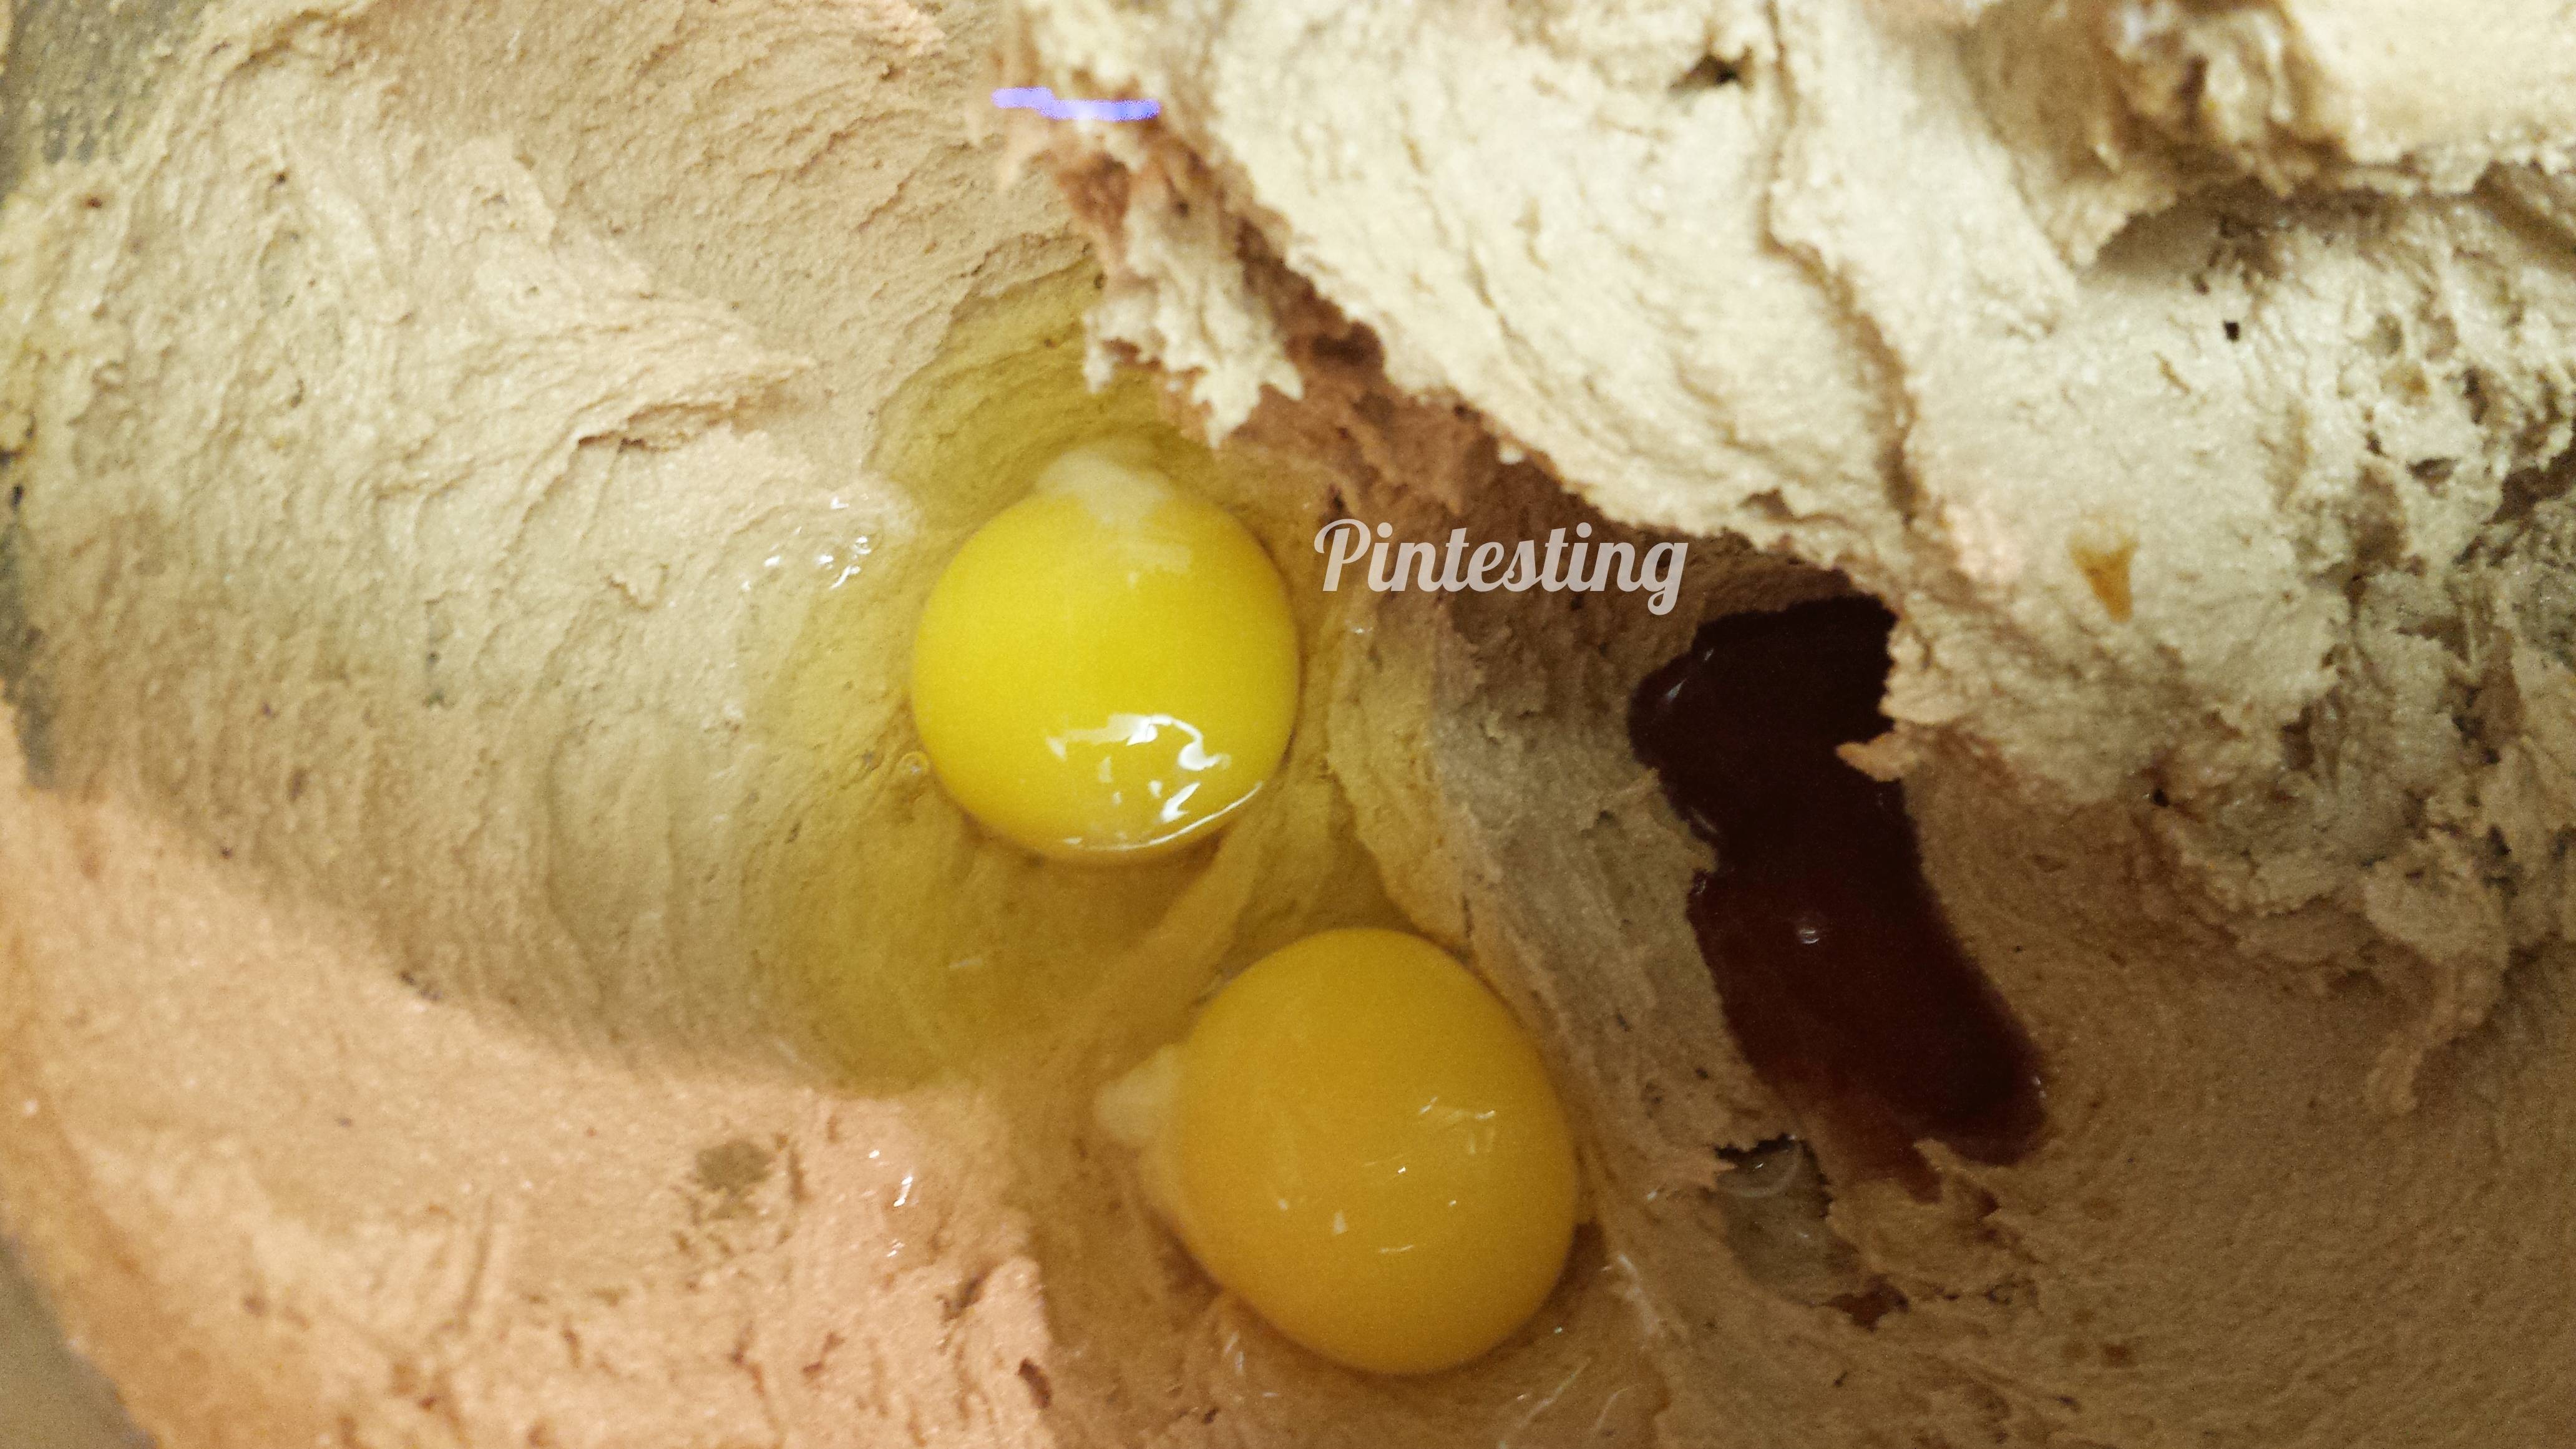
Add the melted chocolates and vanilla.

Pintesting Mexican Hot Chocolate Cookie Pudding - Add Chocolates

Now it should look exactly like it does in the cookbook. I was so excited to see it an EXACT MATCH!

Pintesting Mexican Hot Chocolate Cookie Pudding - Buttercream

The Stabilized Whipped Cream:

Stabilized whipped cream is something that every baker should know how to make. It’s perfect to use when you want your desserts to look fabulous for more than 10 minutes. I use stabilized whipped cream for things like strawberry shortcake or as a light frosting.

Pintesting Mexican Hot Chocolate Cookie Pudding - Gelatine

First, sprinkle the gelatin powder onto the water.

Pintesting Mexican Hot Chocolate Cookie Pudding - Gelatine Bloomed

Once the gelatin has bloomed, or solidified, then microwave it to melt it into a liquid state.

Pintesting Mexican Hot Chocolate Cookie Pudding - Gelatine Bloomed & Melted

Prior to all this, chill the mixing bowl and whisk in the freezer. This will give the best results for whipped cream. You want them COLD!

Pintesting Mexican Hot Chocolate Cookie Pudding - Chilled Bowl & Whipping Cream

Whip the heavy cream and add the melted gelatin once the cream starts to get soft peaks.

Pintesting Mexican Hot Chocolate Cookie Pudding - Stablized Whipped Cream

Keep whipping until you have stiff peaks but DON’T walk away or you’ll end up with butter.

*You can make the buttercream and stabilized whipped cream components and stop here if you’re planning ahead of time or you can assemble the dessert from this point.

Assembly:

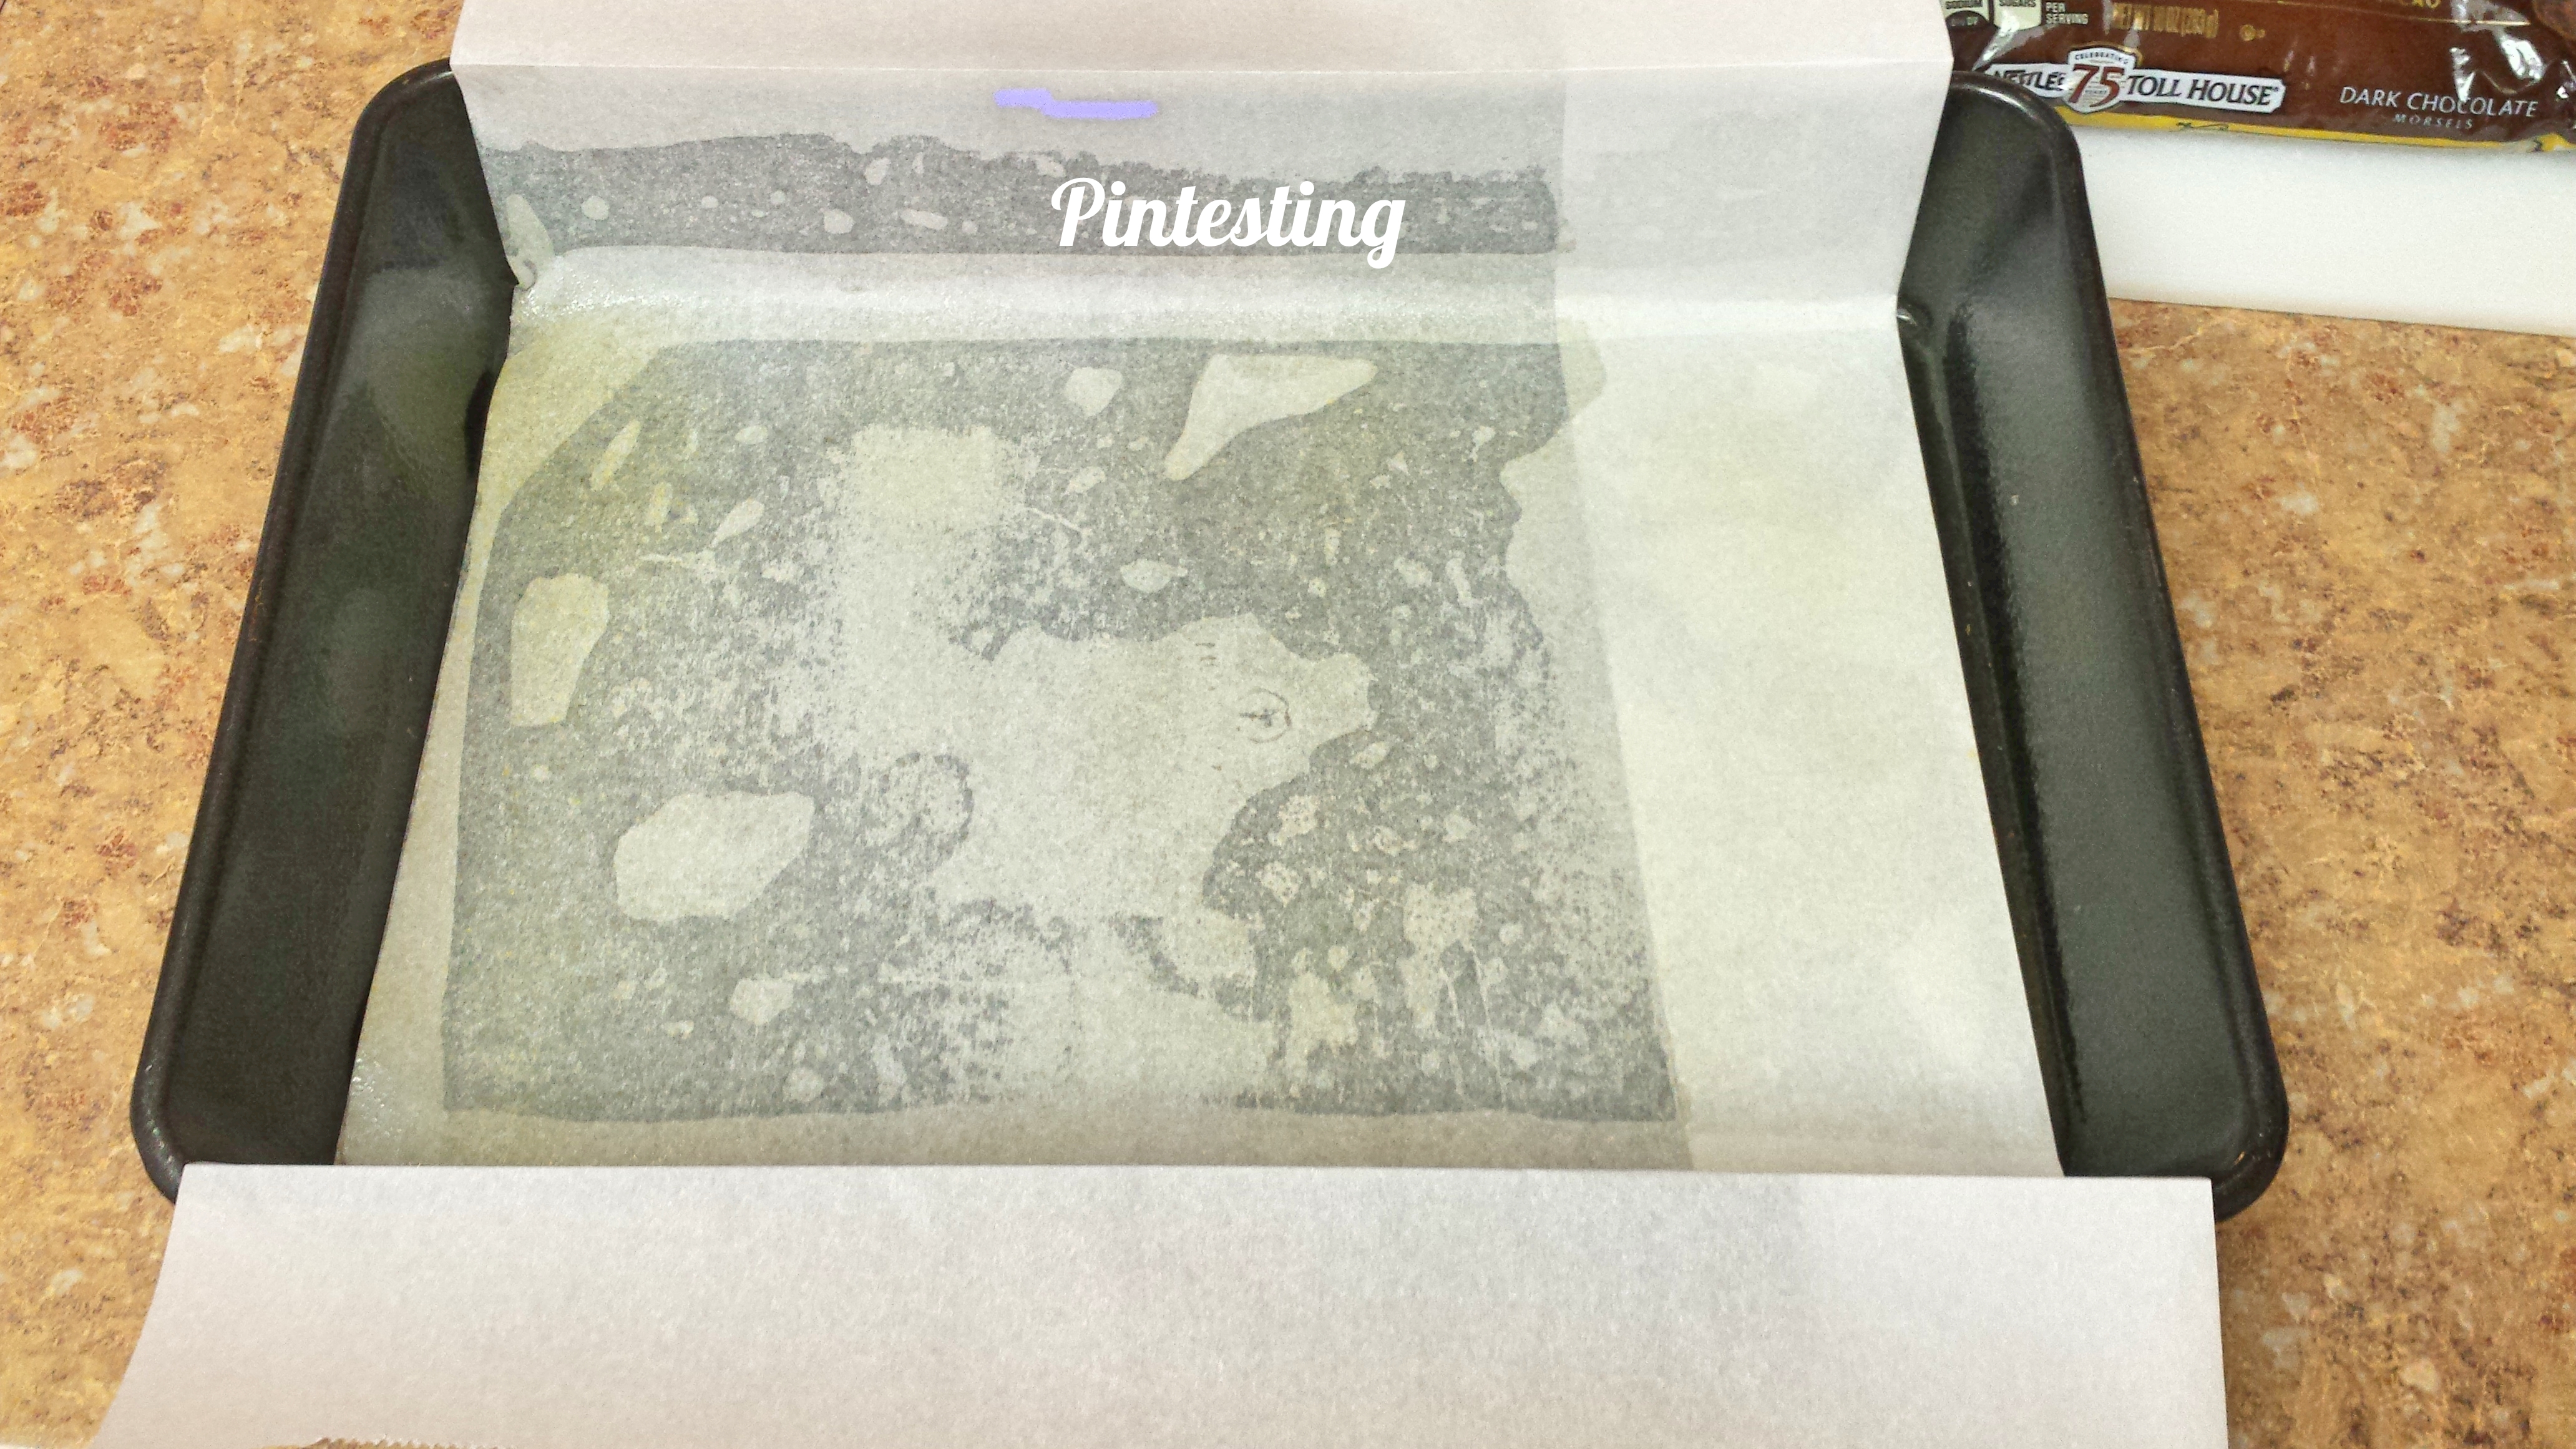
Prepare a springform pan by covering the bottom and sides with parchment. My parchment ring for the sides went above the sides of the pan – and it’s a good thing.

Pintesting Mexican Hot Chocolate Cookie Pudding - Parchment Lined

In a tiramisu-ish fashion, dip the cookies in warmed milk and layer in the bottom of the pan.

Pintesting Mexican Hot Chocolate Cookie Pudding - Maria Cookies & Milk

***NOTE: Don’t soak them for more than 1-2 seconds or you’ll end up with a soggy milk mess.

Pintesting Mexican Hot Chocolate Cookie Pudding - Oops

Layer the soaked cookies to make a crust.

Pintesting Mexican Hot Chocolate Cookie Pudding - First Layer in Prepped Pan

Then spread it with a layer of the buttercream.

Pintesting Mexican Hot Chocolate Cookie Pudding - Second Layer

Continue layering for at least 4-5 cookie layers.

Pintesting Mexican Hot Chocolate Cookie Pudding - Keep Layering

Smooth the top layer of buttercream.

Pintesting Mexican Hot Chocolate Cookie Pudding - Finish Layers w Buttercream

Top with the stabilized whipped cream.

Pintesting Mexican Hot Chocolate Cookie Pudding - Top with Sablized Whipped Cream

Chill to let the flavors and textures get all happy and perfect. I recommend overnight, but wait at least a couple of hours.

Pintesting Mexican Hot Chocolate Cookie Pudding - Look how thick

Do you see how tall this cake is? THIS is why the extra height of the parchment liner is helpful.

Pintesting Mexican Hot Chocolate Cookie Pudding - Top with Marshmallows

Now comes the fun part. Put a ring of marshmallows on the cake, get your kitchen torch, and toast them like you’re on a campout.

Pintesting Mexican Hot Chocolate Cookie Pudding - Torch Marshmallows

***NOTE: If you don’t have a kitchen (or other) torch, DO NOT try to toast the marshmallows in the oven broiler – it will melt the cake.

Pintesting Mexican Hot Chocolate Cookie Pudding - Chilled Cake

This is how the Mexican Hot Chocolate Cookie Pudding… cake looks when it’s done.

Pintesting Mexican Hot Chocolate Cookie Pudding - Chilled Cake Half

Just look at all of those layers of cookies and buttercream! The left side shows how it looked after it chilled for just under 2 hours before I cut a slice. The right side shows how the cake looked after chilling overnight.

This was one of the most flavorful desserts I’ve ever made. I really loved the ‘Mexican Hot Chocolatey’ cinnamon and cayenne kick that is balanced by the cool of the whipped cream. The Maria cookies aren’t sweet so the dessert isn’t cloying. I had work colleagues, coffee-house friends, and random strangers taste it. Here’s what they said:

  • “decadent without being too rich”
  • “the most delicious thing I’ve ever eaten”
  • “it’s cool, light, and has a zap that surprises”

While it isn’t on Pinterest, I’m going to be giving my usual Pintesting results. But first – LET’S DO A GIVEAWAY!

The Giveaway:

If you want a chance to win a copy of the Secret-Layer Cakes Cookbook, use the Rafflecopter below to enter. One lucky winner will get a copy of the Secret-Layer Cakes to make your own desserts with “hidden fillings and flavors.”

CONGRATULATIONS to Jessica, the winner of the cookbook giveaway! If you didn’t win, you can still order your copy by clicking here.

a Rafflecopter giveaway

The Pintesting:

Overall Results: 4.25

Pintesting Seal 4 Pins

Accuracy:  This dessert turned out EXACTLY like the recipe said it would. Every step of each component was well laid out with clear directions. The flavors in the buttercream were spot on with a Mexican hot chocolate; rich and complex. The milk-soaked Maria cookies carried the texture in tiramisu fashion. The stabilized whipped cream and toasted marshmallows were the, well, icing on the cake. (Pun incredibly intended.) 5 Pins

Pintesting Rating - 5 Pins

Difficulty: This might not a great cake choice for a novice – even if it is a “no bake” dessert. There are several components. The buttercream is a cross between a custard-based French buttercream and egg-white-based Swiss buttercream. An experienced baker should be fine with this, but it could be a challenge to someone lacking. 4 Pins

Pintesting Rating - 4 Pins

Time: This dessert isn’t one that you can whip up in a jiffy. Like tiramisu, it takes time to make and chill – neither of which can be rushed. 3 Pins

Rated 3 Pins

Cost: My local grocer had all of the ingredients for this (yay!). While nothing was expensive, it did take a whole pound of butter, 9 eggs, 2 kinds of chocolate, and 2 sleeves of Maria cookies in addition to the other ingredients. 4 Pins

Pintesting Rating - 4 Pins

Practicality: If you’re looking for a dessert that will impress beyond imagination – this will fit the bill. The combination and paradoxes of flavors, textures, (heat & cool, rich & light), and the fun of the toasted marshmallows on top make an extraordinary dessert that will have people talking about and raving over it. Since this is a “special occasion” dessert, I’m delighted to give it 4 Pins.

Pintesting Rating - 4 Pins

Pecan Pie Muffins

Pintesting Pecan Pie MuffinsThe American Pie Council National Championships are about a month away and this year I get to be a judge! I can’t even tell you how excited I am for this honor. So I’m going to be doing some pie-related Pintestings this month leading up to the big event. My Pinterest page, Desserts – Pies/Tarts/Crostatas are all about pie related recipes. Go check it out for some inspiration. The first recipe I’m doing is this pin for Pecan Pie Muffins by Christy from The Girl Who Ate Everything.

Pintesting Pecan Pie Muffins

Even though the recipe has the word muffin, don’t be fooled. These are just like little pecan pies but a whole lot easier. Personally, I like that they don’t have the corn syrup that pecan pies traditionally have. And instead of thinking of them as muffins, you can think of them as self-crusting. Let’s get baking.

The Pintesting:

There are just 5 ingredients and most of them are kitchen staples.

Pintesting Pecan Pie Muffins

First mix the dry ingredients.

Pintesting Pecan Pie Muffins

Toss them together until they’re evenly coated.

Pintesting Pecan Pie Muffins

Next, mix the softened butter and the eggs.

Pintesting Pecan Pie Muffins

It won’t look pretty – mine looked kind of like curdled milk. Don’t worry, it’s supposed to look this way and will smooth out once everything is mixed together.

Pintesting Pecan Pie Muffins

Now stir in the dry ingredients JUST until mixed. See the bits of butter in the mixture? It’s okay to leave it like that.

NOTE: For the most part, muffins turn out best when they’re not over mixed. It’s better to leave a few lumps in the batter and have a tender crumb than to over mix the batter and have your muffins turn out like bricks.

Pintesting Pecan Pie Muffins

According to Christy, you want to grease your muffin pan really well or your muffins will stick. I love to use the “Best Ever Pan Release” recipe by I Am Baker (you’ll find the recipe at the end of the recipe in the Pineapple Upside Down Bundt Cake post found here).

Pintesting Pecan Pie Muffins

Fill the cups 2/3 full. The mixture made more than the mini muffin tin could hold so I made 6 regular-sized muffins, too.

Pintesting Pecan Pie Muffins

Bake at 350 degrees until done; see the recipe for baking times.

Pintesting Pecan Pie Muffins

The muffins easily pop out of the pan and into my mouth.

Pintesting Pecan Pie Muffins

WARNING! These are incredibly addictive. If you’re not careful it’s easy to pop 4 or 6 of the mini bite-sized pecan pie muffins in your mouth before you realize it. (I have no idea if or how that happened.)

The Pintesting Results:

Overall Results: 4.7 Pins

Pintesting Seal 5 Pins

Accuracy:  These muffins have the taste and texture of pecan pie. In fact, the next time I have the urge to make a pecan pie I’m going to make these instead.They turned out just like Christy said they would. 5 Pins

Pintesting Rating - 5 Pins

Difficulty:  These are very easy to make. Just five ingredients and, if you buy the pecans already chopped, the only prep work is to make sure your butter is softened.  You don’t even need to use a mixer. 5 Pins

Pintesting Rating - 5 Pins

Time:  According to the recipe, this should make 8 large or 16 mini muffins. When filling my muffin cups 2/3 full, I ended up with 24 mini muffins and 6 regular muffins. Since there were different baking times, I baked the different sized pans one after the other; 12 minutes for the minis and 14 minutes for the regulars. I also let the regular sized muffins rest in the pan for an extra 5 minutes to set after running a knife around the edge; they seemed just a bit soft. Total time was just over half an hour so I’m giving this 4 Pins.

Pintesting Rating - 4 Pins

Cost:  Most of the ingredients are kitchen staples – all but the pecans. I don’t know if they’re not in season, but they seemed a bit pricey at more than $10.00. 4 Pins

Pintesting Rating - 4 Pins

Practicality:  Not only are these an easier substitute for home-made pecan pie, but they’re quicker to make, too. They make a lot of the mini muffins, and the bite-sized treats are perfect for lunches or, don’t judge, dessert portion control. I’m guessing that they’ll freeze well, too (although I’ll have to confirm and let you know). 5 Pins

Pintesting Rating - 5 Pins

Cuban Guava Pastries – Pastelitos de Guayaba

Mar 19, 2017 by Anne Hernandez

Of the many reasons that I love living in Florida, the authentic quality and diversity of world cuisines is close to the top of my cultural list. You could eat food from every continent and most countries and only travel up to 20-30 minutes from home. Most places give a cultural feel with the music and décor as well. Some of my favorite places to go are Cuban restaurants. The music makes me want to dance, the people are so friendly, and the food is delicioso. A while back I brought in some assorted Cuban Guava Pastries – Pastelitos de Guayaba to share with my coworkers and I was the hero of the day. These are they pastries that I shared.

Pintesting Cuban Guava Pastries - Pastelitos de Guayaba

Pastelitos are puff pastries that are usually filled with guava or cheese or both. They flaky, lightly sweet, and perfect with a cup of good coffee in the morning or afternoon. When I saw this pin from My Big Fat Cuban Family, one of the blogs that I follow, I knew I had to try making these. Who doesn’t want to make something delicious and be the work hero twice?

Pintesting Cuban Guava Pastries - Pastelitos de Guayaba

The Pintesting:

There are only four ingredients. Some restaurants and pastelerias sprinkle course sugar after the egg wash or brush with a sweeter glaze, but I don’t like my pastries too sweet so this was perfect for me. The guava paste is found in most grocery stores in the ethnic aisle.

Pintesting Cuban Guava Pastries - Pastelitos de Guayaba

Line a baking sheet with parchment paper (or a Silpat). Unfold one of the puff pastries onto the parchment.

Slice the guava paste thinly and put two for each pastry. One box of (2) puff pastries will make 9 pastelitos.

Pintesting Cuban Guava Pastries - Pastelitos de Guayaba

Spread some of the softened cream cheese on the guava paste. Some places sweeten the cream cheese with a little sugar before putting it in the pastry. I find the guava paste very sweet and the plain cream cheese balances the overall flavor.

Pintesting Cuban Guava Pastries - Pastelitos de Guayaba

When all of the guava paste has cream cheese, unfold the other puff pastry and put it on top. Try to line it up with the bottom pastry.

Pintesting Cuban Guava Pastries - Pastelitos de Guayaba

Cut all the way through to make 9 little pastries, then make little cuts on each top pastry.

Pintesting Cuban Guava Pastries - Pastelitos de Guayaba

Egg wash the top of the pastries and then bake them until they’re golden brown and beautiful.

Pintesting Cuban Guava Pastries - Pastelitos de Guayaba

While the pastelitos are baking, do yourself a favor and make some Cuban coffee or café Cubano which is a lot like sweetened espresso. I prefer my coffee with milk (like a café latte), so I get café con leche. (Look how much authentic culture I’m putting into this post.)

Pintesting Cuban Guava Pastries - Pastelitos de Guayaba

That’s it! You can serve these warm or at room temperature. I was pleasantly surprised at how 4 ingredients could make such a tasty treat. And yes, I was the work hero again for bringing these in. These are so easy to whip up that you can be a hero and bring delicious culture to your friends and family, too.

Pintesting Cuban Guava Pastries - Pastelitos de Guayaba


The Pintesting Results:

Overall Results: 5 Pins

Pintesting Seal 5 Pins

Accuracy: These not only turned out just like the recipe (and video tutorial) said they would, but they also tasted like the ones that I bought at the Cuban restaurant. Everyone at work raved over them. 5 Pins

Pintesting Rating - 5 Pins

Difficulty: With only four ingredients and no mixing, chopping, or serious prep work, this recipe is very kid friendly with adult supervision. I just recommend that an adult does the cutting to separate the pastelitos. 5 Pins

Pintesting Rating - 5 Pins

Time: The preparation took about 7 minutes and my baking time was 25 minutes. The total time was about half an hour so I’m giving this 5 Pins.

Pintesting Rating - 5 Pins

Cost: The puff pastry was about $3.00 and the guava paste was just over $1.00. The total cost for 9 pastries was less than three pastries from the restaurant. 5 Pins

Pintesting Rating - 5 Pins

Practicality:  This is one of those recipes that you can keep the ingredients on hand and whip up at a moment’s notice. They’re quick, easy, and oh so delicious. 5 Pins

Pintesting Rating - 5 Pins

Chocolate Covered Cannoli Cupcakes

I’ve always felt like those who have birthdays at the end of December get gypped because they’re overshadowed by some of the biggest holidays of the year. A work friend, for example, had a December 27th birthday. I wanted to make a treat to bring in that looked celebratory yet un-holiday-ish. So when I saw this pin for Chocolate Covered Cannoli Cupcakes by Michelle of Mangia Michelle, I knew this was exactly the kind of birthday treat that I was looking for.

Pintesting Chocolate Covered Cannoli Cupcakes

The Pintesting:

Michelle gave a recipe for her cupcakes and also gave the option of using a cake mix. I went with her recipe to give a truer Pintesting. Since this recipe has several components I’ll break them out. This recipe is one that I had to plan for since I don’t keep Ricotta and Mascarpone in my kitchen as staple ingredients. Missing from the ingredients photo is milk.

Pintesting Chocolate Covered Cannoli Cupcakes

IMPORTANT NOTE: It’s extremely important to read a recipe thoroughly before starting – not just the ingredients list. I might have noticed that the ricotta needed to be drained prior to making the cannoli filling. Unfortunately, Michelle didn’t give any details on how to do this. A quick Google gave both the normal (read long) and quick instructions for draining ricotta. That’s why you see the ricotta in a strainer over a bowl.

How to Drain Ricotta Cheese
Lesson learned – READ the recipe first.

The Cupcakes:

Start by creaming the butter and sugar.

Pintesting Chocolate Covered Cannoli Cupcakes

Sift together the dry ingredients in a bowl. Add the vanilla to the milk.

Pintesting Chocolate Covered Cannoli Cupcakes

Once the butter and sugar are creamed, add the dry and wet ingredients alternating until the batter is smooth and perfect.

Fill the cupcake liners and bake them, then let them cool.

Pintesting Chocolate Covered Cannoli Cupcakes

The Cannoli Filling/Topping:

The cannoli cream was simple; mix together the cheeses, vanilla, and powdered sugar then stir in the mini chocolate chips.

Pintesting Chocolate Covered Cannoli Cupcakes

Once combined, place in a piping bag or freezer storage bag with a large tip. This tip must be LARGE enough for the mini chips to pass through. I have some very large piping tips but none of them worked. I ended up just using the coupler and calling it good.

Pintesting Chocolate Covered Cannoli Cupcakes

Insert the tip (or coupler) into each cupcake and fill with the cannoli filling, then top the cupcakes with the remaining cannoli cream.

Pintesting Chocolate Covered Cannoli Cupcakes

Freeze the cupcakes for the next step. Michelle gives photos of the mess that happens if you ignore her and don’t freeze. Just do it.

The Chocolate Shell:

This is the one place where I deviated from Michelle’s recipe. She said to use chocolate melts, but I saw a recipe for 2-ingredient Homemade Magic Shell on Pinterest by Ali of Gimme Some Oven and thought this would be a perfect chance to sneak in a bonus Pintesting.

Pintesting Homemade Magic Shell

It seemed like a good idea but it didn’t quite go according to plan.  Melt the coconut oil and chocolate in the microwave. Easy, right?  No.

I put Organic coconut oil and chocolate in a nonreactive ceramic bowl that I’ve used in the microwave countless times. Almost immediately the microwave was sparking and crackling! What was happening? I checked several sites and found that this is not uncommon. According to Living Strong, coconut oil has trace amounts of iron. Apparently, my organic coconut oil had enough to cause sparking in the microwave.  Who knew a yummy dessert would bring about a science lesson?

Obviously microwaving would not be the way to go so I put the bowl over a pot of simmering water and melted them using a double boiler method. It only took a few minutes and minimal stirring to melt the coconut oil and chocolate. Set it aside to cool to room temperature.

Pintesting Chocolate Covered Cannoli Cupcakes

When the chocolate is room temperature and the cupcakes are frozen, dip each cupcake into the chocolate shell sauce to coat the cannoli cream.

Pintesting Chocolate Covered Cannoli Cupcakes

Hold the cupcake over the bowl to allow any excess chocolate to drip off.

Pintesting Chocolate Covered Cannoli Cupcakes

The chocolate shell will harden fairly quickly. Continue dipping until all of the cupcakes are coated.

Pintesting Chocolate Covered Cannoli Cupcakes

I had a bit of sauce left over and am saving it for ice cream.Note: keep this in the cupboard at room temperature. If you refrigerate it will get cold and hard.

Pintesting Homemade Magic Shell

The Birthday Girl LOVED them!

We had a lot of treats coming through our office from the end of November through the end of the year, but none like these.

Pintesting Chocolate Covered Cannoli Cupcakes

She did note, and I agree, that by using the chocolate shell recipe they had a slight yet discernible coconut flavor – almost like an Almond Joy candy bar. Since she likes coconut this wasn’t a problem. However, the next time I make these I’ll use the chocolate candy melts.

Pintesting Chocolate Covered Cannoli Cupcakes

The Pintesting Results:

Chocolate Covered Cannoli Cupcakes

Overall Results:  4.25 Pins

4 Pins Overall

Accuracy:  The Chocolate Covered Cannoli Cupcakes turned out exactly as Michelle’s blog said they would. The cupcake itself was delicious with a soft light crumb. The cannoli cream filling/topping reminded me of the cannoli I used to get when I was a kid in New York. And even though I deviated from the recipe, the chocolate coating was as pretty as in Michelle’s pictures. 5 Pins

Pintesting Rating - 5 Pins

Difficulty:  This recipe is not truly difficult; Michelle’s recipe is well written and notes anything to be aware of (such as freezing the filled cupcakes), but it does have a lot of components going on which requires a lot of steps. 4 Pins

Pintesting Rating - 4 Pins

Time:  If you need to whip up a quick dessert, this might not be a good first choice. Using the quick method to drain the ricotta took 10 minutes to get it as dry as possible. (The long method takes overnight.) The cupcakes don’t take long to make and bake, but they do need to be completely cooled before filling them with the cannoli cream. Then there’s the freezing time (which I did overnight and then completed the cupcakes in the morning), and once the chocolate is melted it also needs to cool to room temperature. Even compensating for the overnight freezing, plan on 1 1/2 – 2 hours for these. 3 Pins

Rated 3 Pins

Cost:  Most of the ingredients are staples in my kitchen; with the exception of the ricotta and mascarpone cheeses. These cost me about $8.00. Add the rest of the ingredients and these run about $0.50/cupcake for 2 dozen. That’s not bad for some fancy cupcakes that would cost you $3.00 each at a bakery. 4 PinsPintesting Rating - 4 Pins

Practicality: These are not your everyday cupcakes, they’re a wonderful special occasion dessert treat! I will be happy to make them again when the appropriate occasion arises. They are absolutely worth the effort, but since it does take extra effort, I’m giving these 4 Pins.

Pintesting Rating - 4 Pins

Bonus Pintesting Results:

2-Ingredient Magic Shell

Overall Results: 4.6 Pins

Pintesting - 5 Pins Overall Rating

Accuracy:  The two ingredients did make a chocolate sauce that hardened on contact with cold similarly to Magic Shell. But because my microwave nearly blew up (or at least acted like it was going to), and I had to go with an alternate melting method, I’m giving this 4 Pins.

Pintesting Rating - 4 Pins

Difficulty:  This was very simple; melt 2 ingredients together and stir. Whether you microwave (at your own risk) or use a double boiler, it’s easy either way. 5 Pins

Pintesting Rating - 5 Pins

Time:  The total time was about 5 minutes – including switching gears, getting a pot of water, and melting the ingredients. There is the cooling time to be considered and you can’t rush it with a cold water bath, but stirring frequently helped to bring the temperature down in short order It was a lot faster than if I had to run to the store. 5 Pins

Pintesting Rating - 5 Pins

Cost:  I keep coconut oil, both conventional and organic, in my pantry right next to the extra virgin olive oil, grapeseed oil, canola oil (what’s a canola?), and the rest of my oils and vinegars. So this was only a few cents more than the cost of the bag of chocolate chips. 5 Pins

Pintesting Rating - 5 Pins

Practicality:  This is great over ice cream, but obviously works well for topping cupcakes and other treats. I would recommend using conventional coconut oil since it has a milder flavor. The best part is that you can use this with any kind of baking chip to switch up the flavors. I’m thinking white chocolate, butterscotch, peanut butter, or even chocolate mint chips would be great. You can even try stirring in sprinkles, toffee chips, crushed nuts, or coconut flakes. 5 Pins

Pintesting Rating - 5 Pins

Sweet Potato Casserole

Thanksgiving is over, the dishes are done, and even the leftovers are gone. This year I did something a little adventurous (or maybe crazy or even brave) and, with the exception of the turkey and my mother-in-law’s dressing, I made our entire Thanksgiving meal from Pinterest recipes. This is the first of the Thanksgiving Pintesting recipe reviews – the Sweet Potato Casserole.

Pintesting Sweet Potato Casserole

I’ll be honest; I didn’t see this initially on Pinterest. First I saw this TipHero video on my Facebook feed. I really like that TipHero gives credit to the original sources for their videos – just like they did for my Pineapple Upside Down Bundt Cake when they made it into a video. If you scroll down to the end of the recipe you’ll see the credit. When I went to their site for the recipe, I noticed that it gave credit for the recipe to Nikki’s blog Chef In Training so I went straight there and pinned her Sweet Potato Casserole recipe.

Pintesting Sweet Potato Casserole

Don’t hate, but I find the mini marshmallows on so many sweet potato casserole recipes just too cloyingly sweet. If that’s your thing, then by all means, keep making your sweet potato casserole the way you prefer. But I should warn you – this recipe is now my go-to recipe. More on that later – for now here’s the Pintesting.

 The Pintesting:

The ingredients are pretty simple. Nikki used boiled sweet potatoes while TipHero used baked. I had a LOT of recipes to make so I went with baked since the oven was already on for the turkey.

Note: Multitasking is wise when you are making all of Thanksgiving dinner.

Pintesting Sweet Potato Casserole

Mix until blended and smooth. I like that the baked sweet potatoes were cooked soft enough that I didn’t even have to get the mixer out.

Pintesting Sweet Potato Casserole

Put into a greased 9×13 casserole dish and top with the streusel topping and bake it in a 350-degree oven.

Pintesting Sweet Potato Casserole

This is how it looked when it came out of the oven. It smelled incredible!

Pintesting Sweet Potato Casserole

My HH proclaimed that this sweet potato casserole was better than pumpkin pie. He said it one of the best desserts that I’ve made. I let him know that it is a casserole and not a dessert. He disagrees and calls it dessert. We do agree that it’s delicious both warm and cold. It’s like a crustless sweet potato streusel pie. So if you can’t be bothered with making a pie crust or if you’re on a “diet” and can’t have dessert or if you just want an easy side dish with a lot of wow factor, this is the casserole for you!

The Pintesting Results:

Overall Results: 4.55 Pins

Pintesting - 5 Pins Overall Rating

Accuracy:  This recipe performed exactly as Nikki (and TipHero) said it would.  5 Pins

Pintesting Rating - 5 Pins

Difficulty: The directions from both the Chef In Training and TipHero recipes were quite simple and straight forward. I really liked that I didn’t have to get the mixer out for this – one less complication when juggling 4 recipes at once. 5 Pins

Pintesting Rating - 5 Pins

Time: Since I baked the sweet potatoes while working on other recipes I had a tough time judging this. On one hand, it took about an hour to bake them which is a lot of time to add to a recipe. If I had boiled them it would probably have only added about 10-15 minutes. On the other hand, just the post baking time would shorten the prep time to only 5 and 25 minutes of baking time. Averaging out the 1 1/2 hours and 45 minutes that’s still over an hour so I’m giving this 3 Pins.

Rated 3 Pins

Cost: Most of the ingredients are kitchen staples. The pecans and sweet potatoes were all that I had to buy for this recipe and I only needed 2. The recipe makes a 9×13 inch casserole dish which is a LOT of casserole/dessert but due to the pecans and sweet potatoes, I’m giving this 4 Pins.

Pintesting Rating - 4 Pins

Practicality:  This has been a pleasantly surprising Pintesting. I was expecting a good sweet potato casserole. I wasn’t prepared for one that was not only easy but also delicious enough to be one of the high points of our Thanksgiving meal. I was planning on making a pumpkin flan for a dessert, but HH said to not bother and went for another serving of this sweet potato casserole. Bonus points for making my life easier. 5 Pins

Pintesting Rating - 5 Pins

Pintesting Pineapple Upside Down Bundt Cake

Jan 21, 2016 by Anne Hernandez

This is the post that wasn’t going to be and then wrote itself. I made the cake and took some pictures, but didn’t really intend on doing a proper Pintesting – until I shared the pics. The response was mind-blowing, so here’s the post complete with my first recipe.

The Pintesting:

It started with this picture of a pineapple upside down cake in a bundt pan on Pinterest. Because it’s my HH’s favorite cake, I wanted to surprise him with this.

Pintesting Pineapple Upside Down Bundt Cake

Sadly, the link went to a picture. Can we take a moment to talk about responsible pinning here? Check the pins before repinning them, folks.

I did a search for an original source but only came back to the same picture that was on Pinterest.

UPDATE: I found the original source for the picture! Her name is Tina Carver, this is her original idea, and she is very happy that her cake is getting so much fame. 😀

Pintesting Pineapple Upside Down Bundt Cake

Luckily, the picture was enough this time. Pineapple upside down cake traditionally starts with melted butter and brown sugar, then an arranged layer of the pineapple and maraschino cherries, over which the cake mix is poured. When the cake is baked and inverted onto the serving plate, then you see the design of the fruit. This is no different other than it’s in a bundt pan, and the pineapple rings are halved and arranged vertically.

I wanted to ensure that the cake would come out of the bundt pan cleanly, so I really greased the pan with my favorite pan release. (The recipe will follow.) I used a stick of melted butter and sprinkled a half-cup of brown sugar on top of it, then alternated the halved pineapple rings and cherries. I think it turned out just like the original picture.

Pintesting Pineapple Upside Down Bundt Cake

Substituting pineapple juice and milk for the liquid and adding a box of instant vanilla pudding makes this cake incredibly moist and flavorful.  Gently pour the cake batter on top. Then the cake gets baked, cooled, and flipped.

And let me tell you, you’re going to flip for this cake.

Pintesting Pineapple Upside Down Bundt Cake

Normally I give my Pintesting results at the end of each post, and this would get 5 Pins. Instead, I’m sharing my recipe. Enjoy!

The Recipe:

[amd-zlrecipe-recipe:1]

Best Ever Pan Release: from I Am Baker

Mix equal parts of vegetable shortening, vegetable oil, and all-purpose flour until smooth. Using a pastry brush or paper towel, apply to the bundt pan – or any pan – paying special attention to corners, nooks, and crannies.

I really think this is the BEST EVER pan release! Bundt pans are notorious for sticking due to the additional shapes, nooks, and creases. I’ve tried this with all different shapes and sizes of Bundt pans and this has never failed me!


Flower Shaped Mini Lemon Curd Tarts

Some days it seems like the angels sing, the stars align, and everything falls into place in order to make things happen. When that happens, life is easy as pie – or in this case, tarts.

My HH and I were thinking about how nice it would be to have just a little something sweet but didn’t want to go through a lot of fuss (or dishes). Then I remembered seeing this pin that had crossed my path recently. These Flower Shaped Mini Lemon Curd Tarts on the Inspired Dreamer site seemed like the perfect little treats. That I had one pie crust, one jar of lemon curd, and the exactly the right cookie cutter was just shy of divine intervention to make this. So let’s get on with this test!

The Pintesting:

Pintesting Flower Shaped Mini Lemon Curd Tarts - ORIGINAL PIN

There are only 3 main ingredients; one pie crust, a jar of lemon curd, and powdered sugar. Also helpful is flour for dusting while handling the pie crust. The hardware required is a flower-shaped cookie cutter and mini muffin pan.

Pintesting Flower Shaped Mini Lemon Curd Tarts

Roll out the pie crust and start cutting flowers with the cookie cutter. Does anyone else think the flower cutter looks groovy? Flower Power!

Pintesting Flower Shaped Mini Lemon Curd Tarts

Cut out 12 flowers; rerolling the scraps and cutting to make the 12.

Pintesting Flower Shaped Mini Lemon Curd Tarts

Carefully put them into a mini muffin pan.

Pintesting Flower Shaped Mini Lemon Curd Tarts

Fold 3 alternate petals toward the center, gently place the dough into the cup, then work the petals on the sides by overlapping the three inner petals.

Pintesting Flower Shaped Mini Lemon Curd Tarts

Bake for about 5 minutes.

Pintesting Flower Shaped Mini Lemon Curd Tarts

The flower tart shells pop right out of the pan – no greasing was required. Use some caution when removing them after baking as they are a little more delicate and can crumble if handled too roughly.

Pintesting Flower Shaped Mini Lemon Curd Tarts

Cool, dust with powdered sugar, and spoon with lemon curd.

Pintesting Flower Shaped Mini Lemon Curd Tarts

This almost can’t be called a recipe, but it was inspired, cute, and easy. It did perfectly satisfy our sweet tooth craving, and there were plenty left over to share. We had them with a cup of tea. It was a perfect pairing. Now for the results.

The Results:

Overall Results: 5 Pins

Pintesting - 5 Pins Overall Rating

Accuracy:  These tarts turned out PERFECTLY. The pin photo was almost step-by-step enough to make these, but the recipes’ detailed instructions help ensure great results. The little tarts were a lovely combination of sweet, tangy, crisp, delicate, and pretty. 5 Pins

Pintesting Rating - 5 Pins

Difficulty:  This very simple recipe would be fun to do with kids. The pie dough is very forgiving. I had several flowers tear a bit while I was working with them, but this was fixed while patting them into the tin. 5 Pins

Pintesting Rating - 5 Pins

Time:  These took about 20 minutes from start to finish, and that included the photos and dishes. 5 Pins

Pintesting Rating - 5 Pins

Cost:  I happened to have everything on hand this time, so there was no extra shopping costs.  I had purchased the lemon curd at World Market for $3.99 to serve with scones. The pie crusts come two to a package (mine was the leftover in the back of the fridge), and cost about $3.00. That’s 29 cents per tart. 5 Pins

Pintesting Rating - 5 Pins

Practicality:  These were quick, easy, and the tart shells are extremely versatile. You could fill them with any curd, custard, or pudding to make a bouquet of desserts. If you leave off the powdered sugar, you could use the shells with savory fillings, too. They’re perfect for a tea party, garden party, or mother’s day. 5 Pins

Pintesting Rating - 5 Pins

Brigadeiros

Mar 20, 2015 by Anne Hernandez

Today is (yesterday was) chocolate caramel day!

So obviously my perfect intentions for staying ahead of the game this year didn’t work out as perfectly as I’d hoped. Does anyone else have this problem?

That’s okay – chocolate makes everything better, so let’s focus on that. Combine chocolate with caramel and you take “better” to a whole new level. When I saw this recipe for Brigadeiros, and saw how few ingredients they needed, I knew I had to give this a go.

Pintesting Brigadeiros - ORIGINAL PIN

You’ve never heard of Brigadeiros??? Don’t feel bad; neither had I until this pin came across my Pinterest feed by Stacy of Food Lust People Love. They are a Brazillian chocolate caramel (swoon) made from only 4 ingredients. Shall we get on with the Pintesting?

Pintesting Brigadeiros

Here are the ingredients. I had everything on hand – hooray for a well stocked pantry. Not shown is the butter; 1 Tablespoon for the recipe and more to coat your hands when shaping them.

Pintesting Brigadeiros

Pour the sweetened condensed milk and butter into a skillet, then sift the cocoa into the mixture.

Pintesting Brigadeiros

Don’t miss this step or you’ll have clumps of cocoa! Use the back of a spoon to break up the clumps.

Pintesting Brigadeiros

Heat on medium heat, stirring to combine well.

Pintesting Brigadeiros

Keep stirring…

Pintesting Brigadeiros

…and stirring, until the mixture is nice and thick. Stacy says 10-15 minutes; it was just over 10 minutes for me.

Pintesting Brigadeiros

Pour the chocolate sprinkles into a container and grease your hands with butter while the caramel cools enough to handle. Roll spoonfuls into little balls,

Pintesting Brigadeiros

and then coat them in the chocolate sprinkles.

Pintesting Brigadeiros

I did several at a time; dropping them in and swirling the bowl of sprinkles.

Pintesting Brigadeiros

My friend was having a birthday, and so I thought it would be fun to use these to top mini cupcakes.

Pintesting Brigadeiros

To go with the chocolate and caramel candy, I did rich chocolate mocha cupcakes with a salted caramel buttercream. The cupcakes were delicious, but the Brigadeiros were the star. Everyone loved them – especially the Birthday girl.

Now for the Pintesting results.

Overall Results: 5 Pins

Pintesting - 5 Pins Overall Rating

Accuracy: These sweets were as easy to make as Stacey’s’ blog said they would be. Her step-by-step instructions were easy to follow and the Brigadeiros turned out perfectly on the first try. 5 Pins

Pintesting Rating - 5 Pins

Difficulty: This is one of the easiest candy recipes I’ve ever made. No melting sugar, no worrying about melting chocolate seizing, and no candy thermometer needed. Once the caramel has cooled sufficiently, you could let children help with the rolling and shaping, but use caution since it does stay quite warm to the touch. 5 Pins

Pintesting Rating - 5 Pins

Time: Start to finish, this was done in 30 minutes – including the dishes! The recipe makes quite a lot, which requires quite a lot of rolling and shaping the caramels, so I thought it might take a long time. Nope! 5 Pins

Pintesting Rating - 5 Pins

Cost: Since I had everything on hand, this was free for me. Even if you had to buy everything, the four ingredients would set you back fewer than $10 and you’d have lots of leftovers. 5 Pins

Pintesting Rating - 5 Pins

Practicality: Stacy made these and served them in cute little paper cups, but don’t let that limit your creativity. I topped cupcakes with them. They’d be great to garnish a cake. You could even press them into candy molds or hand shape them into unique designs for any occasion. These are quick and easy – so much so that I’m going to be making more to bring as a class treat. 5 Pins

Pintesting Rating - 5 Pins

Cherry Almond Shortbread Cookies

Jan 30, 2015 by Anne Hernandez

This is the year that I get completely organized, stay ahead of the game, and don’t let circumstances control the direction of my life.

*Cue Laugh Track*

Each January, like so many others, I make goals and resolutions to get my life organized. Then life sits back and just laughs and laughs. Well this year I’m doing a few things differently to plan better. For example, I’m not waiting until February 13th or 14th to start working on a post for Valentine’s Day.

The Pin for these Cherry Almond Shortbread Cookies came across my Pinterest radar a few days after Christmas; Sally from Sally’s Baking Addiction had posted them as a Christmas treat. While I see how their colors look holiday festive, I think the pink, red, and white is much more perfect for Valentine’s Day. That they combine one of my favorite flavor combinations (cherry almond) with one of my favorite cookies (shortbread) is a major bonus for moi.

Pintesting Cherry Almond Shortbread Cookies by Sally's Baking Addiction

The Pintesting:

There are only 8 ingredients – including the optional (therefore not shown) white chocolate.

Pintesting Cherry Almond Shortbread Cookies - Ingredients

Cream the butter, then add the sugar, extracts, and maraschino cherry juice.

Pintesting Cherry Almond Shortbread Cookies

Add the flour…

Pintesting Cherry Almond Shortbread Cookies - Add Flour

…and cherries

Pintesting Cherry Almond Shortbread Cookies - Add Cherries

Wrap and chill the dough – I chilled it overnight.

Pintesting Cherry Almond Shortbread Cookies - Wrap and Chill

Roll the dough into balls and chill again. The chilling was very stressed in order to keep the dough from spreading into cookie puddles.

Pintesting Cherry Almond Shortbread Cookies

Bake the cookies just until they’re done – NOT browned – then cool completely.

Pintesting Cherry Almond Shortbread Cookies - Baked Cookies…then drizzle with melted white chocolate “if desired” – because who doesn’t like chocolate on cookies??? I tried melting the chocolate in the microwave, but it started to seize before it got very melty. Rather than just lose the battle, I decided to try making the nearly ruined chocolate into a white chocolate ganache to drizzle. Both tasted amazing (which is why there are only a half dozen in the picture), but for looks I like the melted chocolate. It gives a nicer visual contrast.

Pintesting Cherry Almond Shortbread Cookies - Cookies Finished

The Pintesting Results:

Overall Results:  4.55 Pins

Pintesting - 5 Pins Overall Rating

Accuracy:  These cookies were very simple to make and delicious. Mine didn’t seem to come out quite as pink as Sally’s did, but that could have something to do with either my camera, the lighting in my kitchen (which is terrible), or because today is National Inane Answering Message Day. I’m going with the first two. 5 Pins

Pintesting Rating - 5 Pins

Difficulty:  The recipe was well written with detailed step-by-step instructions. A novice baker should be able to make these as long as they follow the recipe. That said, I might not recommend this for children unless they had adult supervision. 4 Pins

Pintesting Rating - 4 Pins

Time:  While the mixing of this recipe goes pretty quickly, it calls for a lot of chilling time throughout the process. I chilled the dough overnight and then stuck the first baking sheet in the freezer while rolling the dough for the second sheet. This is definitely a plan ahead recipe; not something you can whip together at a moment’s notice. 3 Pins

Rated 3 Pins

Cost:  The ingredients are very basic to most kitchens with the exception of the maraschino cherries. The jar was less than $3. 5 Pins

Pintesting Rating - 5 Pins

Practicality:  These bite-sized cookies started vanishing before they were even drizzled with the chocolate. They were loaded with flavor, and my favorite Valentine (aka Handsome Hubby) loved them. They’re perfect for popping in your mouth. Don’t wait for Valentine’s Day, Christmas or any other holiday. Show yourself some love and make these now. 5 Pins

Pintesting Rating - 5 Pins

Oatmeal Fudge Bars

Oct 13, 2014 by Anne Hernandez

Some of you know that I’ve been working very hard to change to a healthier lifestyle and lose weight, although the weight loss is secondary to getting healthy and fit. The problem is that I also love to cook and bake, and I don’t always want to choose the celery and peanut-butter rather than a rich dessert. Don’t get me wrong – I really like healthy foods, but I’m honest enough to admit to having moments of weakness. (Don’t we all?)

So when I saw this pin for Oatmeal Fudge Bars by Deborah from her blog Taste and Tell, my eyes lit on the “Oatmeal” and my brain tried to convince me that these were healthy. Well, oatmeal IS healthy… and chocolate has lots of antioxidants… and it would pair so nicely with coffee, which also has antioxidants.

Pintesting - Oatmeal Fudge Bars - ORIGINAL PIN

Yes, I followed that logic right down the path to the kitchen. I mean, wouldn’t you? And since I had all of the ingredients, I thought it was a sign that this was the right thing to do. As you can see, the ingredients are pretty basic.

Pintesting - Oatmeal Fudge Bars - Ingredients

The first step is to prep the pan with non-stick spray, parchment paper, and more spray.

Pintesting - Oatmeal Fudge Bars - Prep the Pan

Cream the sugar and butter,

Pintesting - Oatmeal Fudge Bars

…until it’s light and fluffy.

Pintesting - Oatmeal Fudge Bars

Add in the eggs and vanilla.

Pintesting - Oatmeal Fudge Bars

Mix the dry ingredients

Pintesting - Oatmeal Fudge Bars - Mixed Dry Ingredients

Then add them to the creamed mixture

Pintesting - Oatmeal Fudge Bars - Crust combinedPintesting - Oatmeal Fudge Bars - Crust

and pat it into the pan, reserving 1/3 of the mixture.

Pintesting - Oatmeal Fudge Bars - Pat Crust Into Pan

Now for the fudge layer.  Melt the milk, chocolate, and butter in a saucepan, stirring until smooth.

Pintesting - Oatmeal Fudge Bars - Fudge Filling

Stir in the vanilla and salt.

Pintesting - Oatmeal Fudge Bars - Add vanilla and salt and stir until smooth

Spread the fudge mixture over the crust (after a quick taste test), then crumble the reserved crust mixture over the fudge layer.

Pintesting - Oatmeal Fudge Bars - Top with reserved crust mixture

Bake at 350 for 25 minutes.

Deborah says to let the bars cool before cutting, but she didn’t say for how long. I waited for 20-30 minutes because they smelled so good and I didn’t want my coffee to get cold. (Seems like a legit reason.) You can see that in the first picture that the fudge layer didn’t have long enough to get really set and solidified. The next day, however, these cut much better and the fudge layer seemed fudgier (2nd picture).

Pintesting - Oatmeal Fudge Bars - warm and cold

These bars were a huge hit. The HH loved them. They were delicious both warm-ish and completely cooled. Will I make these again? ABSOLUTELY!

Overall Results: 4.7 Pins

Pintesting - 5 Pins Overall Rating

Accuracy: These bars turned out exactly like they were portrayed. The oat cookie crust and crumble were the perfect compliment to the rich fudgy filling. The recipe was detailed and straightforward with no issues or surprises. It would have been good to know that these are best served completely cooled for the filling, but they were delicious either way. 5 Pins

Pintesting Rating -  5 Pins

Difficulty: The bars were simple to make and the recipe was easy to follow. Because of the added cooking step rather than just mixing and baking, I’m giving this 4 Pins.

Pintesting Rating - 4 Pins

Time: The prep time took 20-25 minutes – longer than the 15 minutes in the recipe. However, I’m trying to take pictures while working a recipe for the 1st time. The total time, including cooling time which is necessary, came to almost 1 1/2 hours. This is a perfect recipe to make early in the day or even the night before. 4 Pins

Pintesting Rating - 4 Pins

Cost: I had every single ingredient in my cupboard for this recipe. Not running out to the store is a good thing. Even if you did have to make a grocery run, not any ingredient is more than a few dollars. 5 Pins

Pintesting Rating -  5 Pins

Practicality: We had these for dessert, in our lunches, and as snacks. They would be great for a cookie exchange, potluck, or… anything. The cookie on top and bottom makes it not as messy for eating with your hands rather than a fork – again, perfect for kids lunches. 5 Pins

Pintesting Rating -  5 Pins