Category: Bread

Pecan Pie Muffins

Pintesting Pecan Pie MuffinsThe American Pie Council National Championships are about a month away and this year I get to be a judge! I can’t even tell you how excited I am for this honor. So I’m going to be doing some pie-related Pintestings this month leading up to the big event. My Pinterest page, Desserts – Pies/Tarts/Crostatas are all about pie related recipes. Go check it out for some inspiration. The first recipe I’m doing is this pin for Pecan Pie Muffins by Christy from The Girl Who Ate Everything.

Pintesting Pecan Pie Muffins

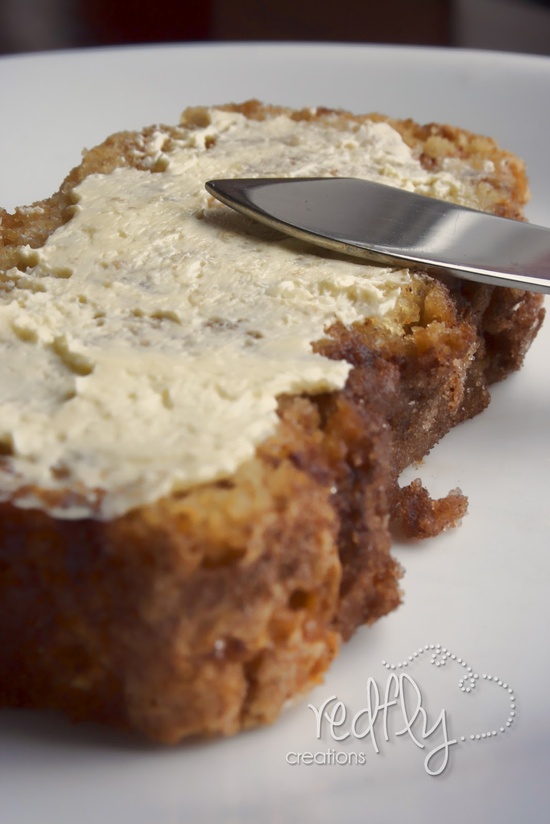
Even though the recipe has the word muffin, don’t be fooled. These are just like little pecan pies but a whole lot easier. Personally, I like that they don’t have the corn syrup that pecan pies traditionally have. And instead of thinking of them as muffins, you can think of them as self-crusting. Let’s get baking.

The Pintesting:

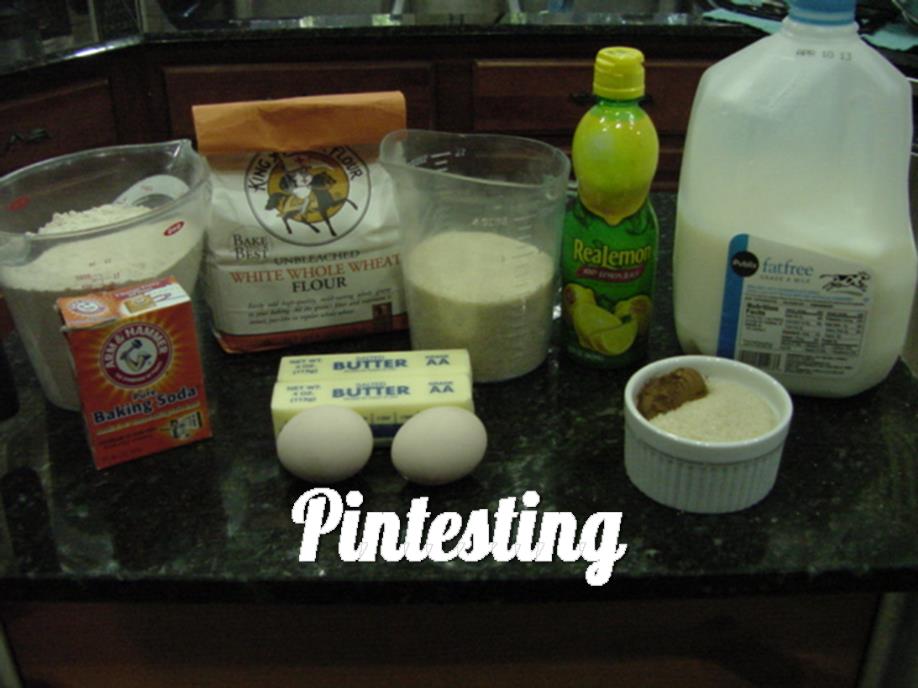
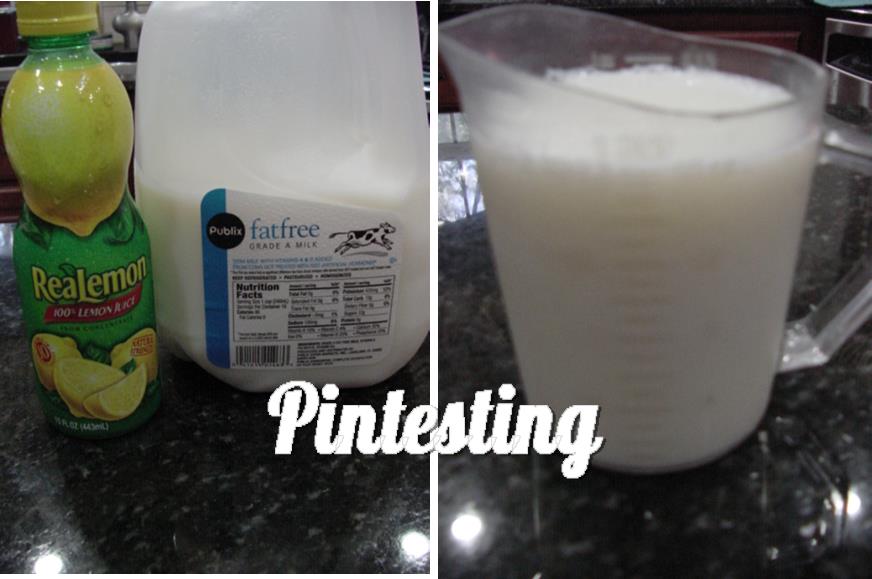
There are just 5 ingredients and most of them are kitchen staples.

Pintesting Pecan Pie Muffins

First mix the dry ingredients.

Pintesting Pecan Pie Muffins

Toss them together until they’re evenly coated.

Pintesting Pecan Pie Muffins

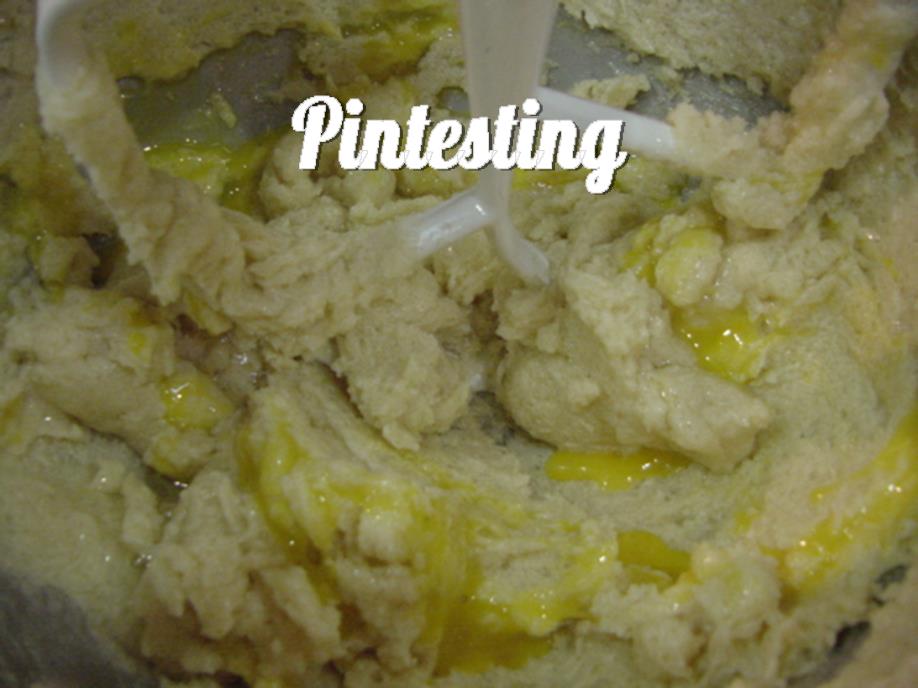
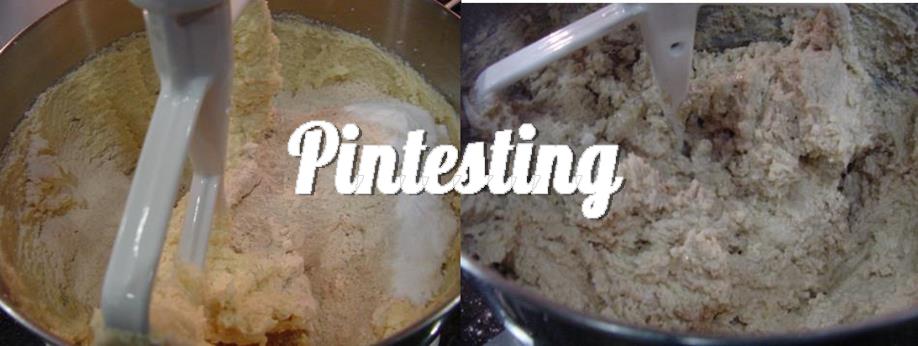
Next, mix the softened butter and the eggs.

Pintesting Pecan Pie Muffins

It won’t look pretty – mine looked kind of like curdled milk. Don’t worry, it’s supposed to look this way and will smooth out once everything is mixed together.

Pintesting Pecan Pie Muffins

Now stir in the dry ingredients JUST until mixed. See the bits of butter in the mixture? It’s okay to leave it like that.

NOTE: For the most part, muffins turn out best when they’re not over mixed. It’s better to leave a few lumps in the batter and have a tender crumb than to over mix the batter and have your muffins turn out like bricks.

Pintesting Pecan Pie Muffins

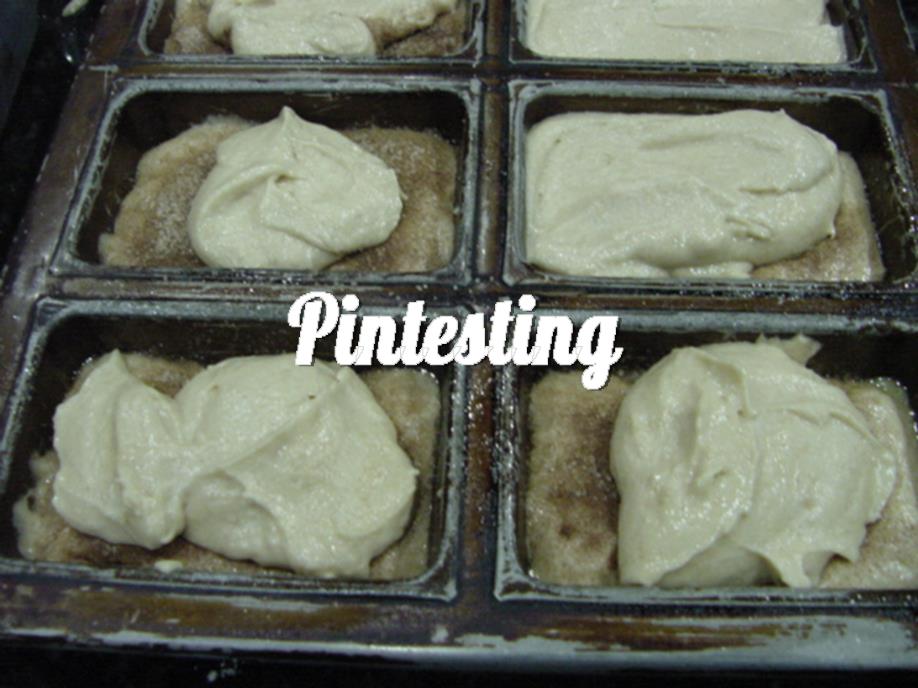
According to Christy, you want to grease your muffin pan really well or your muffins will stick. I love to use the “Best Ever Pan Release” recipe by I Am Baker (you’ll find the recipe at the end of the recipe in the Pineapple Upside Down Bundt Cake post found here).

Pintesting Pecan Pie Muffins

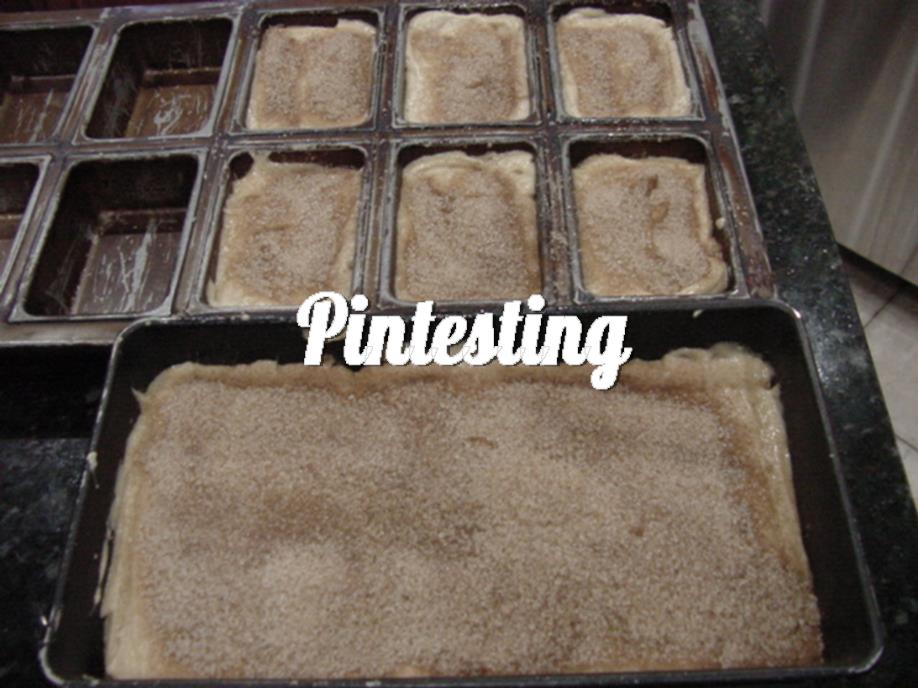
Fill the cups 2/3 full. The mixture made more than the mini muffin tin could hold so I made 6 regular-sized muffins, too.

Pintesting Pecan Pie Muffins

Bake at 350 degrees until done; see the recipe for baking times.

Pintesting Pecan Pie Muffins

The muffins easily pop out of the pan and into my mouth.

Pintesting Pecan Pie Muffins

WARNING! These are incredibly addictive. If you’re not careful it’s easy to pop 4 or 6 of the mini bite-sized pecan pie muffins in your mouth before you realize it. (I have no idea if or how that happened.)

The Pintesting Results:

Overall Results: 4.7 Pins

Pintesting Seal 5 Pins

Accuracy:  These muffins have the taste and texture of pecan pie. In fact, the next time I have the urge to make a pecan pie I’m going to make these instead.They turned out just like Christy said they would. 5 Pins

Pintesting Rating - 5 Pins

Difficulty:  These are very easy to make. Just five ingredients and, if you buy the pecans already chopped, the only prep work is to make sure your butter is softened.  You don’t even need to use a mixer. 5 Pins

Pintesting Rating - 5 Pins

Time:  According to the recipe, this should make 8 large or 16 mini muffins. When filling my muffin cups 2/3 full, I ended up with 24 mini muffins and 6 regular muffins. Since there were different baking times, I baked the different sized pans one after the other; 12 minutes for the minis and 14 minutes for the regulars. I also let the regular sized muffins rest in the pan for an extra 5 minutes to set after running a knife around the edge; they seemed just a bit soft. Total time was just over half an hour so I’m giving this 4 Pins.

Pintesting Rating - 4 Pins

Cost:  Most of the ingredients are kitchen staples – all but the pecans. I don’t know if they’re not in season, but they seemed a bit pricey at more than $10.00. 4 Pins

Pintesting Rating - 4 Pins

Practicality:  Not only are these an easier substitute for home-made pecan pie, but they’re quicker to make, too. They make a lot of the mini muffins, and the bite-sized treats are perfect for lunches or, don’t judge, dessert portion control. I’m guessing that they’ll freeze well, too (although I’ll have to confirm and let you know). 5 Pins

Pintesting Rating - 5 Pins

Lion House Rolls

Dec 21, 2016 by Anne Hernandez

I’m a bread girl. Since I was little I would fill up my plate with all kinds of bread and rolls when I was at a buffet. From an early age, I learned to love the flavors and textures of dark pumpernickel, rich brioche, rustic baguettes, airy ciabatta, sweet pan dulce, or any kind of bread. This Thanksgiving I went out on a limb and made most of our meal from Pinterest recipes (see the Sweet Potato Casserole post). I saw this pin for Lion House Rolls by Christy of The Girl Who Ate Everything. They looked over the top – which is exactly what I wanted.

Pintesting Lion House Rolls

If you’re a carbivore like me (I think that should be a real thing), that picture will have you drooling. After reviewing the recipe a few times I was pretty sure I could handle it. Time to get to the Pintesting.

The Pintesting:

The first step is to bloom the yeast, which is basically a test to wake up and activate the live yeast which will cause the bread to rise. It will also let you know if your yeast is old and needs replacing. Simply stir the yeast into warm milk or water mixed with dry powdered milk and watch for it to bubble or bloom.

Pintesting Lion House Rolls

After a few minutes, you’ll see the bubbles if the yeast is good; then add the rest of the starter ingredients.

Pintesting Lion House Rolls

Mix the starter…

Pintesting Lion House Rolls

and add more flour…

Pintesting Lion House Rolls

until it turns into a dough.

Pintesting Lion House Rolls

The recipe says to oil the bread to prevent crusting, cover the bowl with a towel or plastic wrap, and let it rise until doubled. How do you know if it’s doubled?

Pintesting Lion House Rolls

I use this simple but brilliant trick that I learned from King Arthur Flour. Put the oiled dough in an oiled pitcher with measurement lines on it. See? Simple but brilliant!

Pintesting Lion House Rolls

I KNOW this is doubled. Great trick!

Pintesting Lion House Rolls

Now dump the dough on a floured surface. I flipped it a couple of times to lightly flour it.

Pintesting Lion House Rolls

Roll out the dough into a rectangle shape to about 1/4 inch thickness.

Pintesting Lion House Rolls

Spread it with butter and cut into individual rolls. (The original recipe links to a video on the best way to do this and the next step.)

Pintesting Lion House Rolls

Then roll (or flip and spin) into the shape and place on a baking sheet. I lined mine with parchment and really recommend it here. Cover with plastic wrap and let them rise again until doubled in size.

Pintesting Lion House Rolls

Once doubled again, bake the rolls until they’re perfectly browned and smell like a bit of heaven.

Pintesting Lion House Rolls

Brush them with melted butter and try to not eat them all.

Pintesting Lion House Rolls

YUM! These are the best dinner rolls that I’ve ever made had. It was all I could do to not just fill up on these while getting the rest of Thanksgiving dinner ready. HH agreed that this recipe is a keeper. Their texture is both rich and light, and the baked in butter means you don’t have to add more – but we did.

Variation:

I love to experiment with recipes and the first thing that came to mind on these (due to the way their rolled up) is cinnamon rolls. But after tasting the roll itself I was thinking raisin bread. So I combined the ideas and made the recipe again adding 1/3 cup of raisins to the dough and sprinkling cinnamon sugar onto the buttered dough before rolling the rolls. The next time I make these I’ll increase the raisins to at least 1/2 to 2/3 cup. I might even use mini loaf pans to make little raisin bread loaves as well as rolls.

Pintesting Lion House Rolls

My rolls weren’t cut as evenly as the first batch, but nobody cared when eating them. I brought them to a Christmas party and they were a huge hit. No icing required.

The Pintesting Results:

Overall Results: 4.55 Pins

Pintesting - 5 Pins Overall Rating

Accuracy:  Christy said these rolls are legendary and she’s absolutely right. They turned out exactly as the recipe said they would every step of the way. The dough was soft and not sticky; very easy to work with. Between the intoxicating yeasty smell, the buttery richness, and how pretty they turned out, I enthusiastically give this 5 Pins.

Pintesting Rating - 5 Pins

Difficulty: I’m not an experienced from-scratch bread baker (other than using the bread machine) and had some trepidation on this whole process, but I was pleasantly surprised at how simple this was. There are a few steps and waiting times in between for rising, but none of the steps were difficult. Christy’s instructions and the video that she links to were very thorough making the hardest part being patient during each rise. 4 Pins

Pintesting Rating - 4 Pins

Time: The time spent actually mixing and working the dough and baking was not very long at all – roughly 40 minutes. Waiting for the dough to rise twice is what makes bread baking take so long. This times out well if you’re making Thanksgiving dinner, but it’s not something you can whip up quickly.  3 Pins

Rated 3 Pins

Cost: Most of the ingredients are kitchen staples: milk, sugar, flour, egg, and butter. You can make the recipe with all-purpose or bread flour, which also helps keep costs down if you don’t have bread flour on hand. The yeast was about $1.40 for a 3-envelope pack and I only needed 2 envelopes. The total cost was minimal for 2 – 2 1/2 dozen rolls that freeze well, so I’m giving this 5 Pins.

Pintesting Rating - 5 Pins

Practicality: These are some of if not the best rolls I’ve ever had. Period! I love that the recipe gives freezing instructions so that you can make one batch and enjoy them for weeks (if they last that long). I also love their versatility. I’ve made the raisin bread cinnamon rolls and am looking forward to making a savory or garlicky version in the near future. You can make them smaller sized rolls – perfect for little ones. I’m also going to play around with making loaves of bread with this dough. 5 Pins

Pintesting Rating - 5 Pins

The Amazing Amish Cinnamon Bread Alternative

Apr 22, 2013 by Anne Hernandez

As I’m writing this post, I’m memory-listening to a little boy singing his favorite song from his favorite movie. Memory-listening, for those who don’t know, is a lot like when you get a song stuck in your head (now referred to as an earworm), but it’s a song you’ve heard in the past. In this case, it’s a little boy from my day care, about 2-3 years old, singing “You’ve Got a Friend in Me” from Toy Story. I’d hear him sing it over and over again. He’s rather grown up now and probably getting ready for his first car, but I hear a little boy’s voice singing.

I have been blessed with some amazing friends, and I am most thankful for this great gift. One of the best things about the gift of friendship is that it comes in so many shapes and sizes. I’m not referring to the shapes and sizes of the friends, but the kinds of friends. New friends. Old friends. Friends that are close by. Friends that live far far away. Work friends. Gym friends. Zumba friends. (YES, they get a special category!) Church friends. Neighbor friends. High School and College friends. Cooking and baking friends. Blogging friends that you’ve never met in person, but look forward to meeting someday friends. Random-stranger-that-you-met-at-the-wine-shop-and-have-been-hanging-out-together-since friends.

My point is that no matter how or when or where you met, friendship is a precious gift.

And every now and then a friend will gift me with the gift of friendship bread. Except it doesn’t look like bread. Actually, it looks more like a bag or tub of goo, or the science experiment from the back of their fridge.

Appropriate response, “Um, gee thanks”. (Insert big sincere looking smile that ends up looking like a grimace.)

It’s a starter that needs to be fed and stirred in the fridge or on the counter for about 2 weeks before you can divide it, then share and bake. I don’t know about you, but if I want to bake bread, I don’t think about it 2 weeks in advance. “Wow, I think I’d like to bake in a couple of weeks.” Nope! Nope! Nope! I can be patient for some things, but I’m an instant gratification kind of girl. If I want to bake, then I’m going to bake now!

This is an example of traditional friendship bread with daily instructions of what to do for 10-14 days.

Photo by tizzie from Flickr, from The Curvy Nerd blog.

So when this pin came across my radar, I was so ready to try the bread and make a new friend – or at least feed the ones I already have. Melissa at Redfly Creations showed this quick recipe for a short-cut cinnamon bread. Yes! I’m in.

http://www.redflycreations.com/2012/10/the-amazing-amish-cinnamon-bread.html

Here are the ingredients. I had everything on hand.

Amazing Amish Cinnamon Bread - Ingredients

First cream the butter, sugar and eggs.

Amazing Amish Cinnamon Bread - Cream butter, sugar and eggs

I like to start creaming the butter and sugar, and then add the eggs.

Amazing Amish Cinnamon Bread - Sour the milk

Next, sour the milk (if you don’t have buttermilk) by mixing the lemon juice and milk.

Amazing Amish Cinnamon Bread - Add flour mixture and milk

Combine the dry ingredients and the milk to the butter mixture.

Amazing Amish Cinnamon Bread - Sprinkle with Cinnamon, add reamaining dough

Pour half of the batter into the baking pans, sprinkle with the cinnamon sugar, and repeat.

***A note here. Melissa says to pour into two bread pans, but doesn’t specify the size. Since she also mentions that muffin tins work well, I used one 5×9 bread pan and a half-dozen mini loaf pans.

Amazing Amish Cinnamon Bread - Cinnamon Sprinkle #2

Swirl with a knife…

Amazing Amish Cinnamon Bread - Swirl Cinnamon

Then bake for 45=50 minutes.

Amazing Amish Cinnamon Bread - Bake

Your house will start to smell amazing!

Amazing Amish Cinnamon Bread - Done baking

Cool the breads a bit before removing from the pans.

Amazing Amish Cinnamon Bread - Cooling Bread

Sadly, the large loaf had sunk in the middle. The mini loaves seemed to do rather well, though.

Amazing Amish Cinnamon Bread - Sunken middle

I left the large loaf to finish cooling in hopes that it would help the texture.

Amazing Amish Cinnamon Bread - Plated to eat

One of the sliced mini loaves was eaten with our Sunday brunch. We ate some of the larger loaf the next few days, but found the extreme denseness of the sunken middle too much. Oh the other hand, the remaining mini loaves were brought to work and devoured with many thumbs up. In this case I think the smaller sizes worked better.

Now, for the Pintesting results.

Overall Rating: 4.3 Pins

4 Pins Overall

Accuracy:  This was a delicious quick bread recipe. Unfortunately, the sinking in of the large loaf, which might be attributed to the lack of specific pan size, didn’t give us great results for half of the dough. Otherwise the texture of the smaller loaves was wonderful; moist with a nice crumb. I love cinnamon and the swirled cinnamon sugar. Done in the two layers, it really distributed the yumminess throughout the bread. I might have cut back a little of the cinnamon sugar, or maybe drizzled a bit of melted butter on the topmost layer to give it a more streusel-like topping and to keep it from baking dry. 4 Pins

Rated 4 Pins

Difficulty: The recipe was well written (except for the lack of loaf pan size), and the most difficult part was the process of dividing the batter and cinnamon sugar for the two layers of cinnamon-y goodness. 4 Pins

Rated 4 Pins

Time:  The recipe calls for softened butter. Since I knew that I was going to make this on a Sunday morning, I put enough butter out before going to bed on Saturday night to soften properly. My own trick is to stick it into the microwave (NOT turning it on, just to keep it free from any kitties that might want some yummy butter) and close the door overnight. I’m not including the 8-hours of butter softening time. The actual prep and baking time was just under an hour, with another 20 minutes for cooling time. 4 Pins

Rated 4 Pins

Cost: There are no expensive ingredients on this recipes list. No special trips to the store – especially since Melisssa gave the alternative of soured milk for the buttermilk. (Good job!) 5 Pins

Rated 5 Pins

Practicality:  I could see this as a great recipe for either muffins or mini loaves; perfect for breakfast, brunch or an afternoon snack. I especially like that the smaller sizes are perfect for freezing ahead and having on hand. 5 Pins

Rated 5 Pins