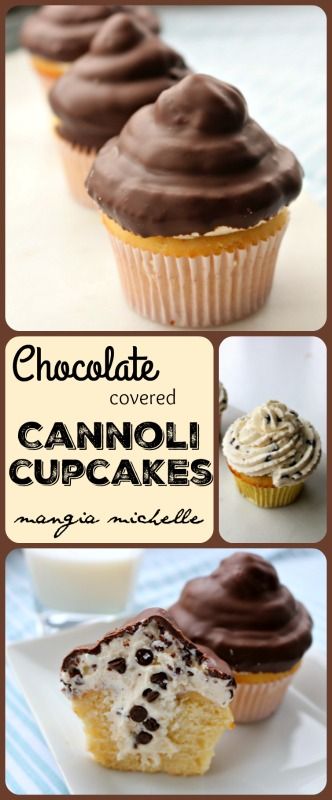
I’ve always felt like those who have birthdays at the end of December get gypped because they’re overshadowed by some of the biggest holidays of the year. A work friend, for example, had a December 27th birthday. I wanted to make a treat to bring in that looked celebratory yet un-holiday-ish. So when I saw this pin for Chocolate Covered Cannoli Cupcakes by Michelle of Mangia Michelle, I knew this was exactly the kind of birthday treat that I was looking for.
The Pintesting:
Michelle gave a recipe for her cupcakes and also gave the option of using a cake mix. I went with her recipe to give a truer Pintesting. Since this recipe has several components I’ll break them out. This recipe is one that I had to plan for since I don’t keep Ricotta and Mascarpone in my kitchen as staple ingredients. Missing from the ingredients photo is milk.

IMPORTANT NOTE: It’s extremely important to read a recipe thoroughly before starting – not just the ingredients list. I might have noticed that the ricotta needed to be drained prior to making the cannoli filling. Unfortunately, Michelle didn’t give any details on how to do this. A quick Google gave both the normal (read long) and quick instructions for draining ricotta. That’s why you see the ricotta in a strainer over a bowl.
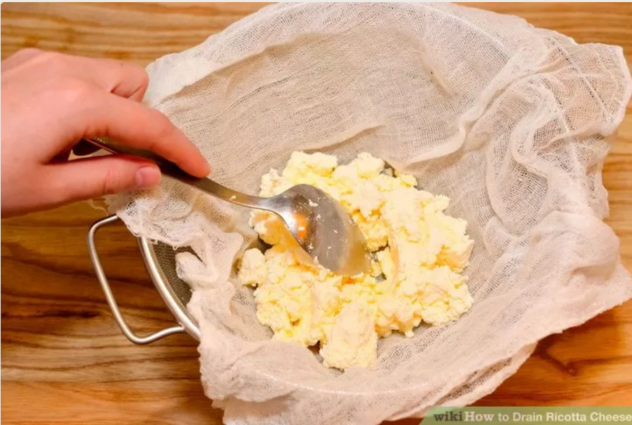
Lesson learned – READ the recipe first.
The Cupcakes:
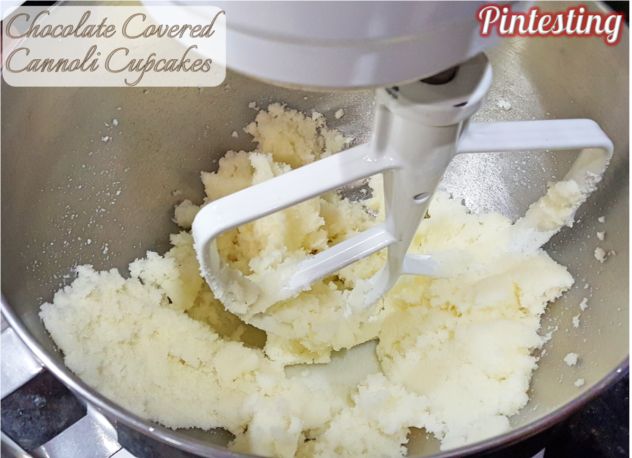
Start by creaming the butter and sugar.
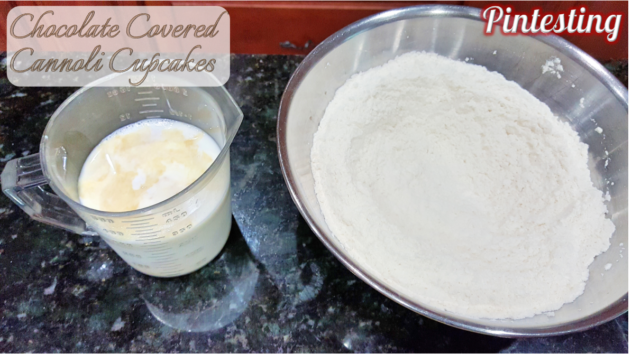
Sift together the dry ingredients in a bowl. Add the vanilla to the milk.
Once the butter and sugar are creamed, add the dry and wet ingredients alternating until the batter is smooth and perfect.
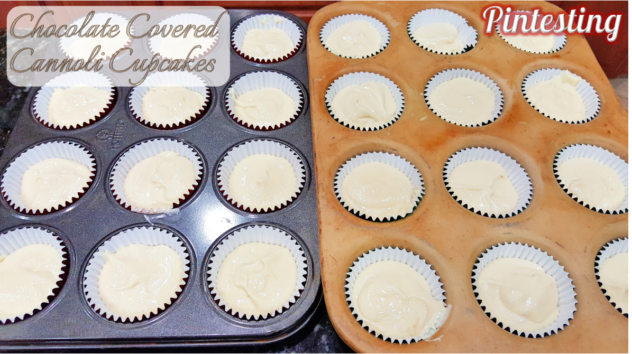
Fill the cupcake liners and bake them, then let them cool.
The Cannoli Filling/Topping:
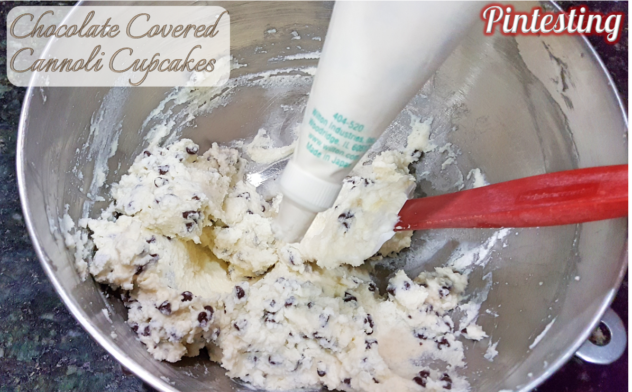
The cannoli cream was simple; mix together the cheeses, vanilla, and powdered sugar then stir in the mini chocolate chips.

Once combined, place in a piping bag or freezer storage bag with a large tip. This tip must be LARGE enough for the mini chips to pass through. I have some very large piping tips but none of them worked. I ended up just using the coupler and calling it good.
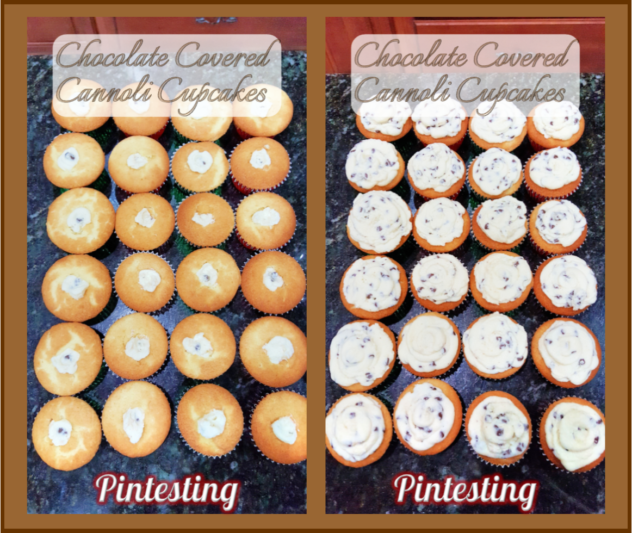
Insert the tip (or coupler) into each cupcake and fill with the cannoli filling, then top the cupcakes with the remaining cannoli cream.
Freeze the cupcakes for the next step. Michelle gives photos of the mess that happens if you ignore her and don’t freeze. Just do it.
The Chocolate Shell:
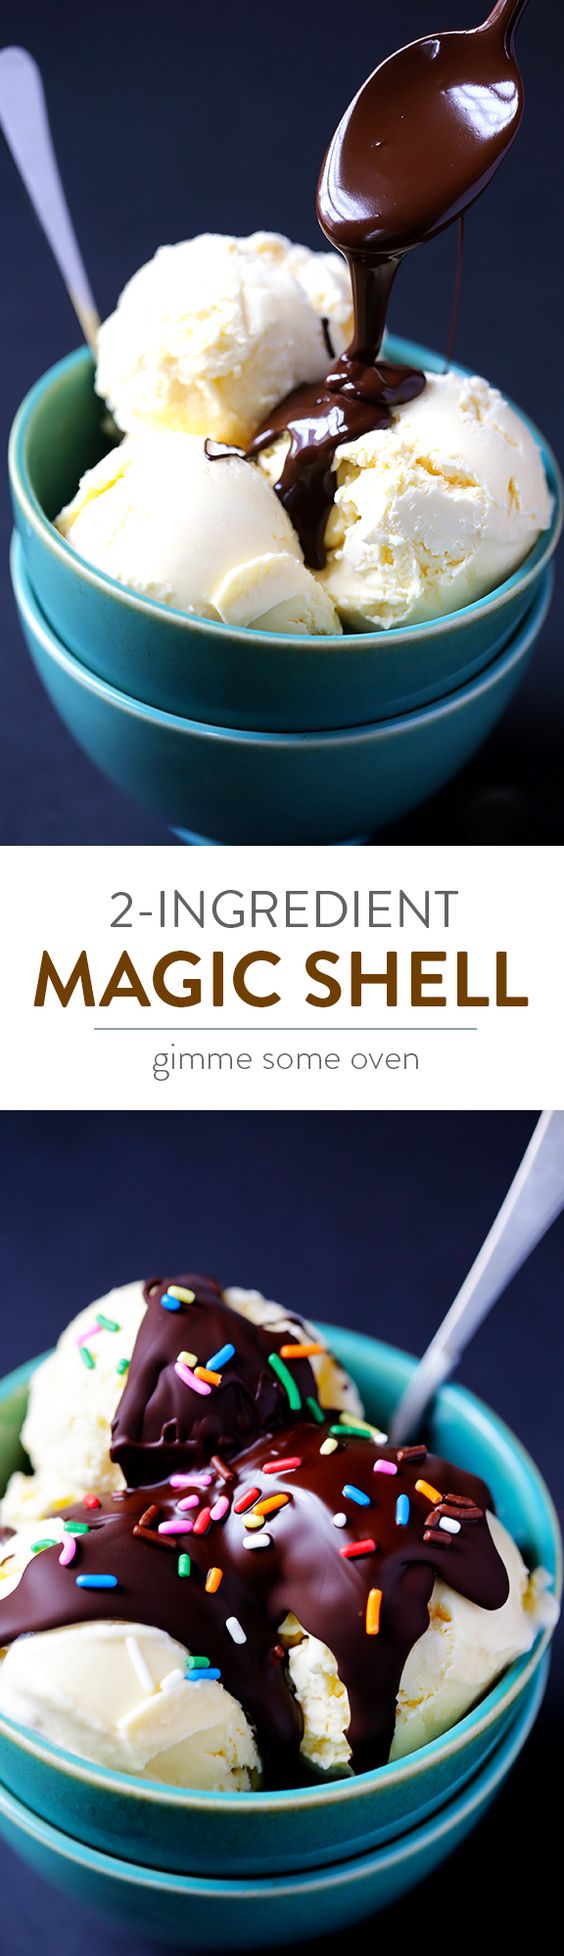
This is the one place where I deviated from Michelle’s recipe. She said to use chocolate melts, but I saw a recipe for 2-ingredient Homemade Magic Shell on Pinterest by Ali of Gimme Some Oven and thought this would be a perfect chance to sneak in a bonus Pintesting.
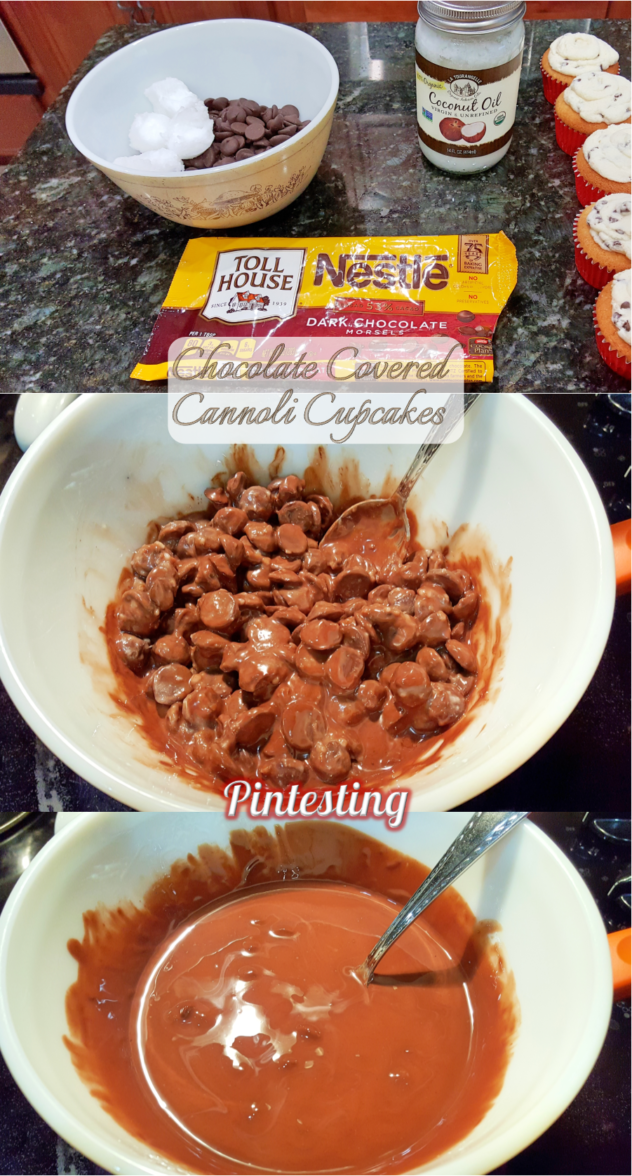
It seemed like a good idea but it didn’t quite go according to plan. Melt the coconut oil and chocolate in the microwave. Easy, right? No.
I put Organic coconut oil and chocolate in a nonreactive ceramic bowl that I’ve used in the microwave countless times. Almost immediately the microwave was sparking and crackling! What was happening? I checked several sites and found that this is not uncommon. According to Living Strong, coconut oil has trace amounts of iron. Apparently, my organic coconut oil had enough to cause sparking in the microwave. Who knew a yummy dessert would bring about a science lesson?
Obviously microwaving would not be the way to go so I put the bowl over a pot of simmering water and melted them using a double boiler method. It only took a few minutes and minimal stirring to melt the coconut oil and chocolate. Set it aside to cool to room temperature.
When the chocolate is room temperature and the cupcakes are frozen, dip each cupcake into the chocolate shell sauce to coat the cannoli cream.
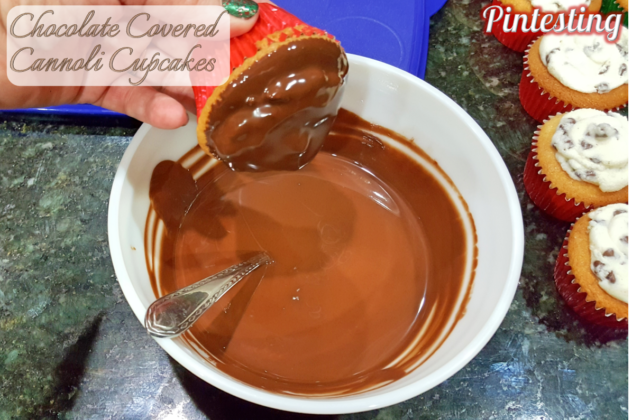
Hold the cupcake over the bowl to allow any excess chocolate to drip off.
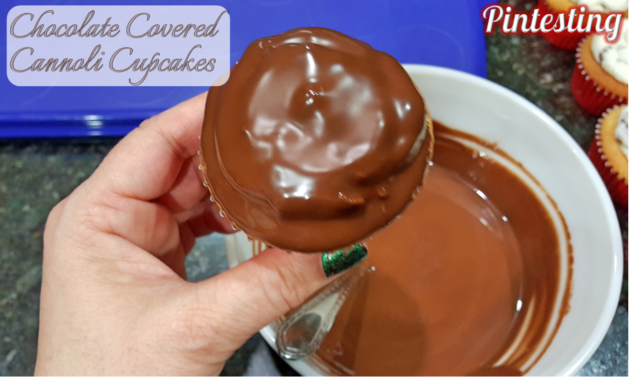
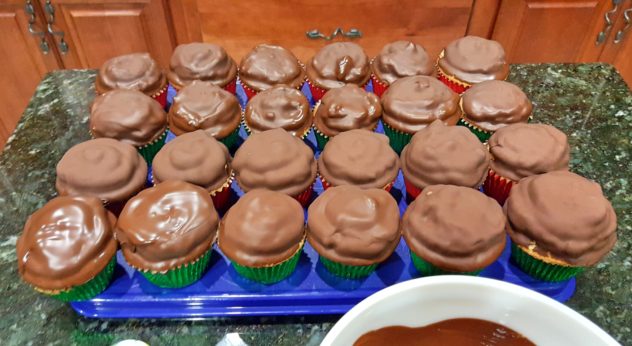
The chocolate shell will harden fairly quickly. Continue dipping until all of the cupcakes are coated.
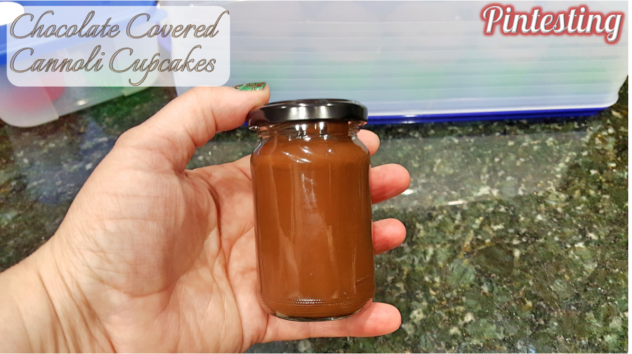
I had a bit of sauce left over and am saving it for ice cream.Note: keep this in the cupboard at room temperature. If you refrigerate it will get cold and hard.
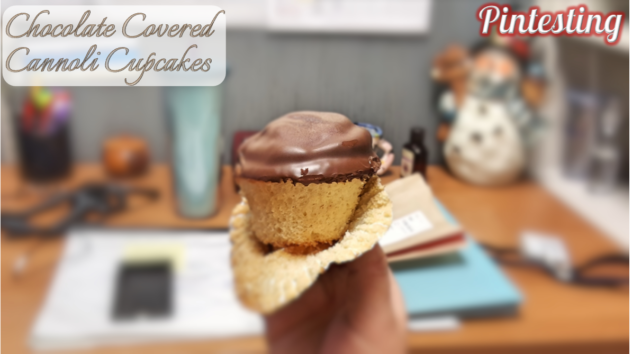
The Birthday Girl LOVED them!
We had a lot of treats coming through our office from the end of November through the end of the year, but none like these.
She did note, and I agree, that by using the chocolate shell recipe they had a slight yet discernible coconut flavor – almost like an Almond Joy candy bar. Since she likes coconut this wasn’t a problem. However, the next time I make these I’ll use the chocolate candy melts.
The Pintesting Results:
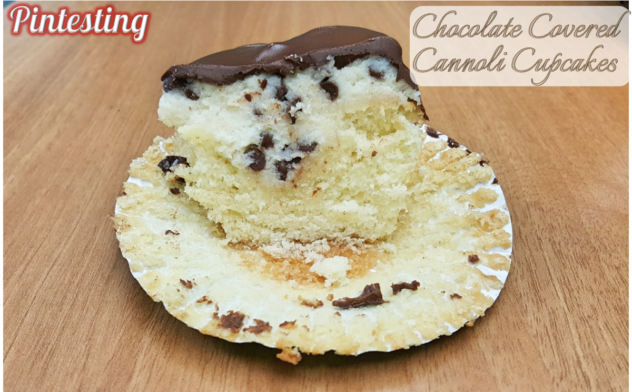
Chocolate Covered Cannoli Cupcakes
Overall Results: 4.25 Pins

Accuracy: The Chocolate Covered Cannoli Cupcakes turned out exactly as Michelle’s blog said they would. The cupcake itself was delicious with a soft light crumb. The cannoli cream filling/topping reminded me of the cannoli I used to get when I was a kid in New York. And even though I deviated from the recipe, the chocolate coating was as pretty as in Michelle’s pictures. 5 Pins

Difficulty: This recipe is not truly difficult; Michelle’s recipe is well written and notes anything to be aware of (such as freezing the filled cupcakes), but it does have a lot of components going on which requires a lot of steps. 4 Pins

Time: If you need to whip up a quick dessert, this might not be a good first choice. Using the quick method to drain the ricotta took 10 minutes to get it as dry as possible. (The long method takes overnight.) The cupcakes don’t take long to make and bake, but they do need to be completely cooled before filling them with the cannoli cream. Then there’s the freezing time (which I did overnight and then completed the cupcakes in the morning), and once the chocolate is melted it also needs to cool to room temperature. Even compensating for the overnight freezing, plan on 1 1/2 – 2 hours for these. 3 Pins

Cost: Most of the ingredients are staples in my kitchen; with the exception of the ricotta and mascarpone cheeses. These cost me about $8.00. Add the rest of the ingredients and these run about $0.50/cupcake for 2 dozen. That’s not bad for some fancy cupcakes that would cost you $3.00 each at a bakery. 4 Pins
Practicality: These are not your everyday cupcakes, they’re a wonderful special occasion dessert treat! I will be happy to make them again when the appropriate occasion arises. They are absolutely worth the effort, but since it does take extra effort, I’m giving these 4 Pins.
Bonus Pintesting Results:
2-Ingredient Magic Shell
Overall Results: 4.6 Pins

Accuracy: The two ingredients did make a chocolate sauce that hardened on contact with cold similarly to Magic Shell. But because my microwave nearly blew up (or at least acted like it was going to), and I had to go with an alternate melting method, I’m giving this 4 Pins.
Difficulty: This was very simple; melt 2 ingredients together and stir. Whether you microwave (at your own risk) or use a double boiler, it’s easy either way. 5 Pins
Time: The total time was about 5 minutes – including switching gears, getting a pot of water, and melting the ingredients. There is the cooling time to be considered and you can’t rush it with a cold water bath, but stirring frequently helped to bring the temperature down in short order It was a lot faster than if I had to run to the store. 5 Pins
Cost: I keep coconut oil, both conventional and organic, in my pantry right next to the extra virgin olive oil, grapeseed oil, canola oil (what’s a canola?), and the rest of my oils and vinegars. So this was only a few cents more than the cost of the bag of chocolate chips. 5 Pins
Practicality: This is great over ice cream, but obviously works well for topping cupcakes and other treats. I would recommend using conventional coconut oil since it has a milder flavor. The best part is that you can use this with any kind of baking chip to switch up the flavors. I’m thinking white chocolate, butterscotch, peanut butter, or even chocolate mint chips would be great. You can even try stirring in sprinkles, toffee chips, crushed nuts, or coconut flakes. 5 Pins